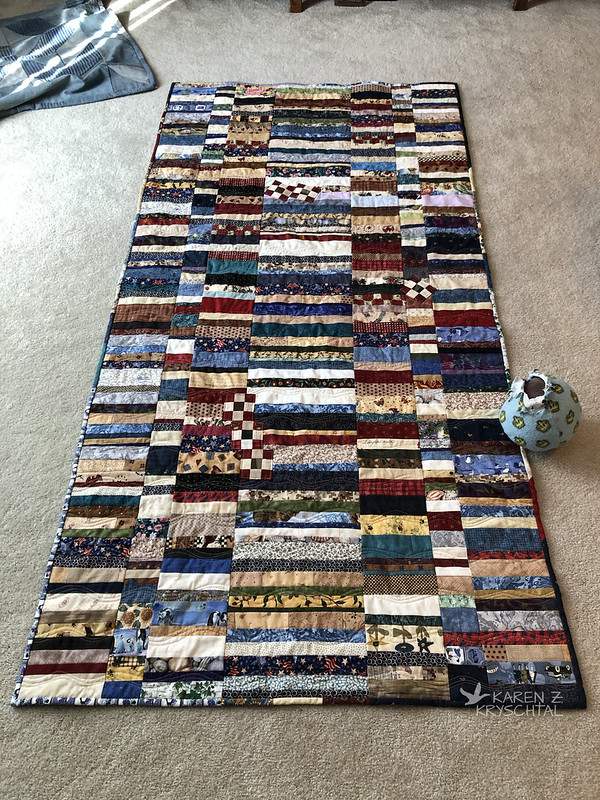
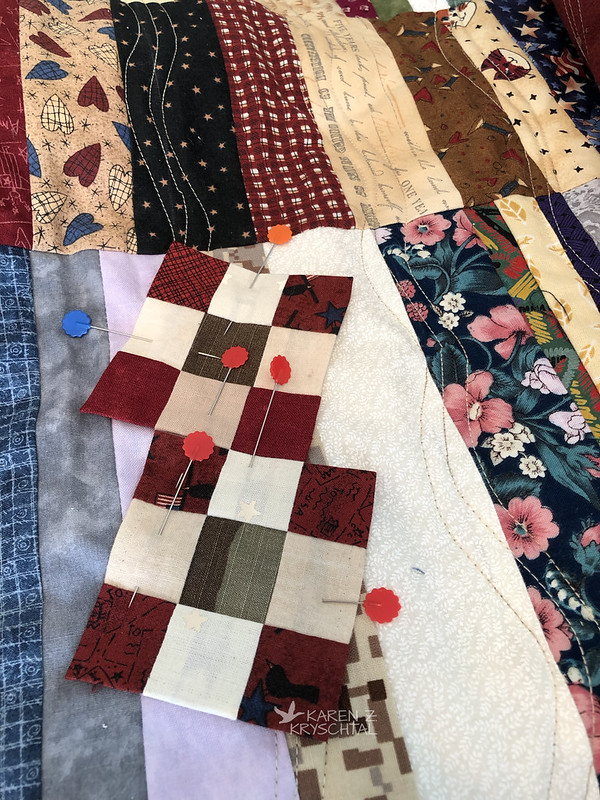
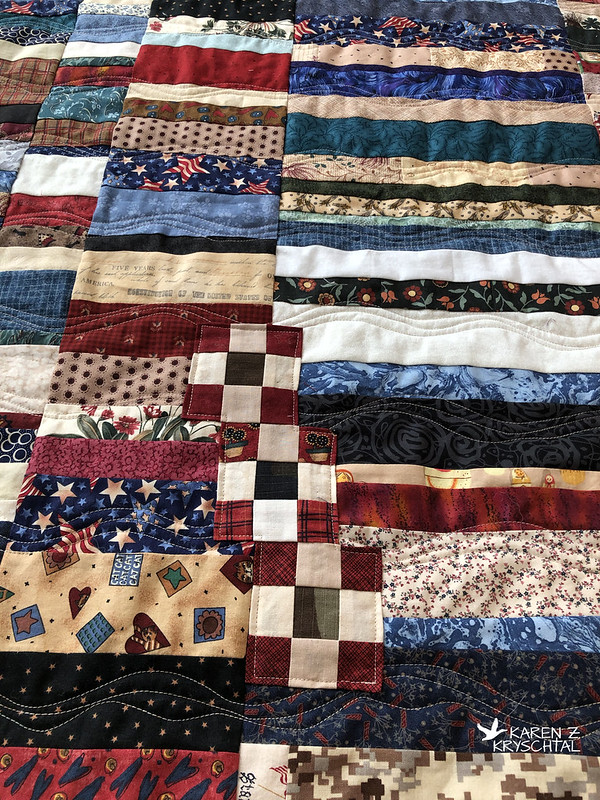
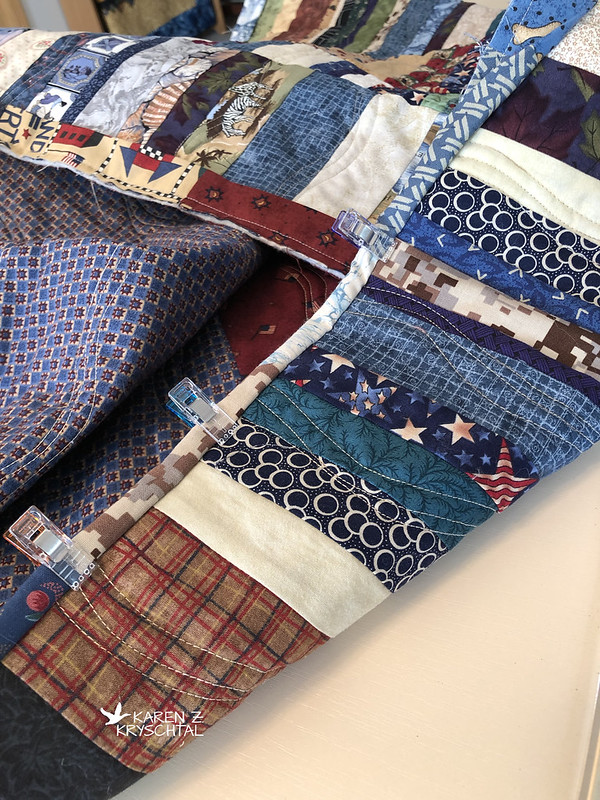
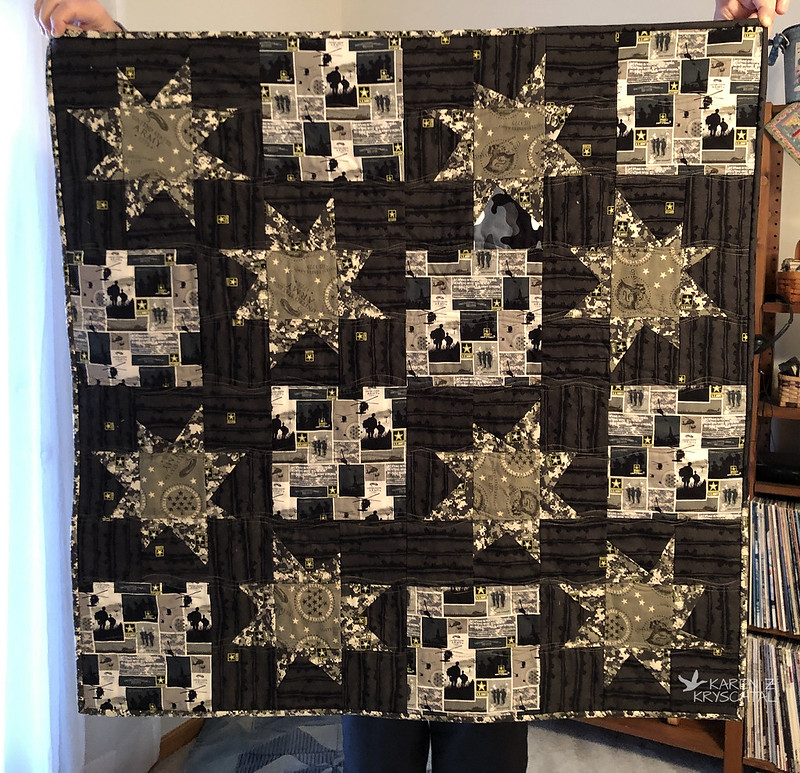
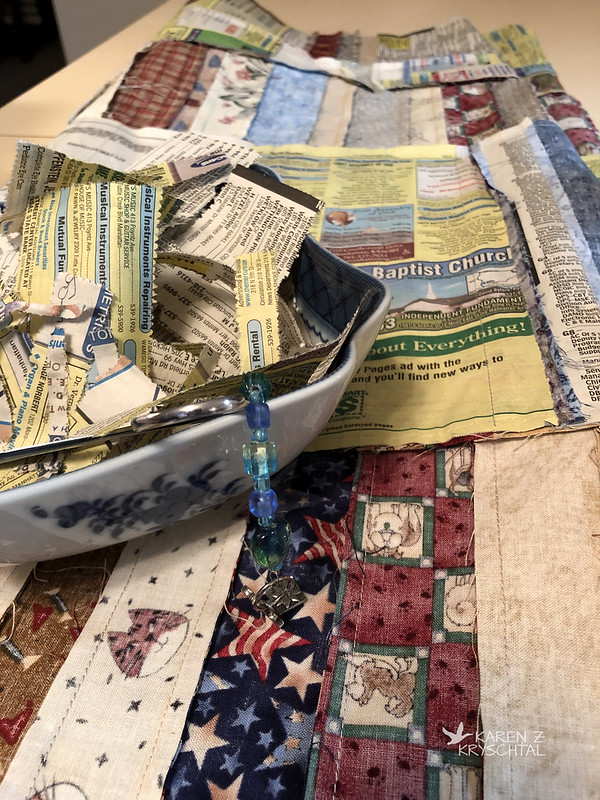
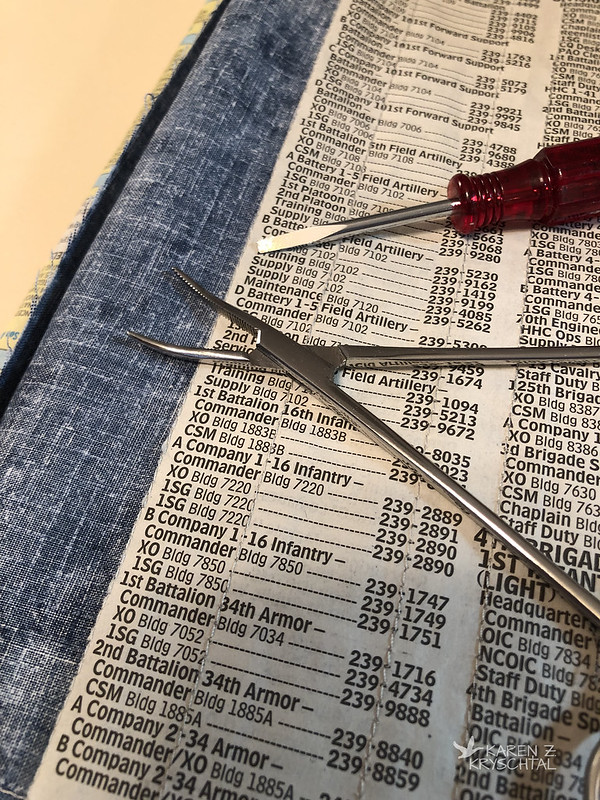
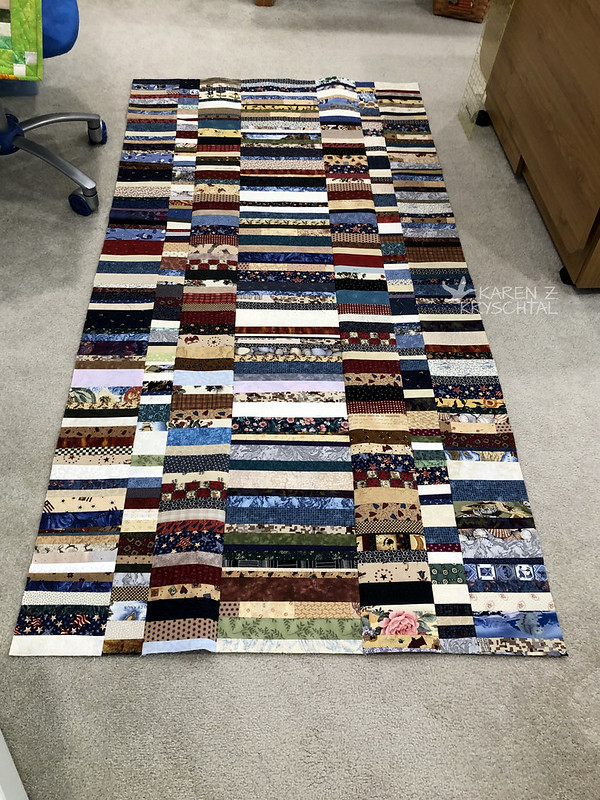
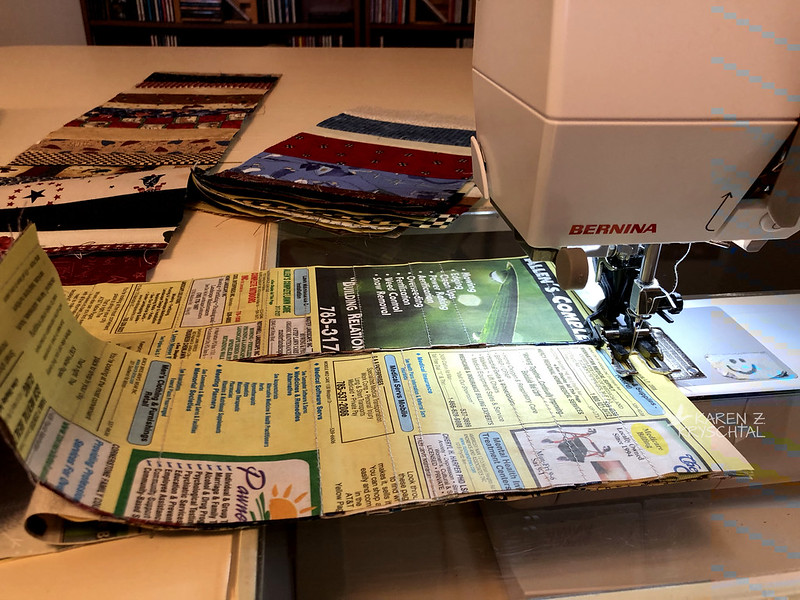
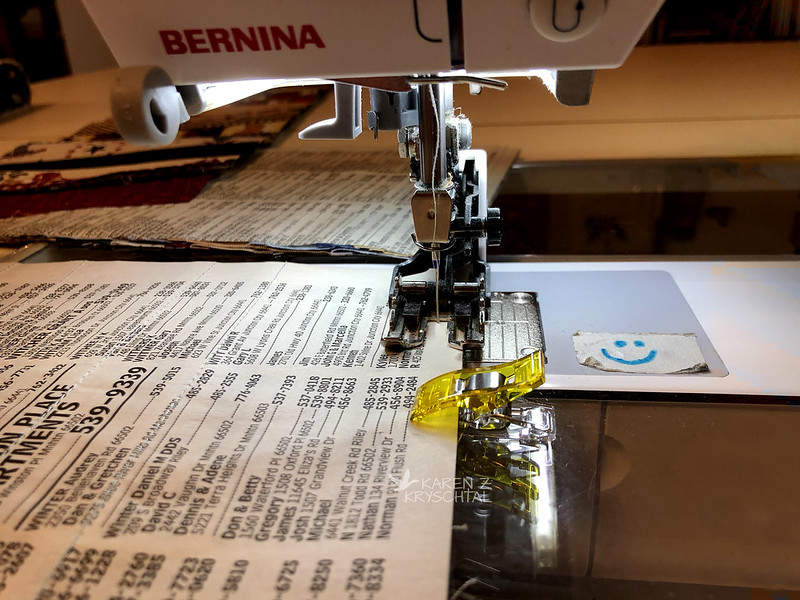
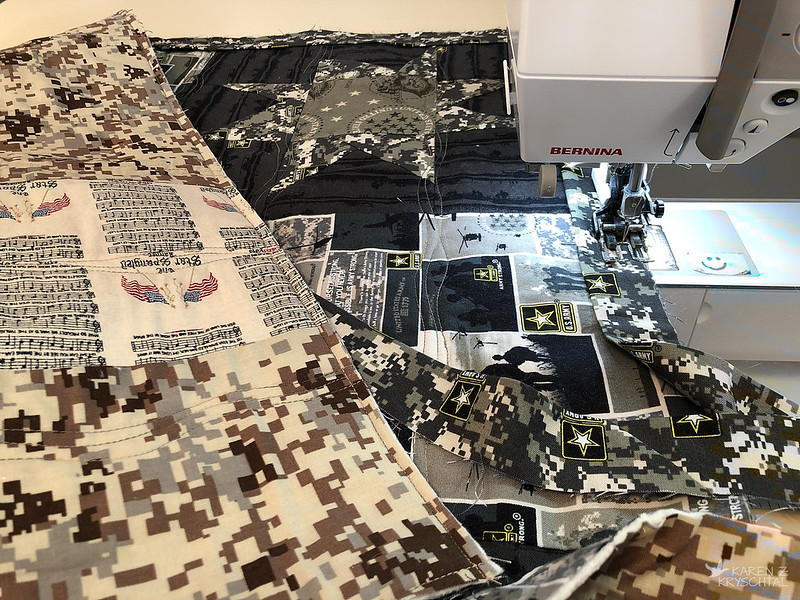
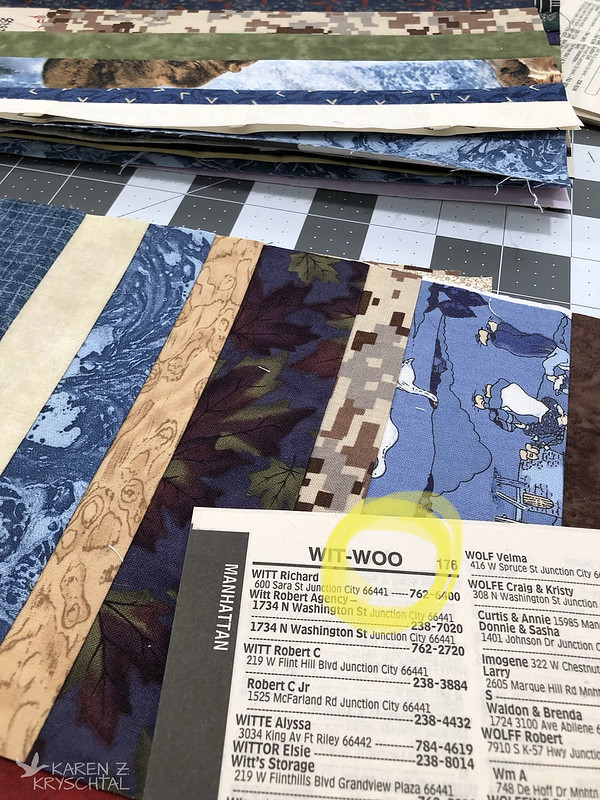
This one is made a bit differently, but is still pieced on phone book pages, using nothing but scraps! In about the center of each block, I put a small piece of BDU fabric (camouflage fabric from one of my husband's old uniforms), and went from there. You can get a feel for my "pattern" at this link. Maybe more "system" than "pattern". ANYWAY ...
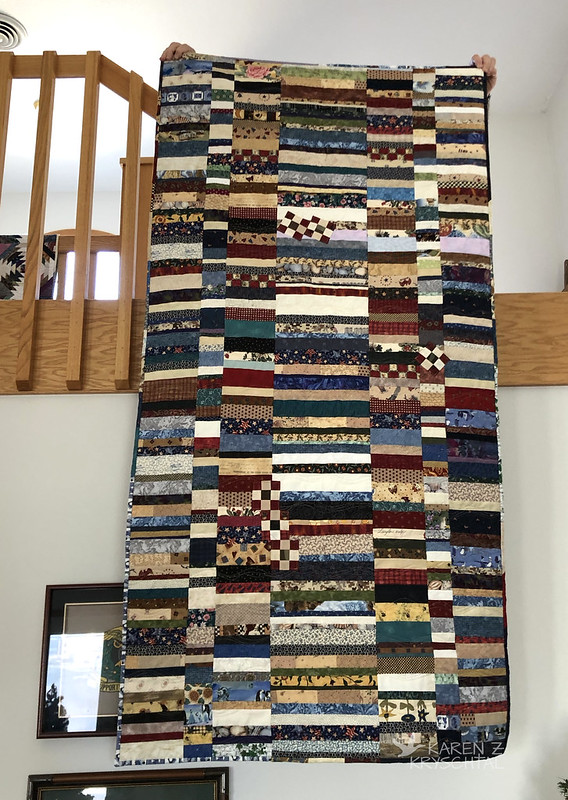
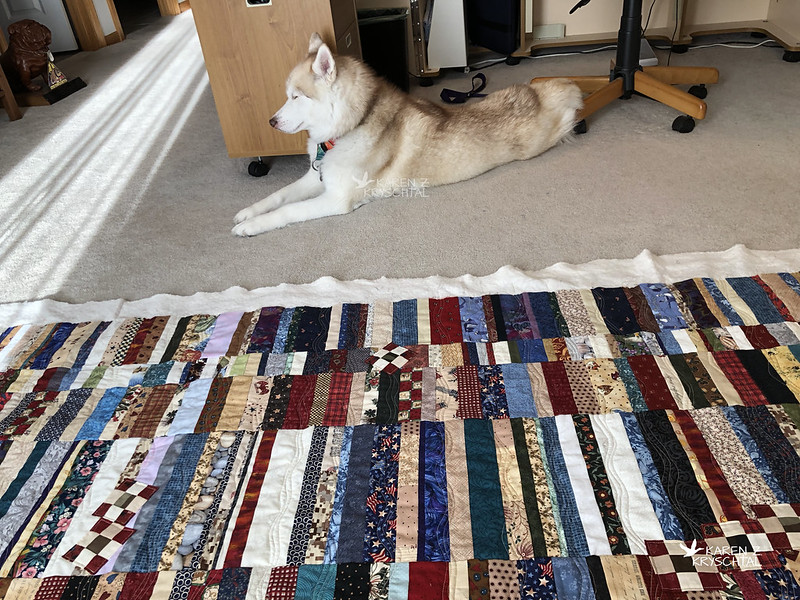
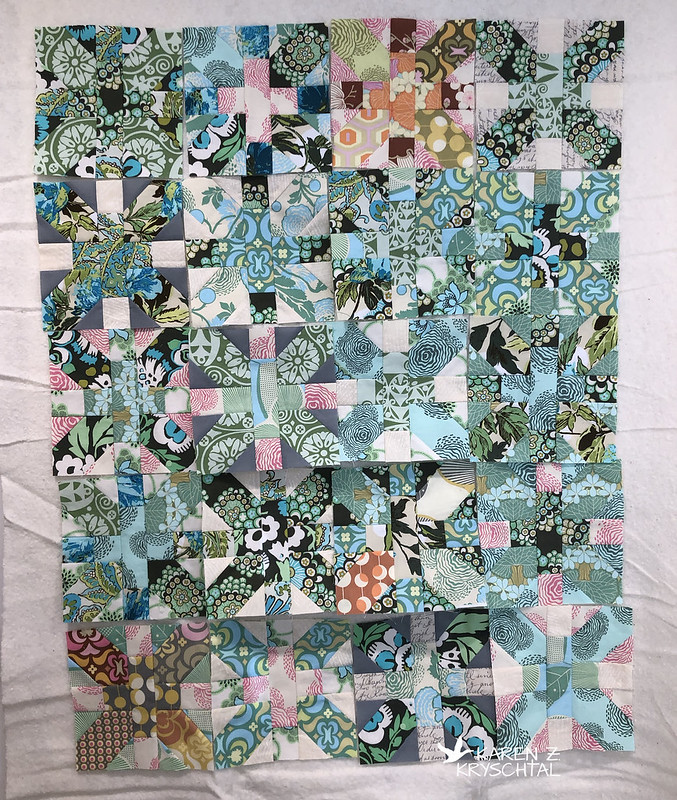
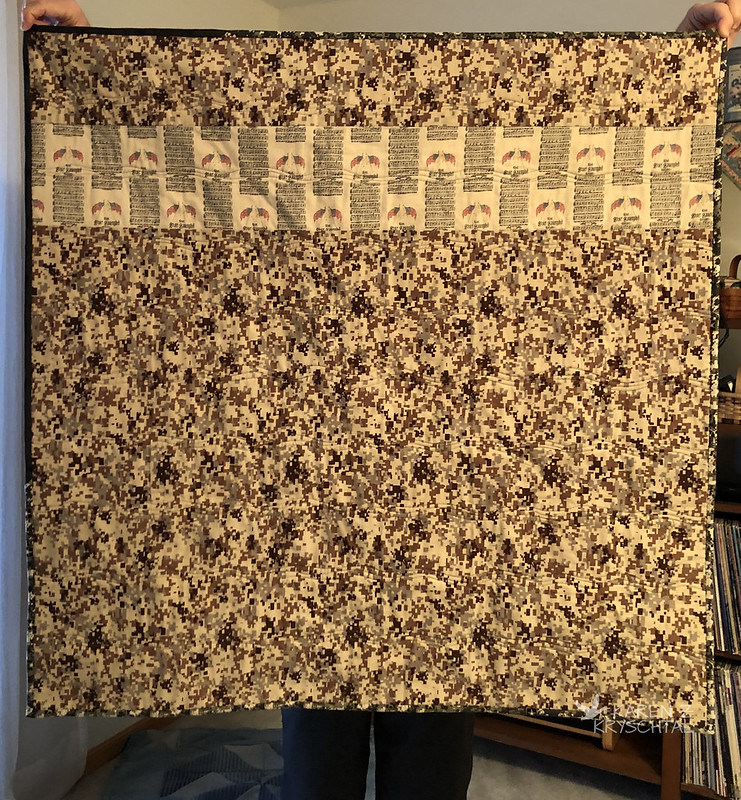
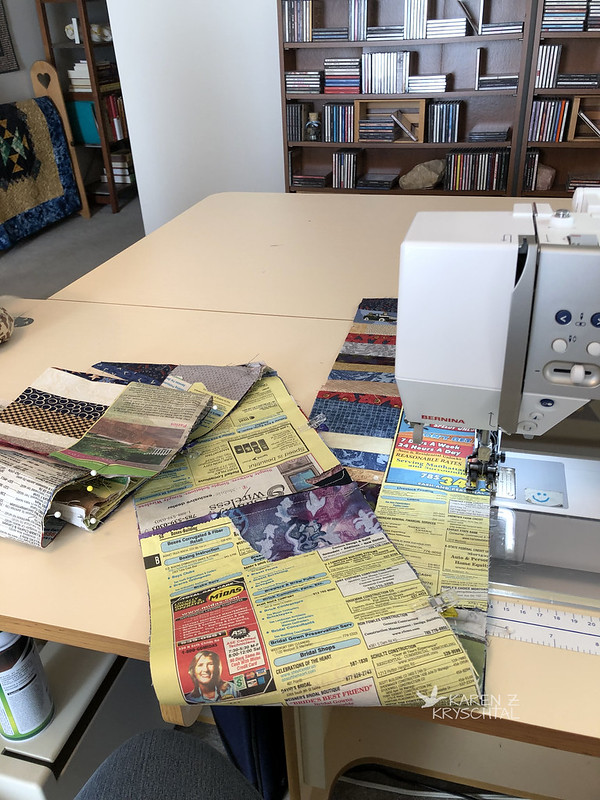
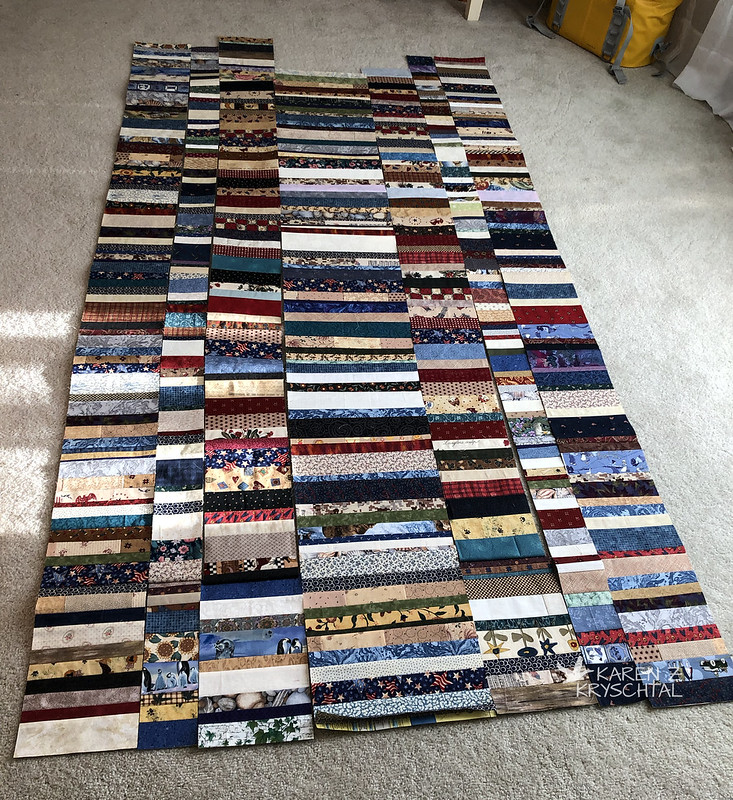
Let me just say that I'm really glad I'm finally quilting it ... and that it's huge. Here it is, as I was making sure I had pieced a large enough backing:
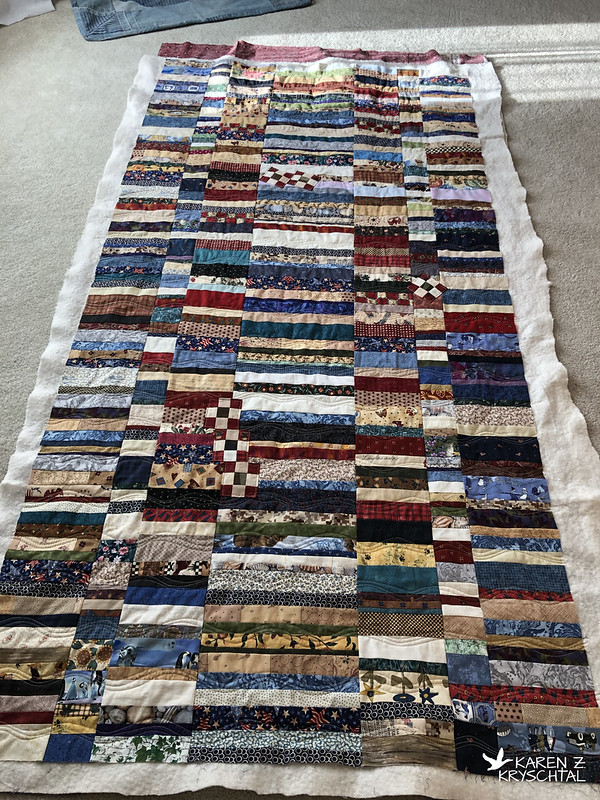
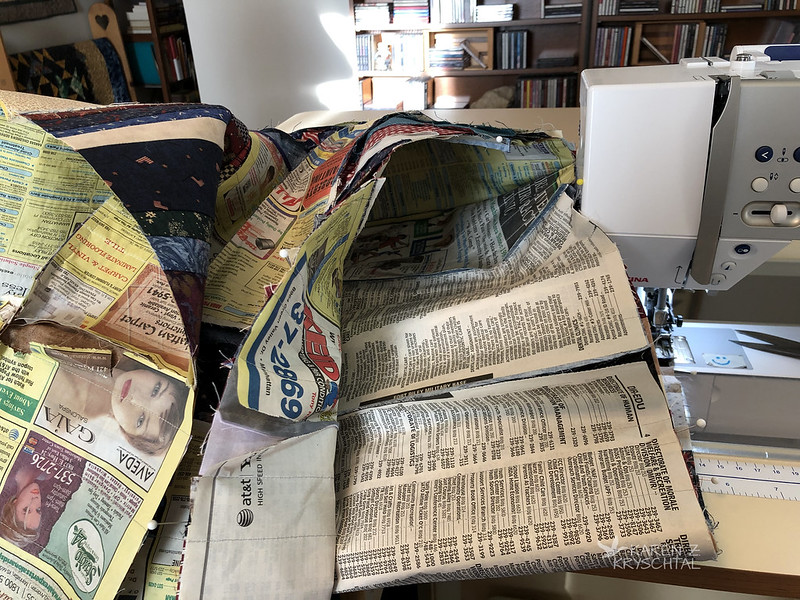
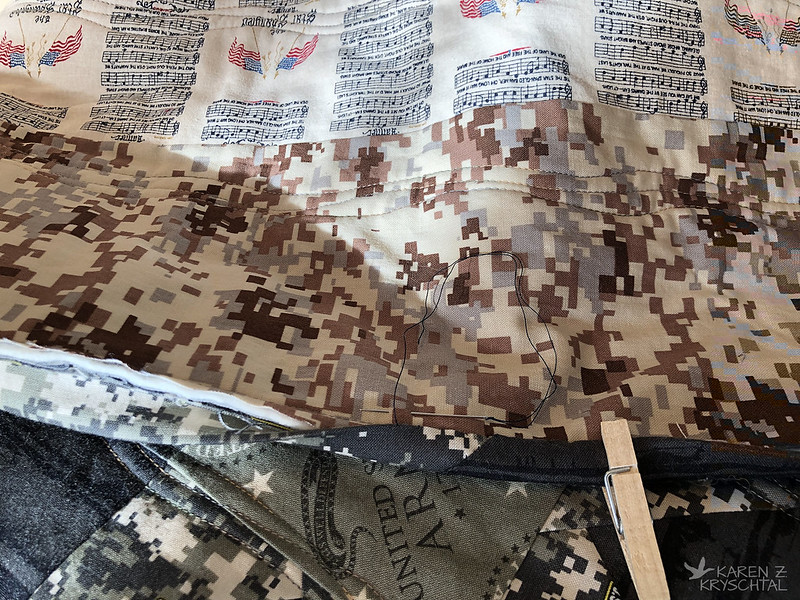
And then sandwiched with the backing and batting:
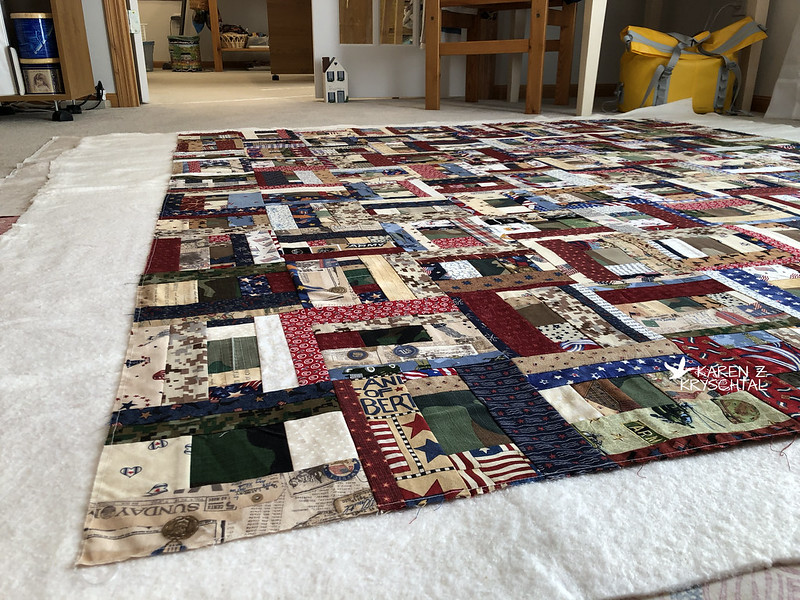
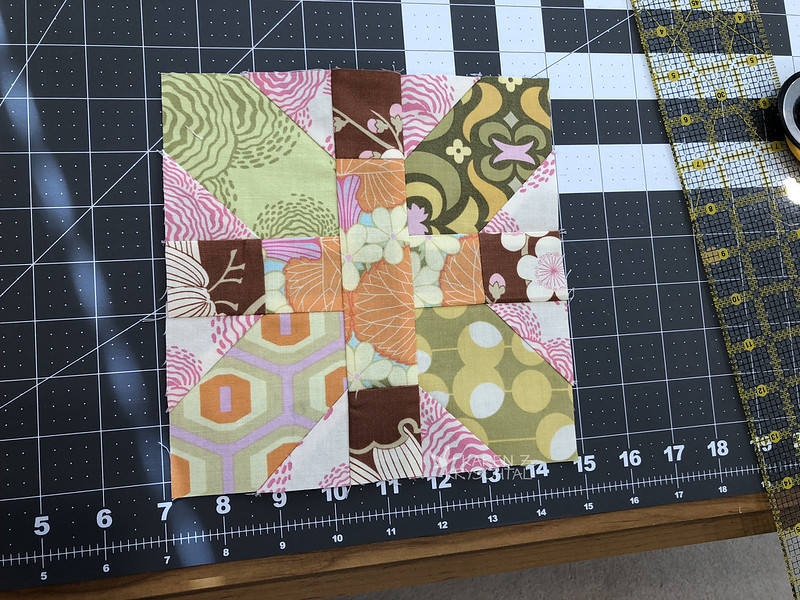
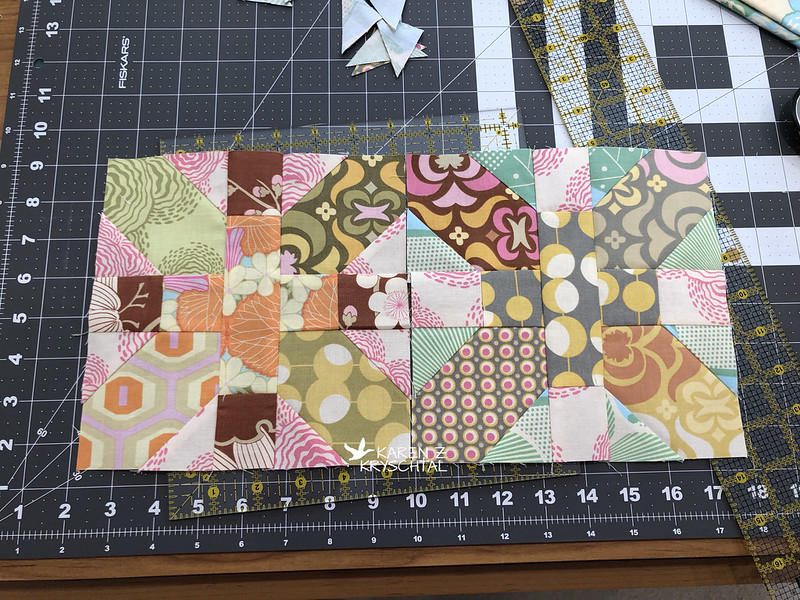
It's really a cool quilt. I put so many of these fabrics into projects for other people (and for us, too) - it's really fun to see them again.
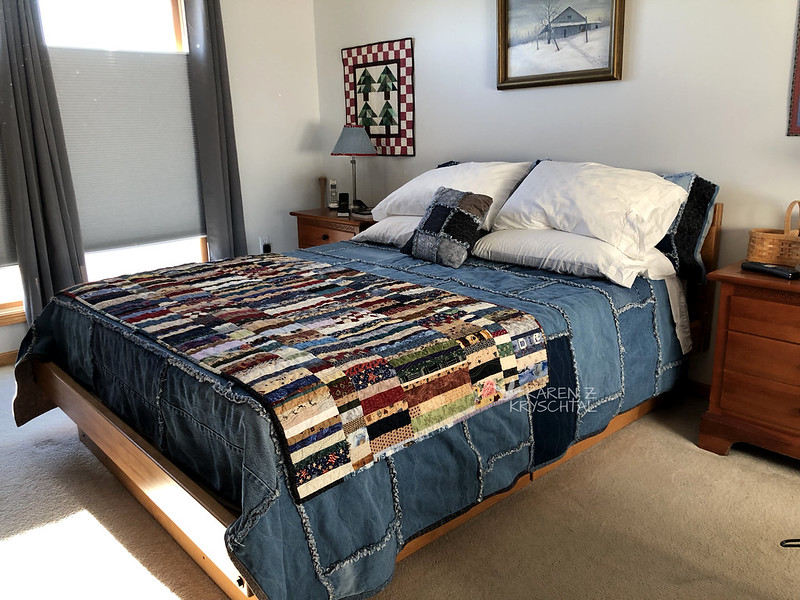
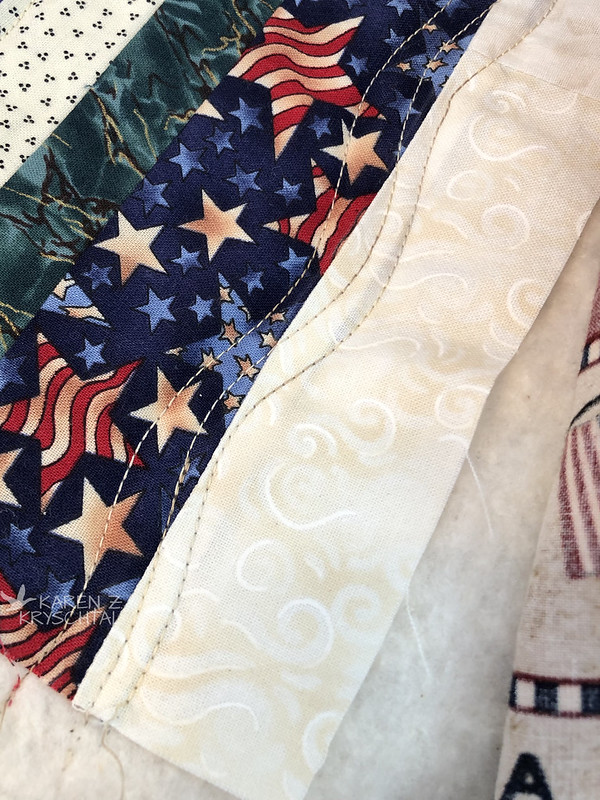
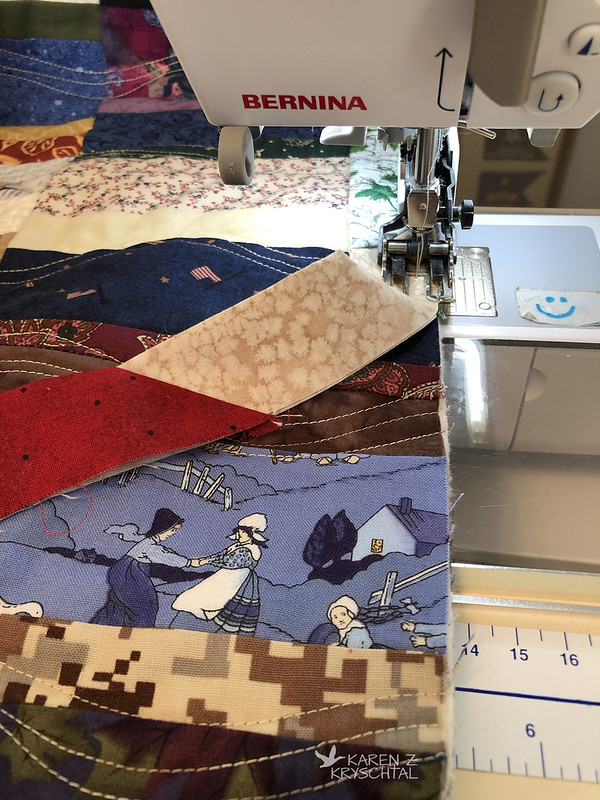
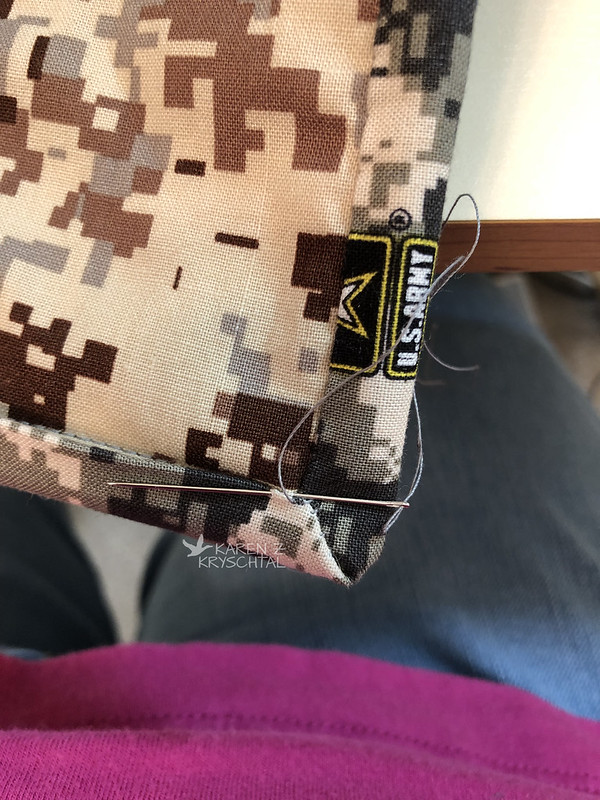
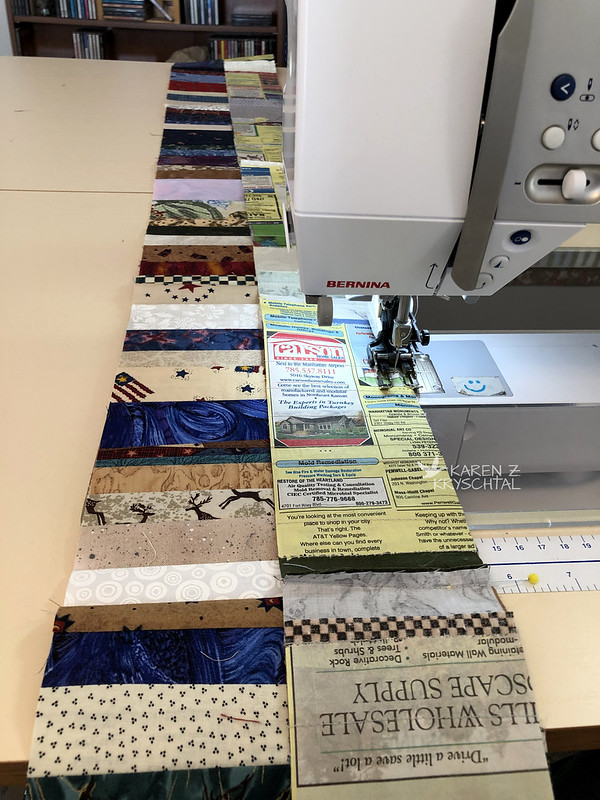
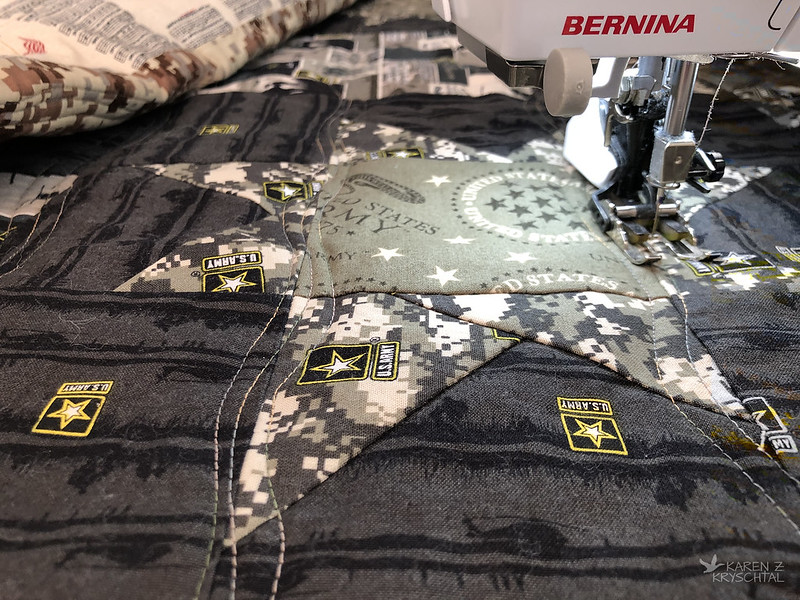
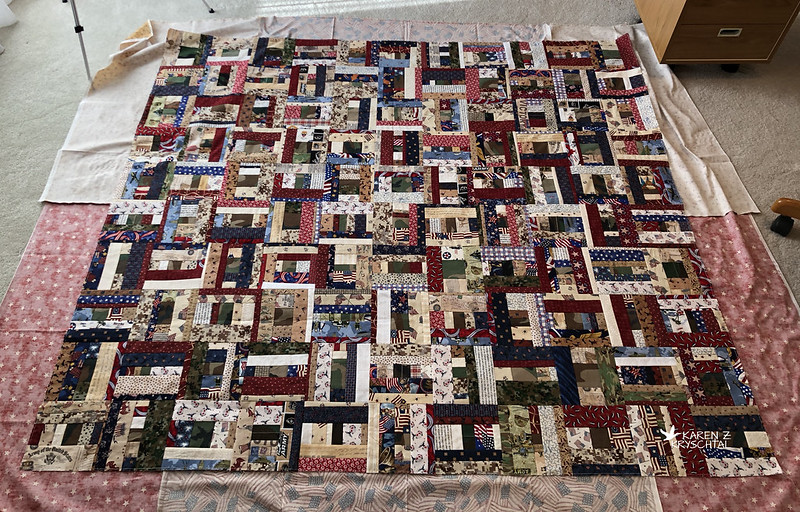
Because it's so huge (why did I do this to myself?), I struggled with how to quilt. Again, making it easier on myself, I'm going with my favored wavy lines - only this time, I'll eventually have a grid: three waves one way, three the other. Here's the beginning:
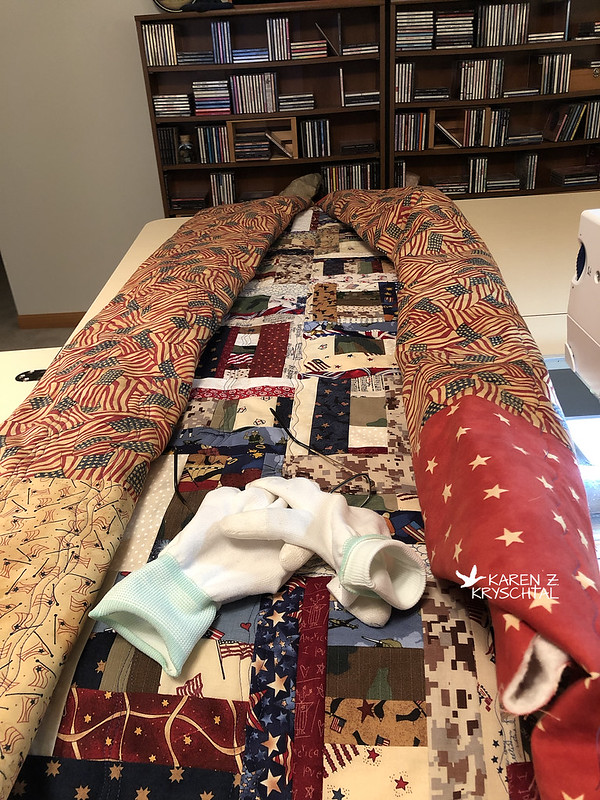
The gloves are a pain to wear, but they really do help with gripping.
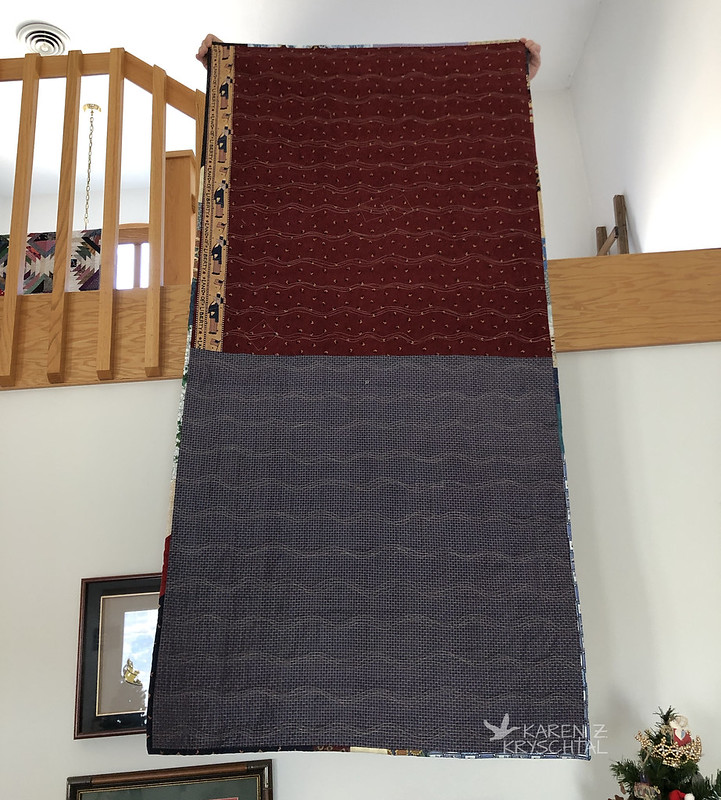
Here's a look at the back:
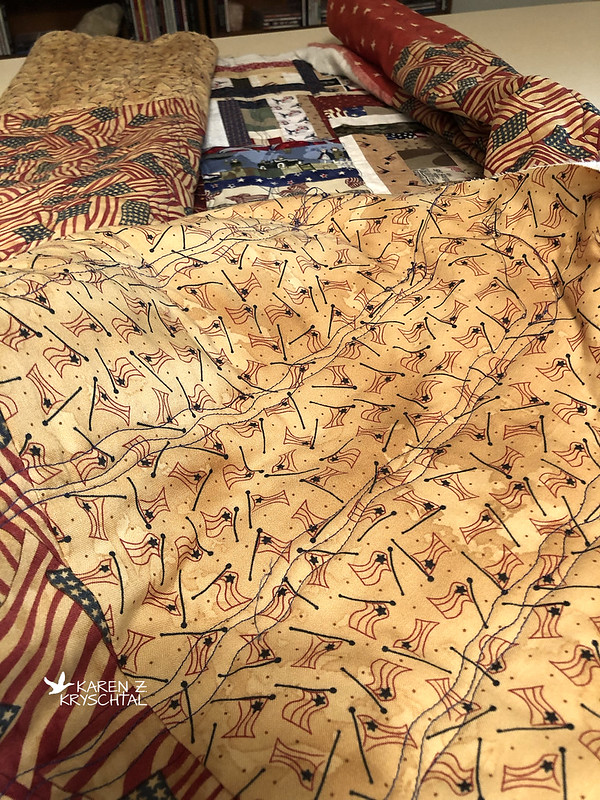
I started on the cross-grid yesterday afternoon, but didn't take any photos. I hope to get back to work on it today.
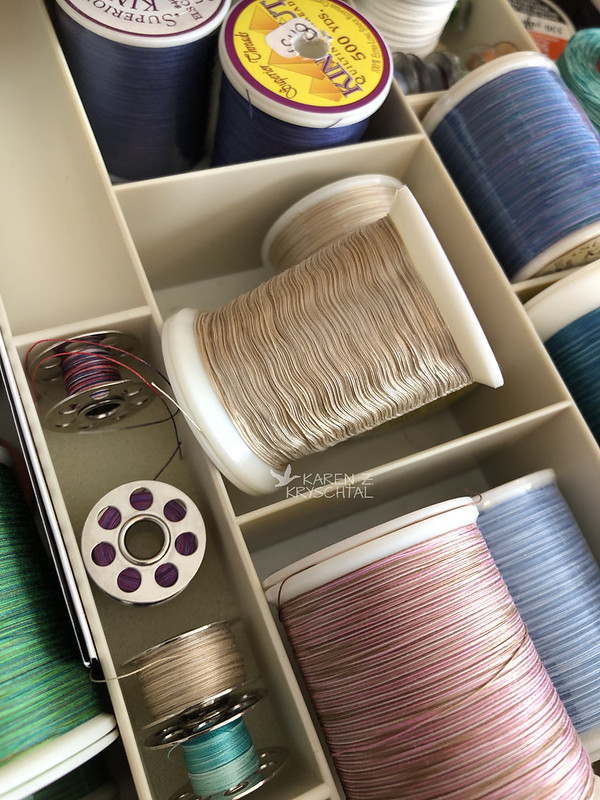
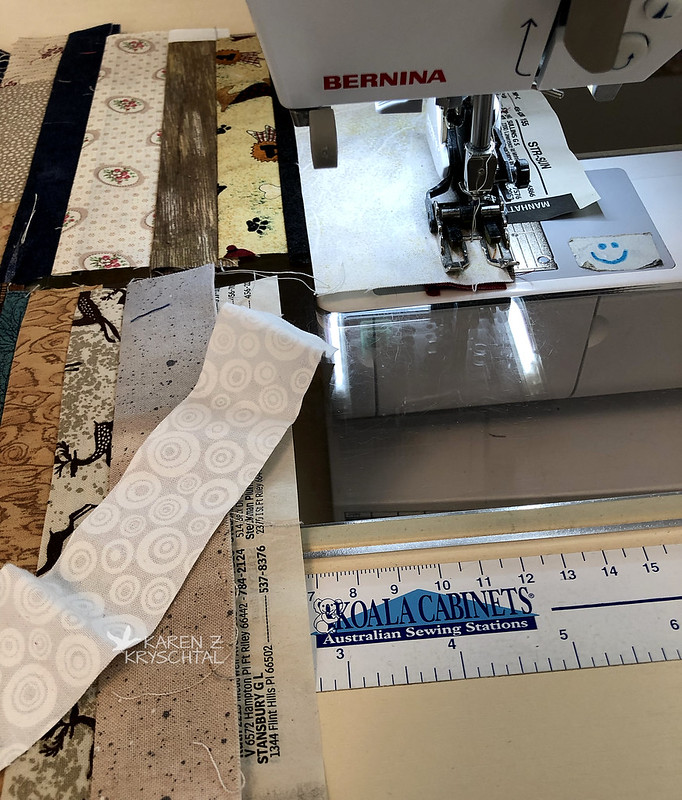
I'm quilting in King Tut 953 - Lobelia. It's LOVELY shades of blue:
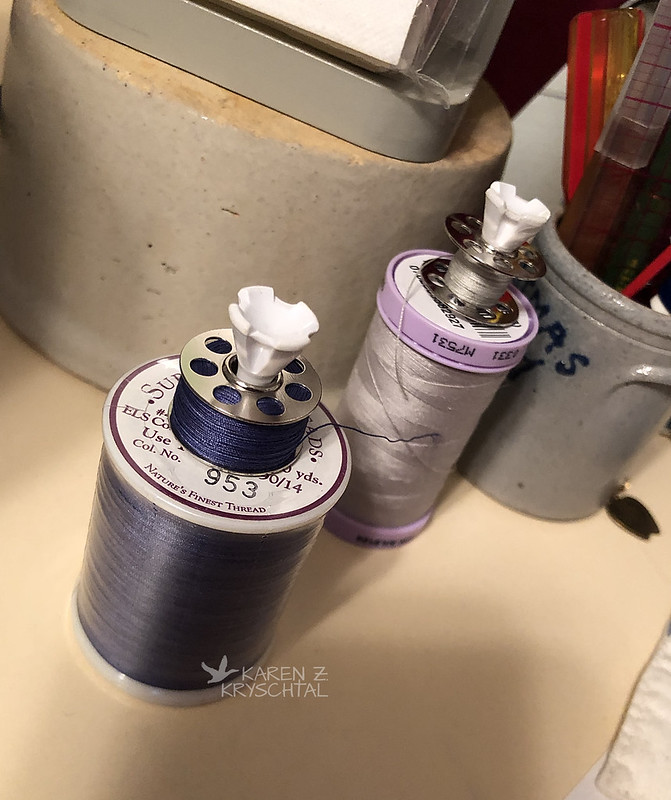
And above is my tip of the day - to help keep bobbins with the right threads -- use a golf tee! Very handy.
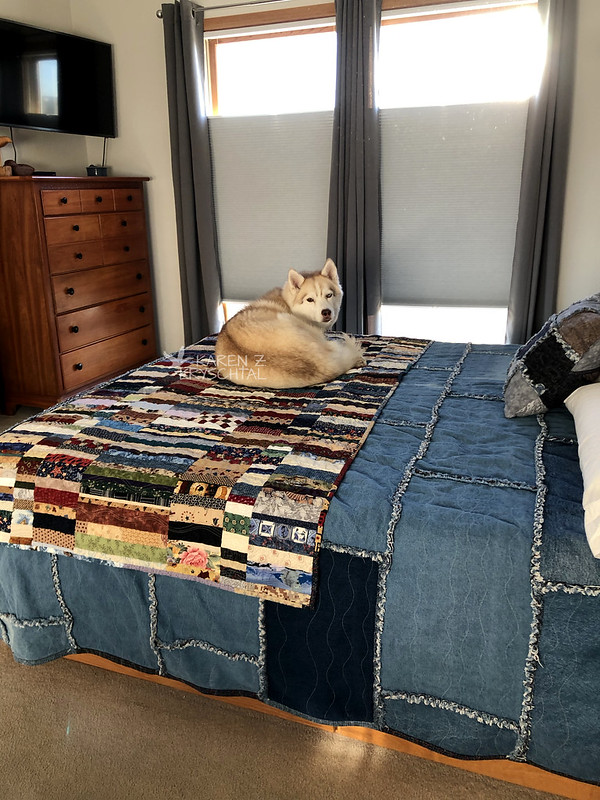
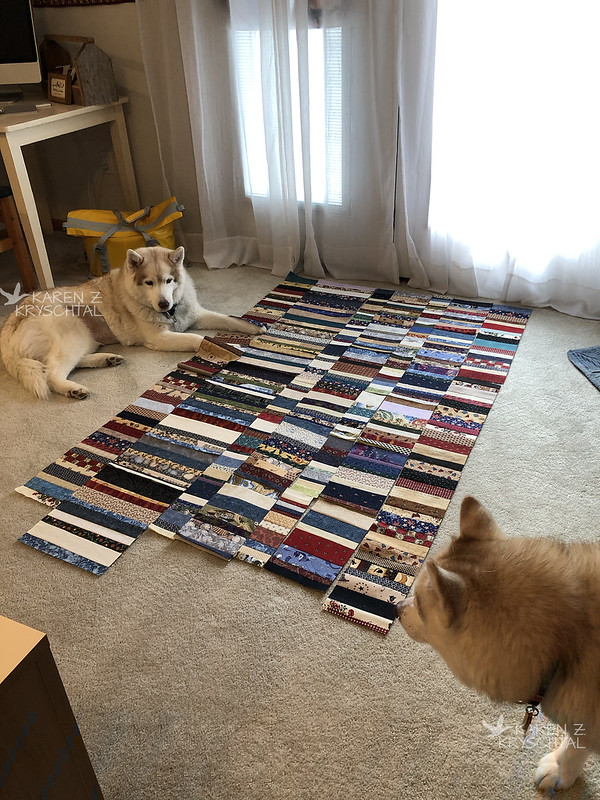
The girls have been very helpful in the process. They keep me relaxed and laughing, and are great company!
Thanks so much for reading!