Monday, November 26, 2018

YAY!!!

Guess what I finally finished?!?!

IMG_5542WonkyArmyStar
TA-DA!!!

That's right - I finally finished the Wonky Army Star quilt!  Actually, this was over a week ago, but I slacked off blogging again.  Sorry.

Here's a look at the back:

IMG_5544WonkyArmyStarBack
Digital desert camo, plus a strip of Star Spangled Banner fab for good measure

It may have taken over 5 years, but I got back to it and BOOM!  Done.  It feels wonderful!

I pieced my binding, of course:

IMG_5546WonkyArmyStarBinding
Binding shot!

This will hang in my husband's study eventually.  He wants to do a little rearranging first.  I think it will look perfect in there!

Thanks for reading!

Monday, November 19, 2018

The Tedious Parts

Hi everyone!  I must confess, there are parts of the quilting process I find a bit tedious. I actually used to love doing the hand-sewing part of the binding.  It's a bit slow, but I loved it.

IMG_5535Binding
Rounding the second corner on the Wonky Army Stars quilt!

I still love it in the "it means I'm almost done" sense, but ... let's just say I'm thankful for the Audible app on my iPhone. (Zzz...)

One of the other somewhat less than exciting stages that I swore I wouldn't get myself into again is removing all the paper from doing a massive paper foundation piecing project.

IMG_5510PaperRemoval

As incentive to stick with both of these tasks, I've allowed myself to switch back and forth freely ... and I just might be testing out a block I'm going to be doing with a friend after Christmas. I have to be prepared, right?

For removing the paper, I use all sorts of tools (other than my fingers). Here are my favorites at the moment:

IMG_5509PaperRemovalTools

In front, a curved hemostat clamp -- excellent for reaching into corners!  In the rear, a small flat-headed screwdriver -- great for holding down stitching while pulling up on the edge of the paper.  I always MEAN to make my stitches smaller on paper foundation quilts, but I usually forget.  Using the screwdriver is helpful in avoiding undoing stitches.

Other than my Audible books, I have plenty of help/entertainment in the Studio. It's mighty hard to be bored with anything with my two Siberians around.

Thanks for reading!

Friday, November 16, 2018

I'm On A Roll

Hi, everyone!  Great, productive day in the Studio yesterday afternoon - all brought to you by make-ahead freezer meals.  I love cooking ahead!  Anyway ...

I started sewing the long columns together on my scrap quilt:

IMG_5489ScrapQuilt

Yes, I used a combo of both pins and those cute clips to hold things together; I need to buy more clips eventually.

Anyway, then more columns to columns:

IMG_5490ScrapQuilt

You may notice some parts of the phone book pages have torn away -- that's just fine! I'm eventually going to have to remove it all anyway, so yay!

Then I put even more together:

IMG_5491ScrapQuilt

Though that looks like a mess, it's "organized chaos". I love having a large table leaf on the far side of my machine, where the quilt has plenty of room to spread out. I still don't know the best method of coping with everything in front of me. ??? Anyone?

Shortly before it was time to serve up my Korean Beef Sloppy Joes (I'll definitely be making those again!), I had the top pieced and trimmed up!

IMG_5492ScrapQuilt

Now to remove all the paper, give it a good pressing, then advance to the quilting stage! ... and to plan my next scrap quilt.  LOL.

Thanks for reading!

Thursday, November 15, 2018

Phone Book Quilt

Hi, everyone!  I'm still sewing the binding on my Wonky Army Stars -- a little each time I hit the Studio.  I'm also still working on my "phone book" quilt.  As I explained in my last post, you cut pages from phone books and use them as foundation papers for (in this case) scrap quilts.

IMG_5459PiecingScrapQuilt

Just line the strips up and sew.  Sewing to the paper helps stabilize everything.  No measuring, just grab from those scrap baskets and GO!

After each page is covered, trim everything up to the size of the papers.  I've got three different widths going, just to keep things interesting.  I was inspired by the quilt at this link.  Oh.  And somehow I had some strippy rows just laying around that were rejected from another project - so I'm throwing them into the mix.

I started sewing block to block:

IMG_5404PiecingScrapQuilt

... then laid everything out to see how I was doing.

IMG_5402CamMagsScrapQuilt

The girls were a big help!  (Maggie has learned to "go around".  They are both so incredibly well-behaved!)

I thought we needed a more length.  This will be an "end of the bed" topper quilt -- sort of decorative, sort of "keep the feet warm".

IMG_5405Clip

I finally broke down and bought some of those little clips.  They are WONDERFUL for things like this!

Here's what I've got:

IMG_5460ScrapQuiltLayout

I think that's perfect -- I'll trim those extras off and will probably use them on the back.  I liked the layout, but didn't want to leave it all on the floor, so I marked the rows:

IMG_5462BreadTagRowMarkers

... then gathered the long columns up and put them on my sewing table.  (I save the bread tag thingies and use them as row markers.)

Today, my goal is to get the whole top pieced together.  As you can see, I used a LOT of my scraps -- but somehow the baskets are still very full.  How does this happen?!?  More scrap projects to come.

Thanks for reading!

Sunday, November 11, 2018

Getting All Wonky

Hi everyone!  Sorry I dropped off for a bit there; it's been a busy time here.  The remodel is (mostly) done, so there has been a lot of cleaning, putting away, cleaning, reorganizing, cleaning, culling of junk, and cleaning.  Did I mention cleaning?  How does drywall dust get into EVERYthing?!?  Anyway ... I have been doing some quilting - for my sanity, really.

So ... back in 
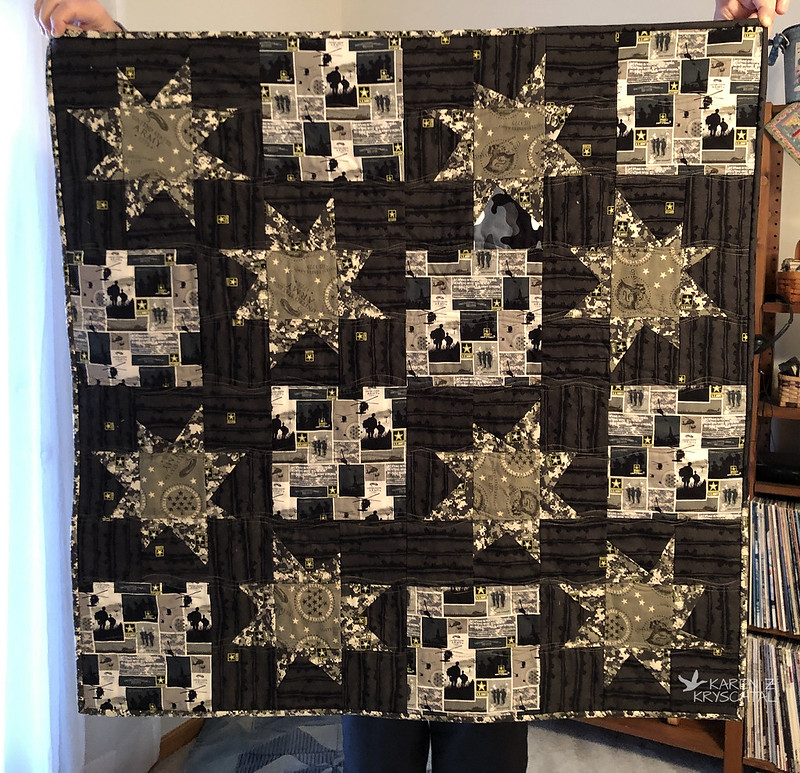
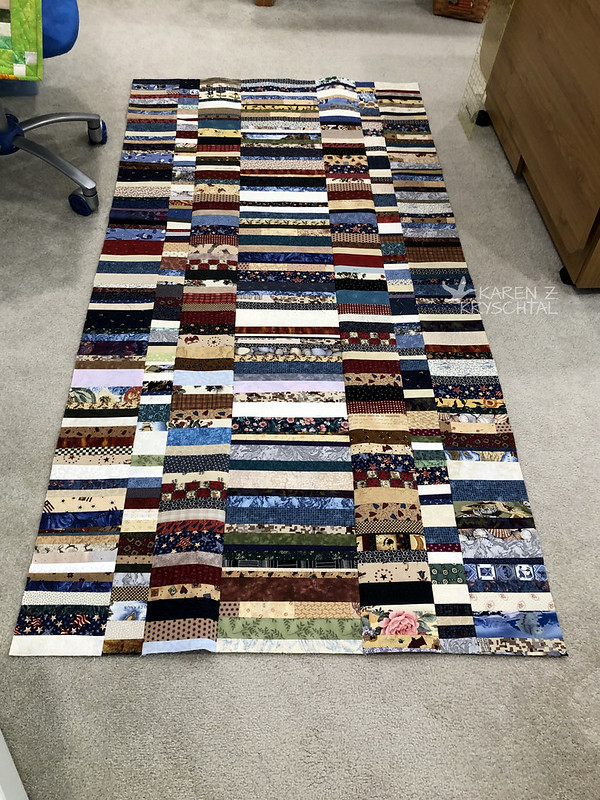
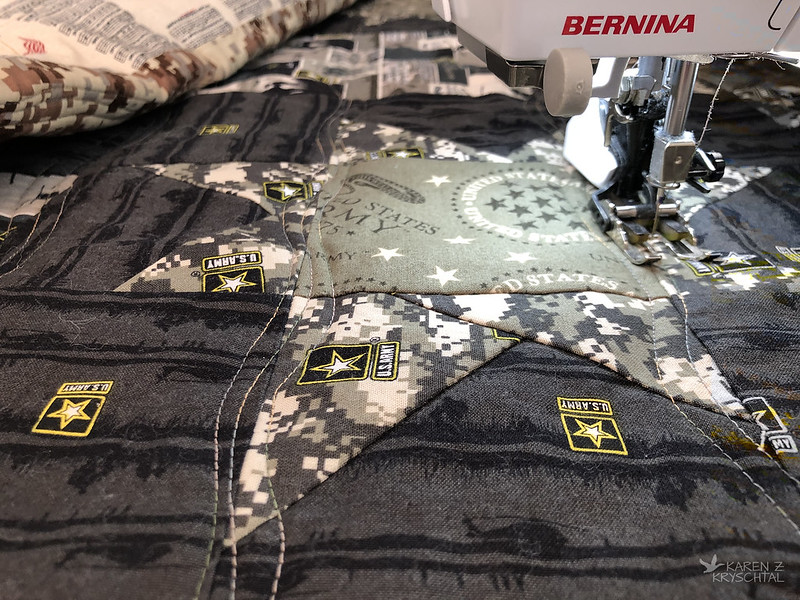
January of 2012 (don't judge, please!) I started a wall-hanging for my husband -- Wonky Army Stars.  I finished piecing it back then and ... proceeded to set it aside.  Then came the 5-year gap.  What can I say?  I finally quilted it a week or so ago!!!

IMG_4936WonkyArmyStarQuilting

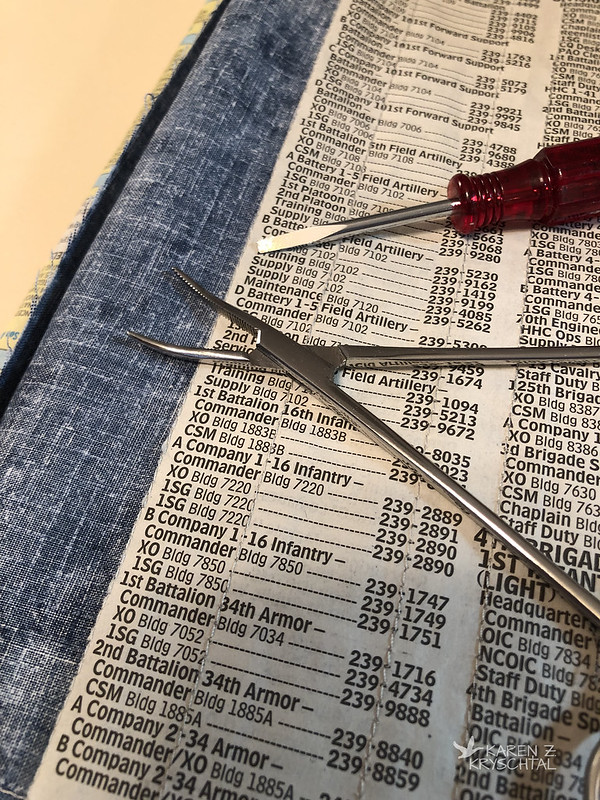
I used a variegated thread from King Tut - sort of sand colors, with some greenish tones in there.  Just perfect.  My Guide Dog for the Color Blind had helped me choose it, God rest his sweet soul.

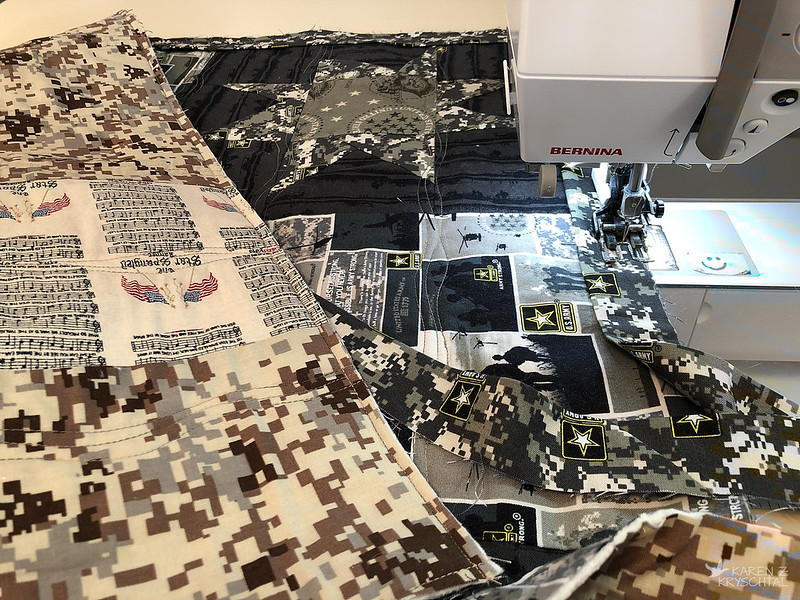
I stuck to a simple "3 wavy lines" quilting motif that I made up as I went along.  It sort of echoed the lines in the black on black fab you can see there, with the helicopters on it.  I also chose it because, frankly, it was easy.  I had been WAY over-thinking and over-complicating it before I plunged in.

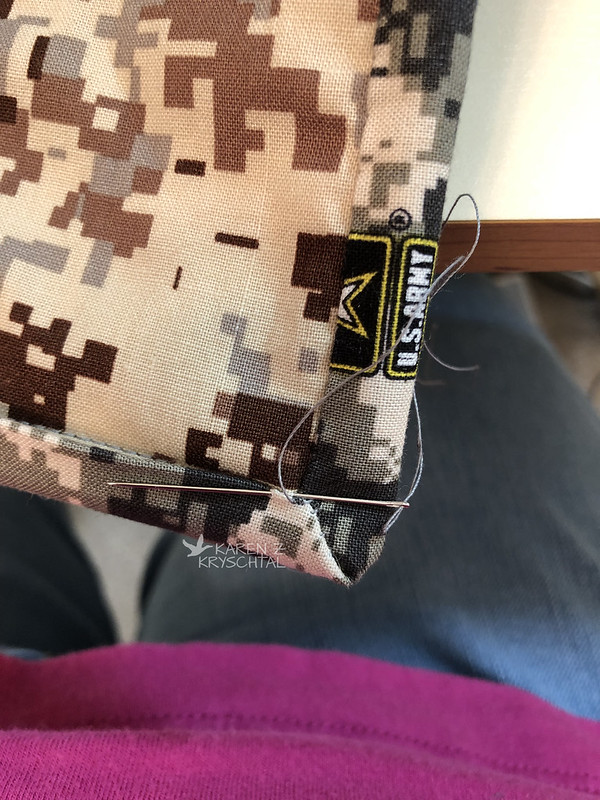
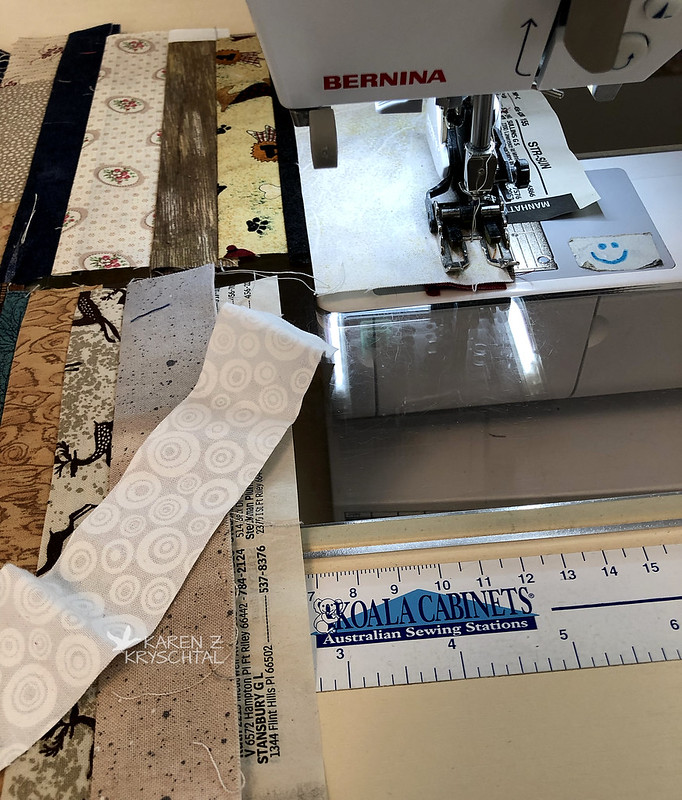
Here's a shot of me sewing the binding to the front:

IMG_4937WonkyArmyStarBinding

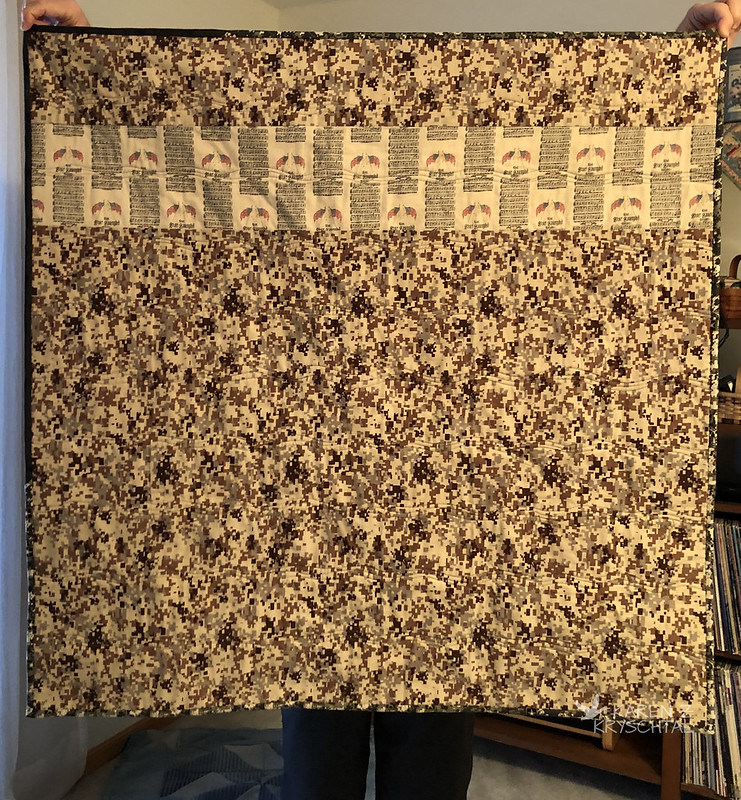
The back is pieced - I'll show it to you in full once I get the binding sewn to the back.  The hand sewing always goes a bit slower.

IMG_4938WonkyArmyStarBinding
Zzz...

It's coming along, however slowly.

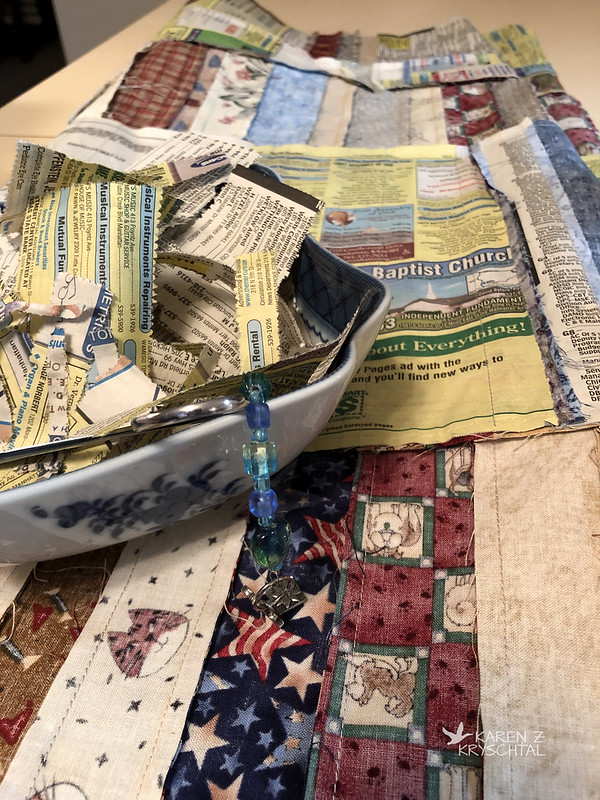
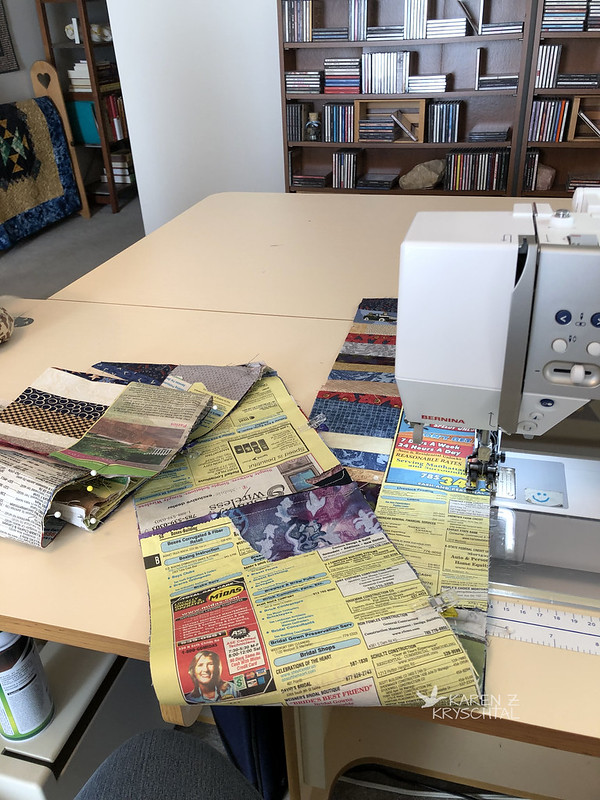
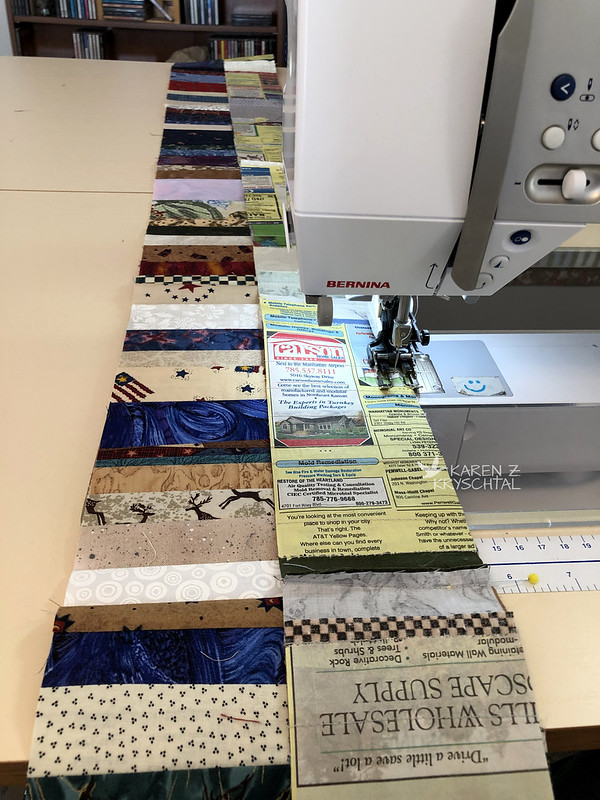
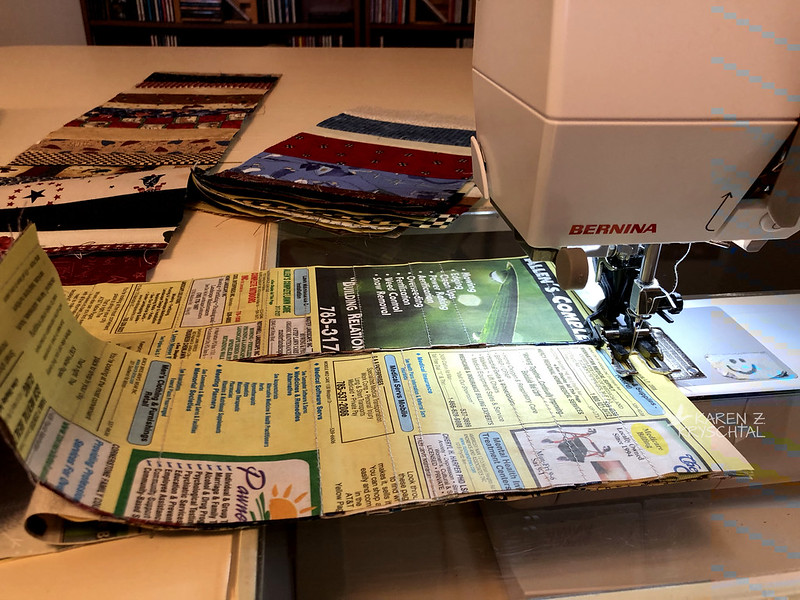
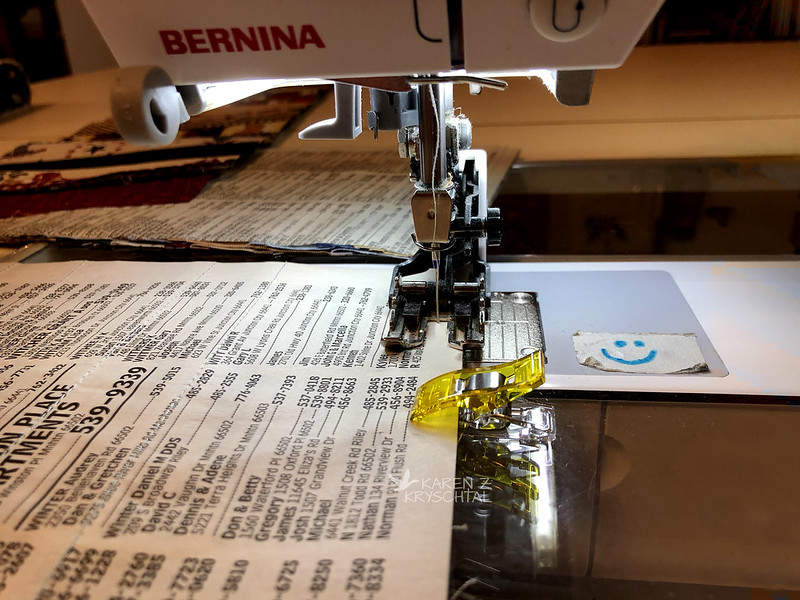
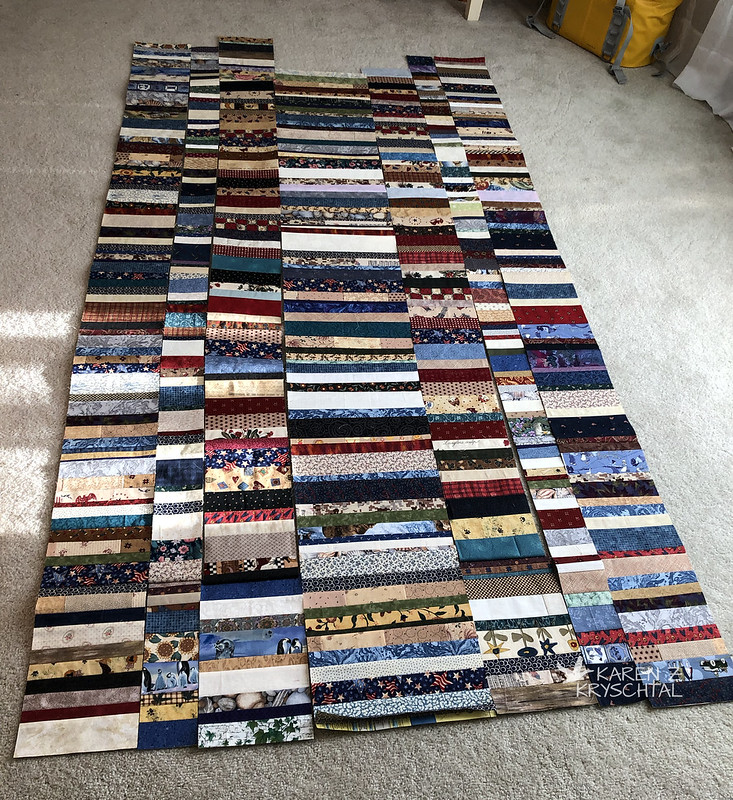
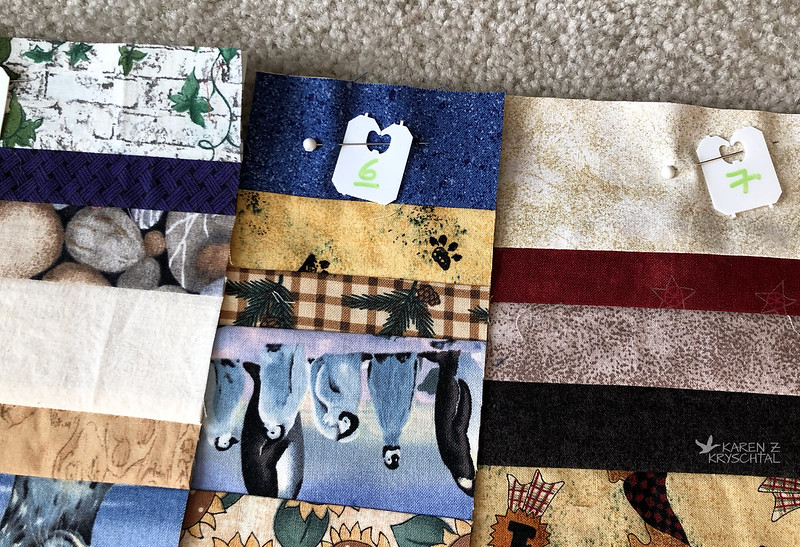
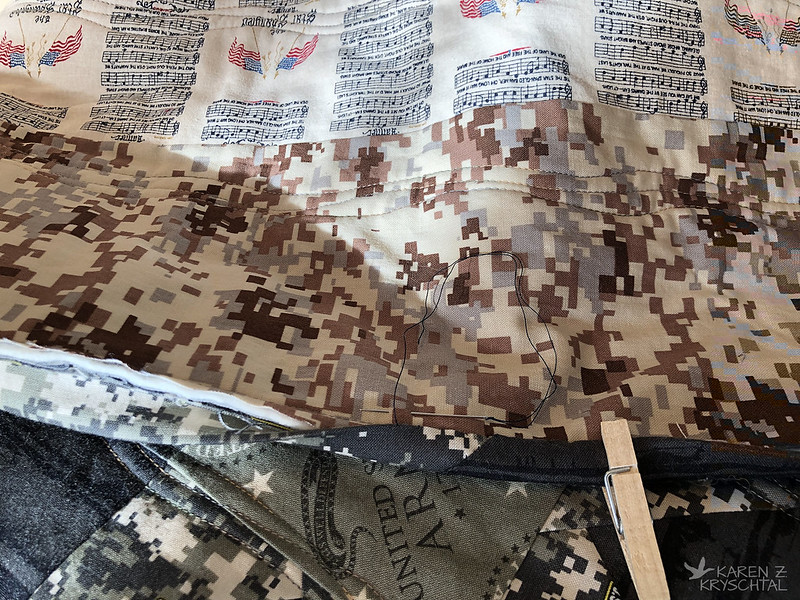
In the meantime, and when I have to rest my hands, I have another scrap-buster going.  I WILL deplete my baskets of strips!  I WILL!!!  I'm using the method I 
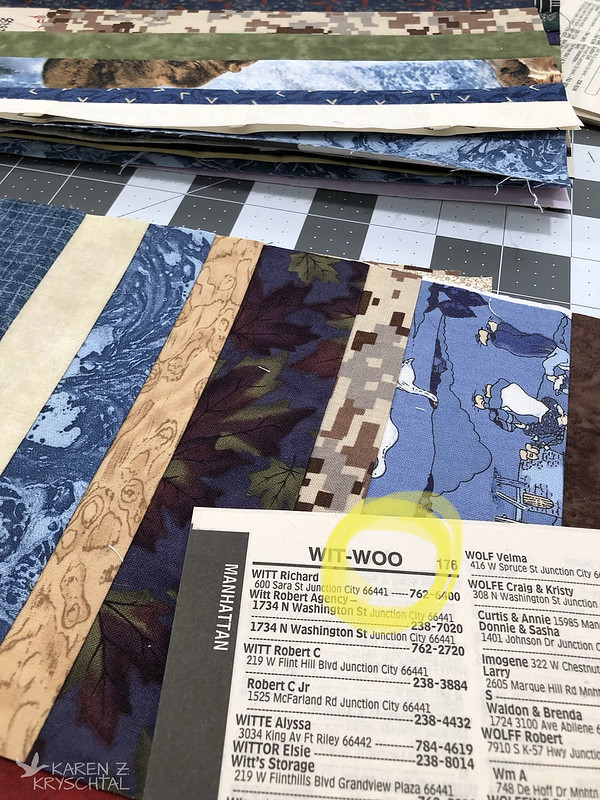
used once before - sewing the scraps to phone book pages, as a form of paper foundation piecing.  I'll show you the blocks I've got soon, but in the interim, this happened 
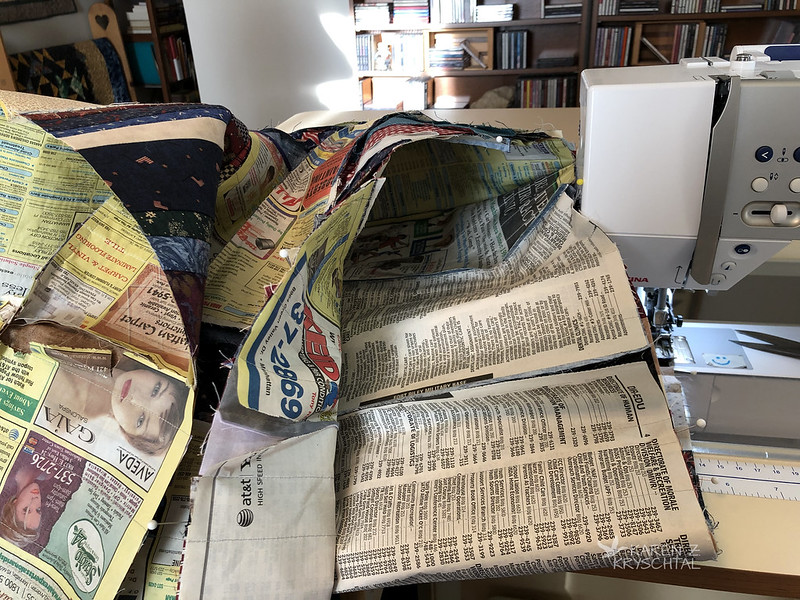
the last time I used phone books and it happened again:

IMG_5241FoundationPiecingWoo
"Woo!"

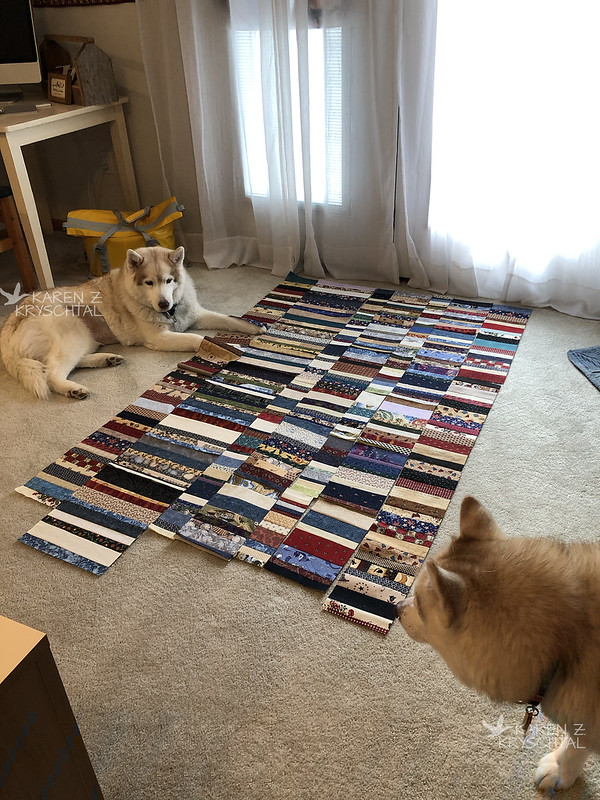
I can't help it.  When you live with Siberian Huskies like I do, things like this crack you up!  (I did put a sneak peek on the Army of Four Digest!). 

I'll be back soon with an update on the scrap-buster and the Wonky Army Star quilt.

Thanks for reading!