Saturday, December 28, 2019

Not Tea Cups

Hi, everyone!  I didn't mean to take so long between posts, but things have been mighty busy here - plus a trip out of town and Christmas!  Anyway ...

I love watching quilting videos on You Tube while I'm on the treadmill - especially ones by Missouri Star Quilt Company.  I watched one by Hillary (Jenny's daughter) called The Tea Cup Quilt and was fascinated by it.  It didn't look like tea cups to me, but I loved the sort of free-form squares and rectangles.  I knew I had to try it!

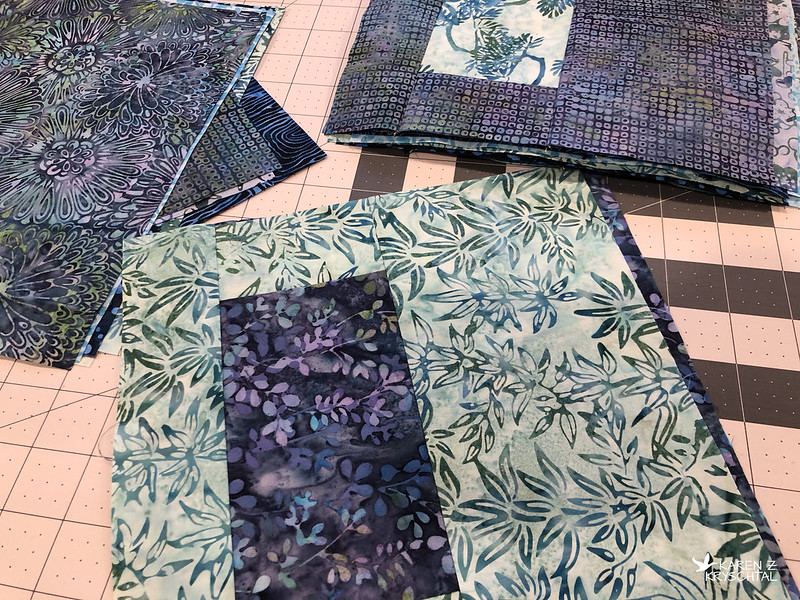
I cut into some batiks and before I knew it, I had a good number of blocks:

IMG_1399CurtainsBlocks

It was fun and they went together quickly!

IMG_1416CurtainsBlocks

And may I add, egads, I love these batiks!!!

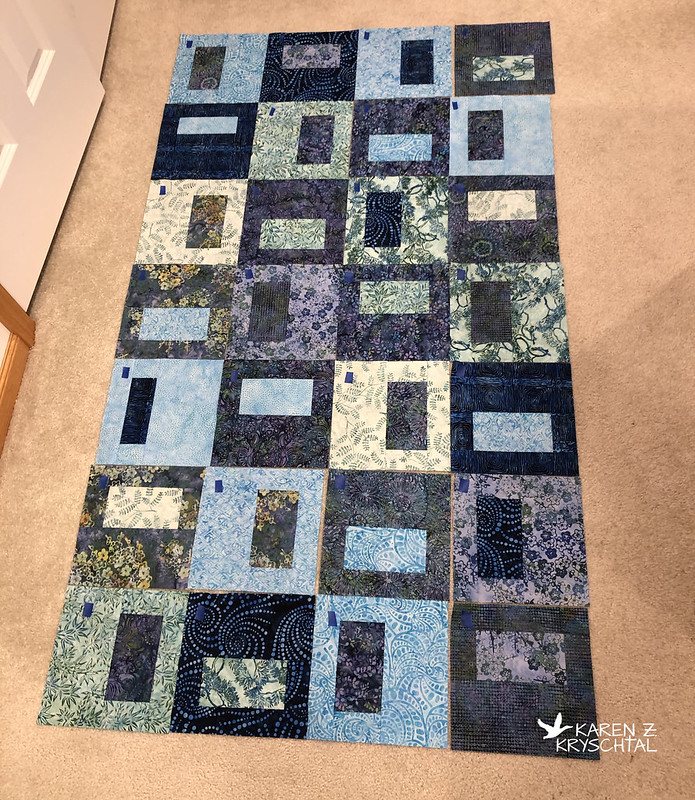
I came up with the layout I wanted ...

IMG_1428CurtainsBlocksLayout

... and had the top together before I knew it.  (The blue painters tape pieces were my row/column markers.). I auditioned a couple fabs for borders and came up with this:

IMG_1438CurtainsTopComplete

I'm very pleased with the overall look and feel of it!

IMG_1437CurtainsQuilt

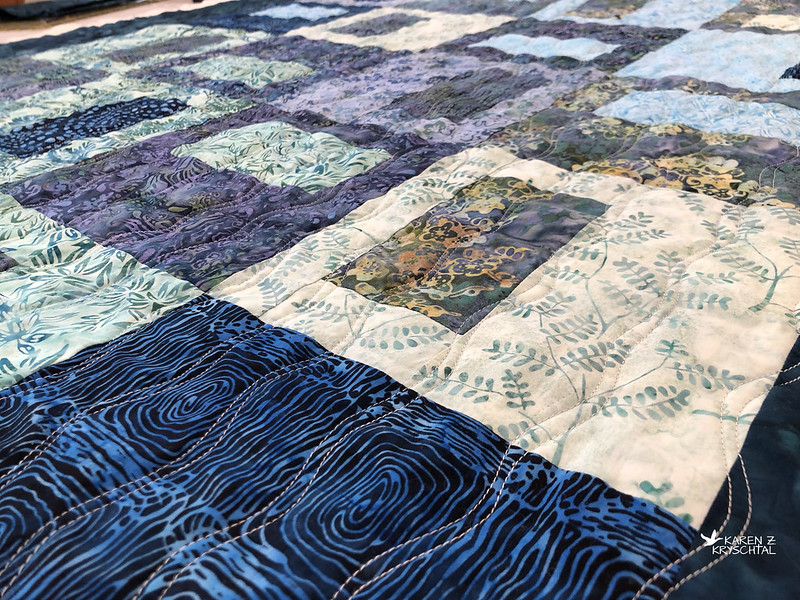
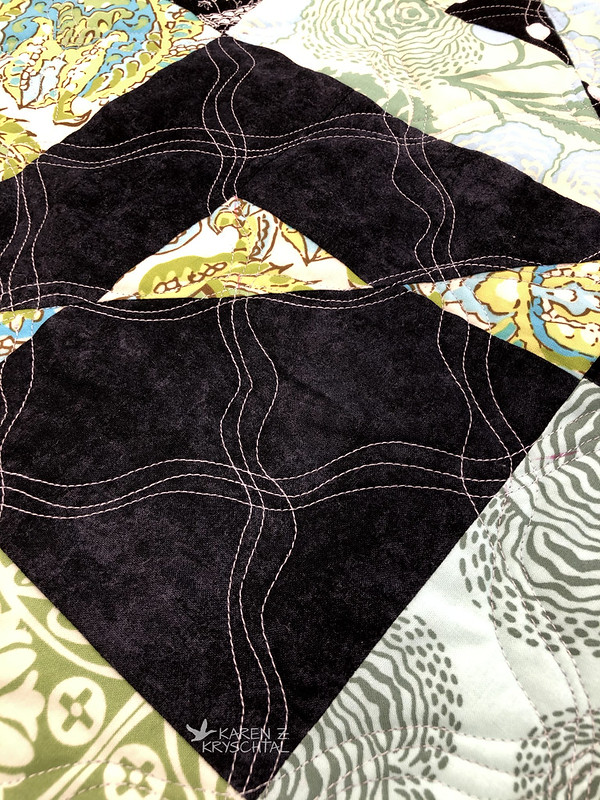
For the quilting, I did double wavy lines, running down the length of the quilt.

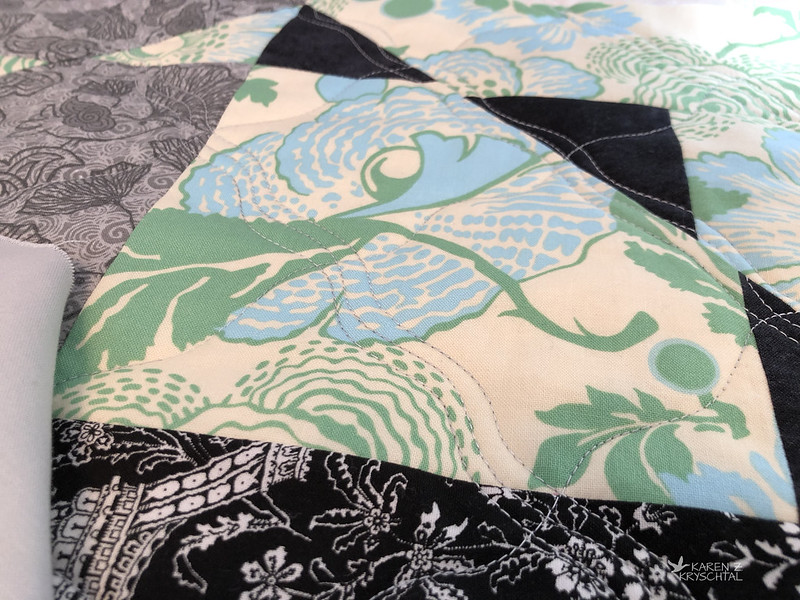
IMG_1648CurtainsQuiltDetail

The whole thing reminds me of rain, so the wavy lines seemed to be a good fit.

For the binding, I used lighter prints at the top and darker at the bottom:

IMG_1659CurtainsQuilt

That was before I had done the hand work.  Yes, I sewed it on by hand!

About the same time I was making this, my husband mentioned the new door-less shower and how, now that it was cold out, it gets super drafty in there - and did I have any ideas about what we could do?  Well ... YES!

IMG_1774CurtainsQuilt

The colors are perfect in there, the size is right, and the whole "looking like rain" thing sort of fits the shower.  I found a nice-looking tension bar and clips, so installation was super easy - and we can take it down when the weather warms back up.

Because it all looks rainy to me, the boxes sort of look like curtains in windows - so I'm calling this the Curtains Quilt.  I'm not sure that's perfect, but it's good enough!

Fun tutorial, fun quilt to make, and it was awesome working with those batiks!

Thanks for reading!
KZK

Friday, December 13, 2019

Ferris Wheel

I'm blaming starting yet another project on some of my quilting friends.  Ha!  They had been discussing English Paper Piecing (EPP).  It's a technique I've used before and really enjoyed the process.  Basically, you have paper or cardboard shapes, secure your fabric around that, hand sew the fabric pieces together, then remove the papers.  Here's a much better explanation - click here, please!

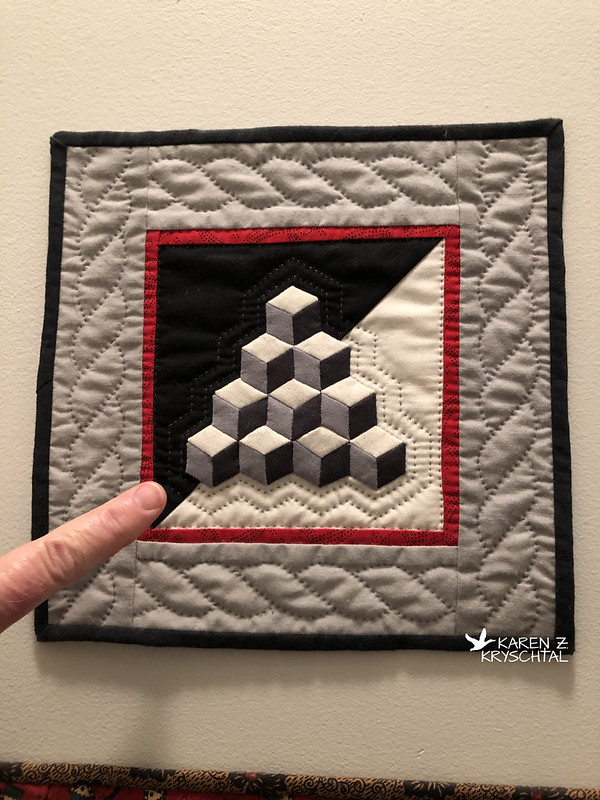
My other projects were miniatures - hand pieced, hand quilted.  The first one was a Hexagon Quilt, made in August of 2000, using Civil War reproduction fabrics:

IMG_1231HexagonQuilt

My finger is for size reference in these.

In December of that year, I pieced this one:

IMG_1234VotingBlocksMini

I called it "Voting Blocks", as I made it during the election period.

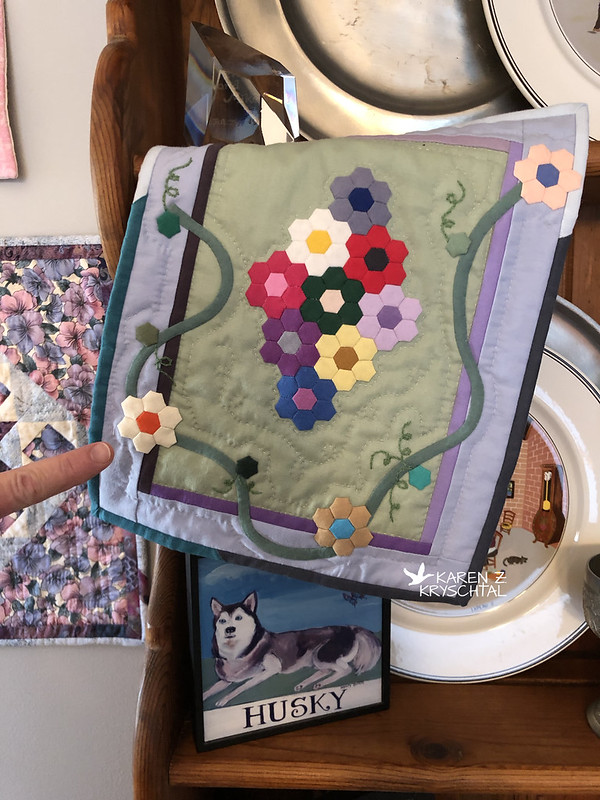
Next up, a combo of some EPP, a little appliqué, and a touch of embroidery:

IMG_1233GrandmothersTinyFlowerGarden

I called that one Grandmother's Tiny Flower Garden - made in 2007.

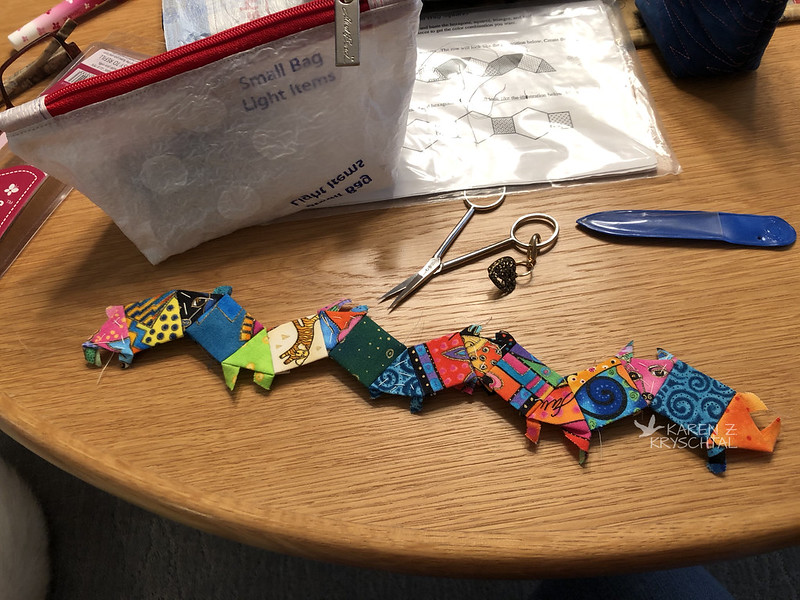
ANYWAY, I remember enjoying the process, so I thought I'd start another! That would explain ...

IMG_1223FerrisWheelEPP

What a mess.

I had a pattern pack of pre-made templates for a quilt called Ferris Wheel, so I thought I'd give that a whirl.

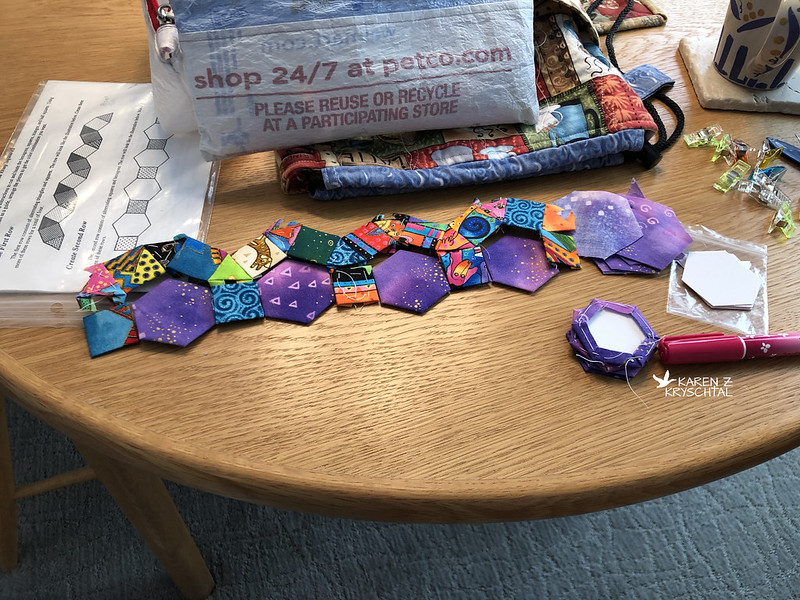
I've watched a lot of YouTube vids about EPP and the current trend is to use glue rather than stitching your fabric to the templates. That sounded a lot easier and faster!  My pieces are about half and half - some stitched, some glued. All I had to start was a glue stick, and I was a bit concerned about the template removal process.

The pattern I'm following calls for sewing your shapes into long strips ...

IMG_1348FerrisWheelRow

... two different kinds of strip sets ...

IMG_1355FerrisWheelRows

... then joining those strips together:

IMG_1503FerrisWheelRowsTogether

That's as far as I've gotten. (I even exhausted Maggie, as you can see!) The big difference between this one and the others is that there are three different shapes.  The hexagons are pleasant enough, and the squares are OK, but YIKES, those triangles are insane to deal with!  What was I thinking?!?

Anyway, I'll have time to get back to hand work coming up, so I will continue to march on it.

Oh!  And I found a "quilter's glue stick" that is recommended by some of the EPP experts.  I got mine from Amazon - you can see it here.  Very handy and much neater to work with than my old glue stick.

That's it for now!  Thanks for reading!
KZK
Thursday, December 12, 2019

Kaleidoscope

I know!  It's been way too long!  I've been doing a lot of quilting, just not taking the time to update the blog.  I thought I'd make an attempt to get caught up starting today.

Remember the Not Kira quilt I pieced back in August?  I quilted it back in October.  Let's take a look at the process!

I wasn't sure what I was going to do at first, then went with wavy lines.

IMG_1178KaleidescopeDetail

I love wavy lines.  I used Canaan, by King Tut.  Lovely shades of silvery, light grey!

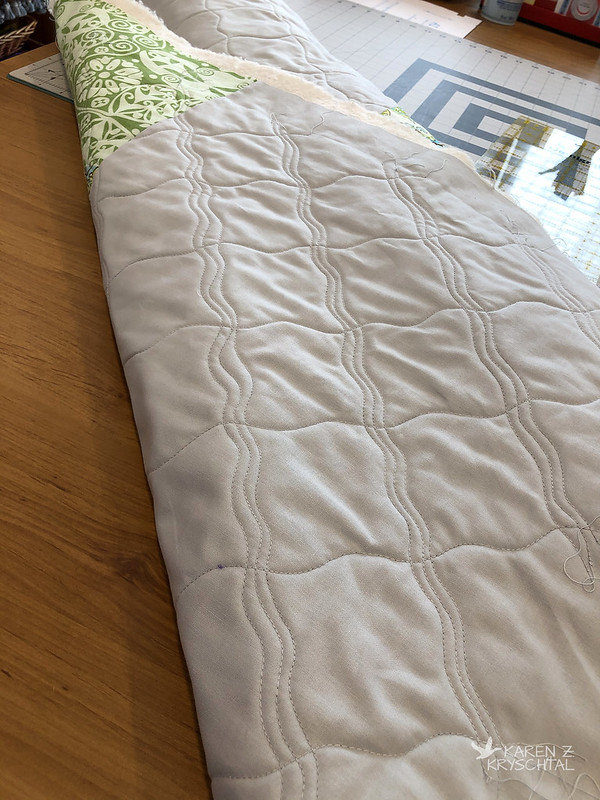
I thought I'd do groups of three one way and one lone wave doing a criss-cross. You can see that better on the reverse side:

IMG_1184KaleidescopeBackQuilting

The more I looked at it, though, the more I wanted MORE.

IMG_1195KaleidescopeQuilting

I knuckled down, tried to be patient with myself, and did a three-line wavy pattern, both ways:

IMG_1201KaleidescopeDetail

I was so much happier!

Speaking of happier, I also realized that yes, for some projects I really like the "all machine bound" option - especially for things that will be laundered frequently. But for this? No. I really knew I'd be happier doing the binding by hand. I sewed the front on by machine of course ...

IMG_1342KaleidescopeBinding

... and now I'm slowly but surely sewing it to the back by hand.

Also, at the suggestion of a friend (thanks, Cindy!) I have renamed "Not Kira" to "Kaleidoscope"! I think it's a good fit! Full photos upon completion!

Thanks for reading!
KZK