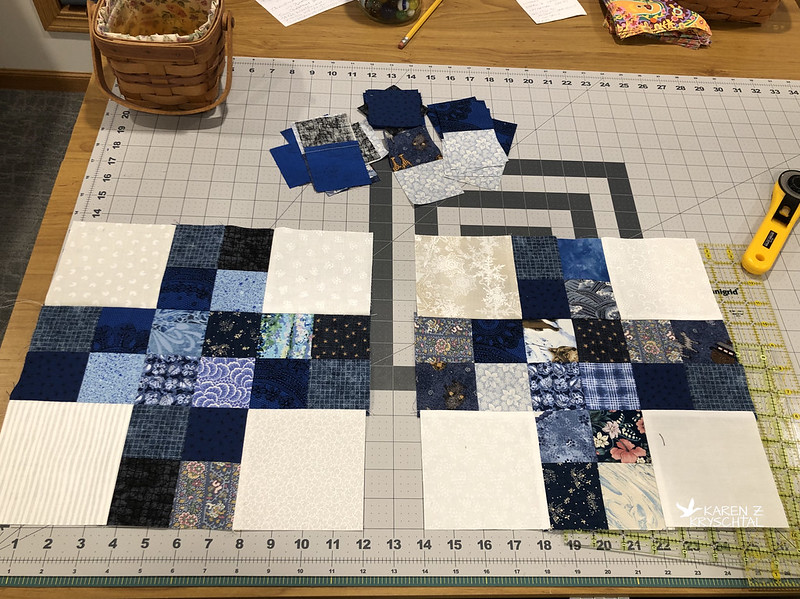
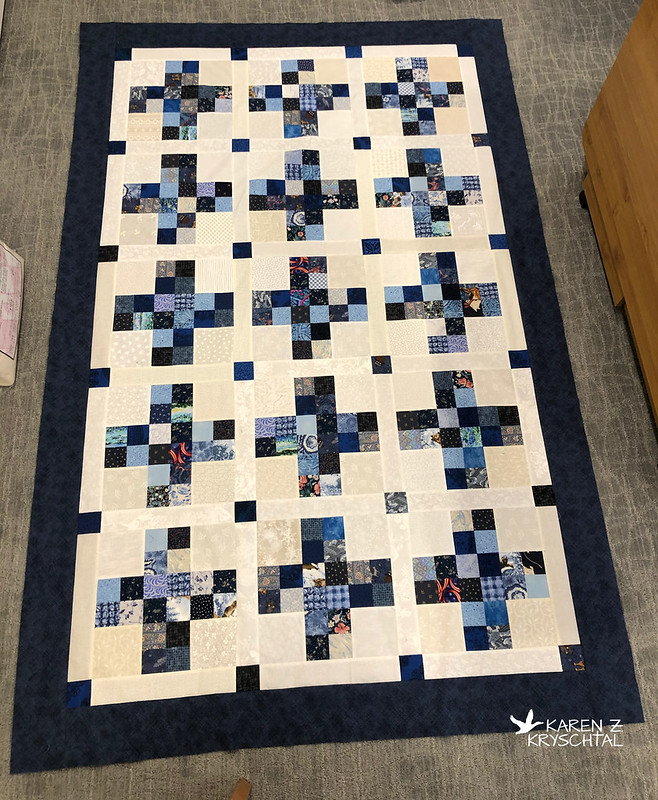
I had a great idea to make a couple bags out of recycled denim. As I started, I quickly remembered how challenging it can be to work with denim -- it can get wonky AND man, there is a lot of bulk to deal with! I thought I could tough it out, but I was stressing. If I'm doing something for myself or for someone I know will appreciate my efforts, I'm all in. But ... that just wasn't the case. I decided to shift gears - and go on to Plan B.
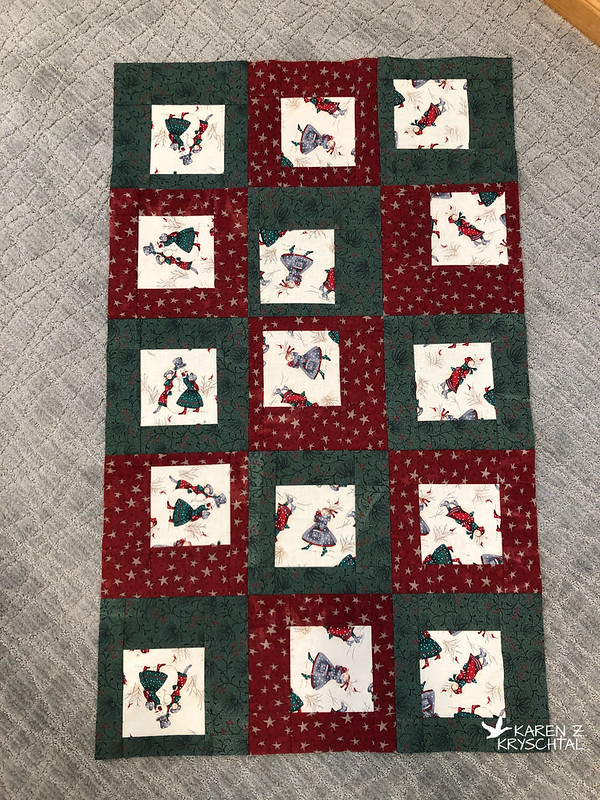
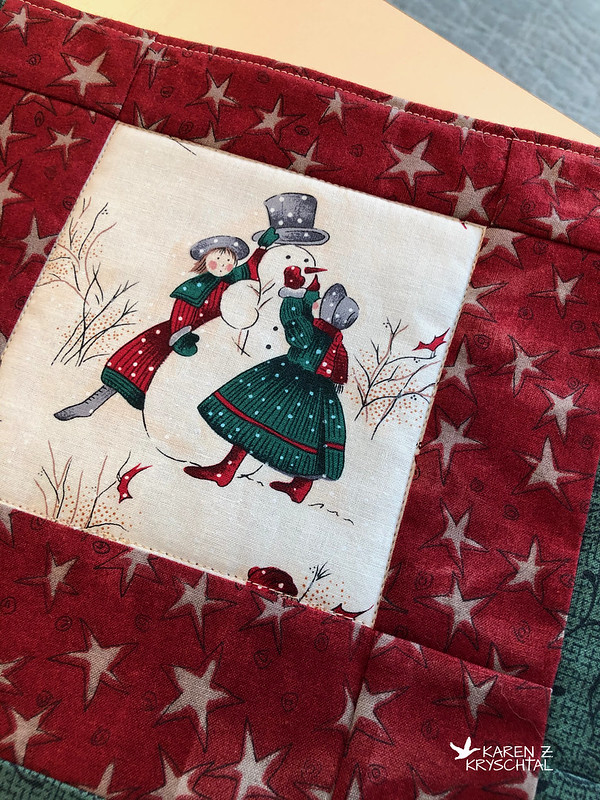
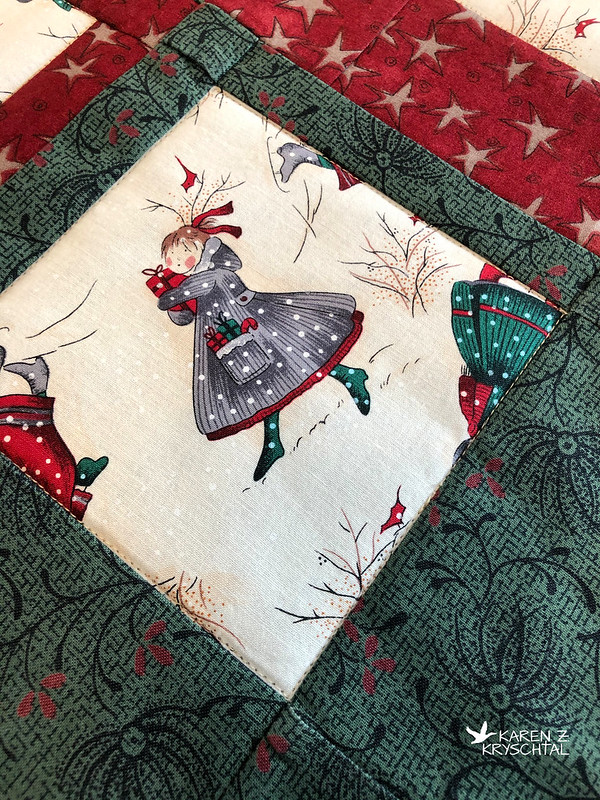
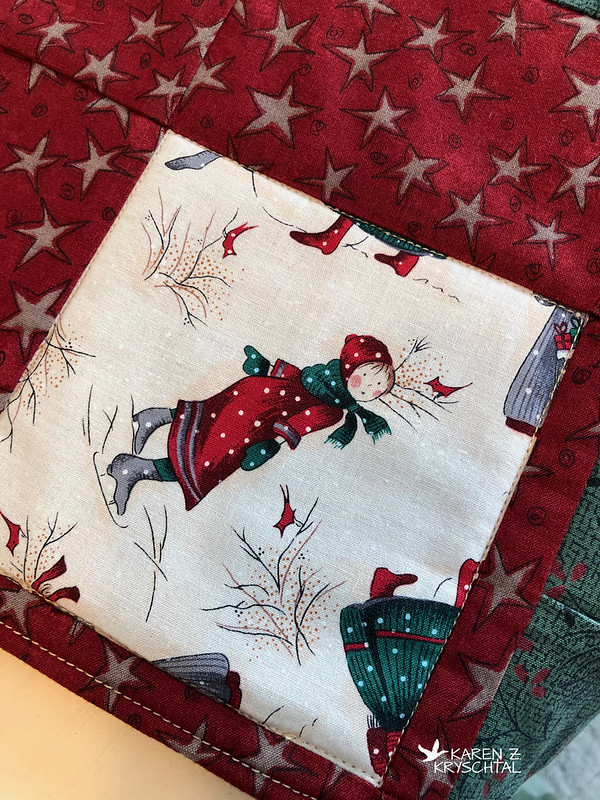
Plan B is to just make it however I wanted to and to keep it to use myself. I was so much more relaxed! I used a gorgeous Jason Yenter fabric for the lining and pockets. Take a look:
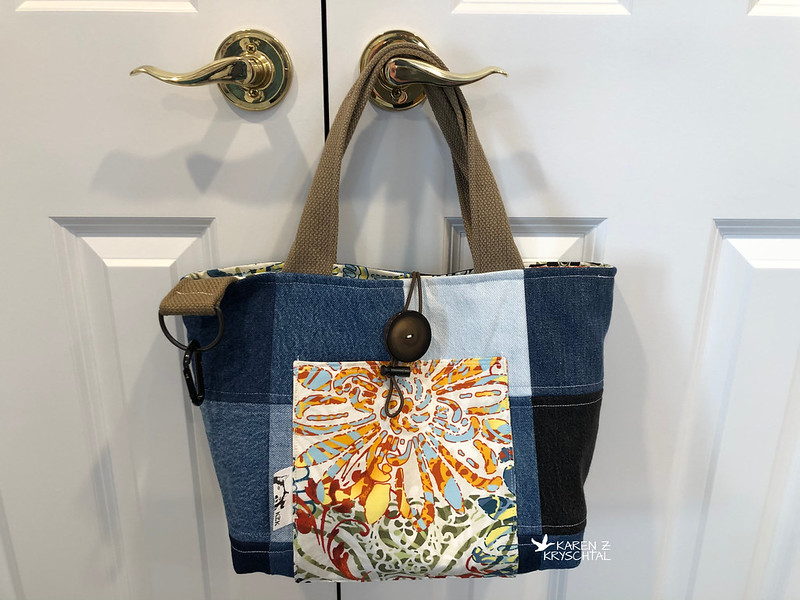
I did a button and loop closure. The loop is elastic (from discarded jacket or something ... I can't remember) with a little cord lock on it. I can cinch it tight when there isn't much in the bag, then let it out if I'm toting around a lot of "stuff"!
The handles are cotton webbing - they used to be an old belt. I also attached a D-ring using the same webbing/belt, and put a small carabiner clip on it. It can either hang outside of the tote or inside. It is SO HANDY for my key fob! I always get to wherever I'm driving to, then have to dig around in my bag for my fob so I can lock my vehicle. "I know I have it with me or the vehicle wouldn't have started ..." So convenient!!
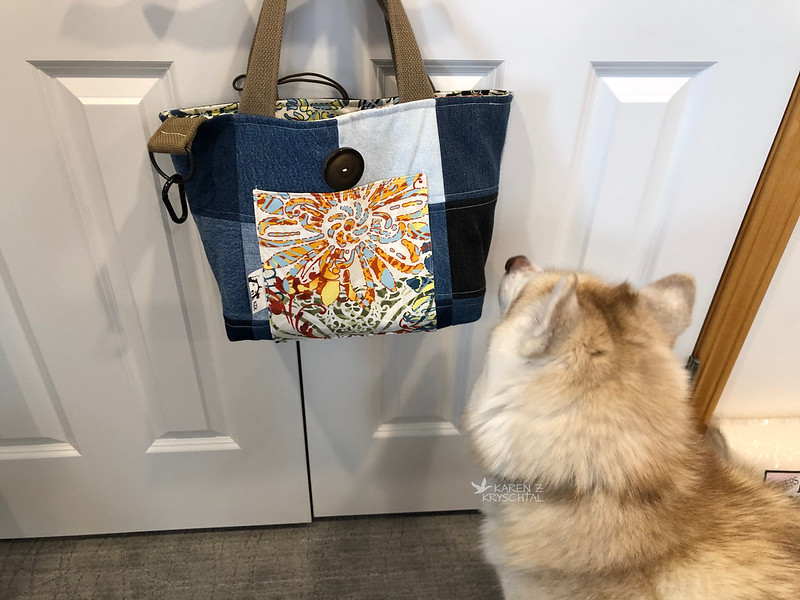
For whatever reason, Maggie is fascinated with this tote.
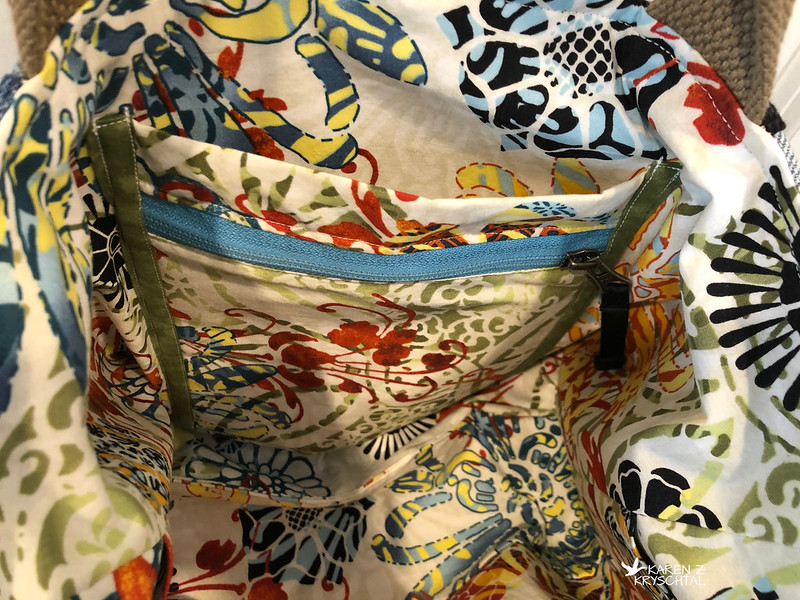
Let's take a look inside:

There is a huge divided pocket on one side, and on the other, a zippered pocket, with a pocket behind that. The zip was saved from a discarded windbreaker. I've used other zips from that jacket in other projects -- like the Persimmon Dumpling Pouch I made for my mom. Here's a closer look at the zip pocket:
And the reverse side of the bag:
Yes, that's Maggie's ear. ❤
I did just some simple quilting on the outside - more like topstitching to make those bulky seams lay a bit flatter.
The tote opens so nice and wide, so you can find everything:

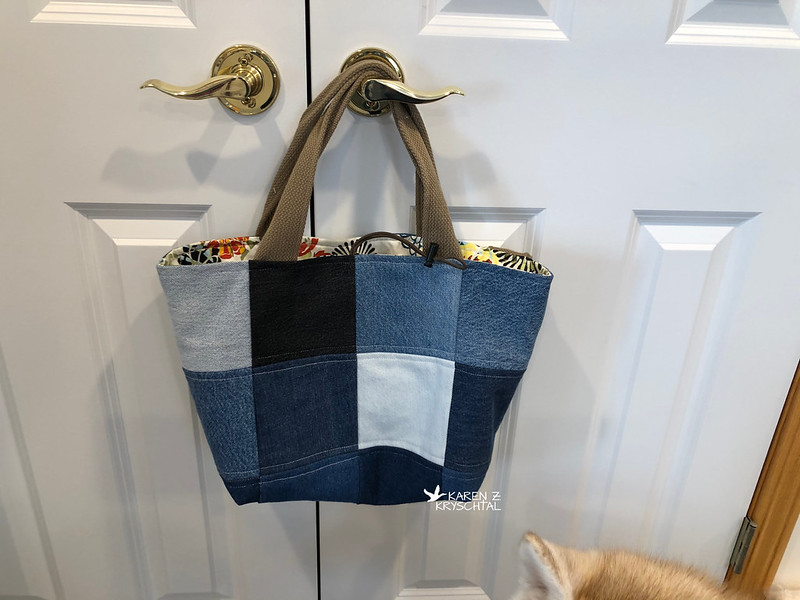
And of course, because I didn't ask her to, when I set the bag on the floor to get one more shot ...

Thank you, Maggie. (Honestly, what a doll!)
That's it for now. A great recycling effort for the belt, the D-ring (also part of the belt), the denim, the elastic and cord lock, and the zip! And I have to say, this is one of my favorite bags! It holds a TON and I can still find everything!
Thanks for reading!
KZK