Friday, September 7, 2018

Homespun

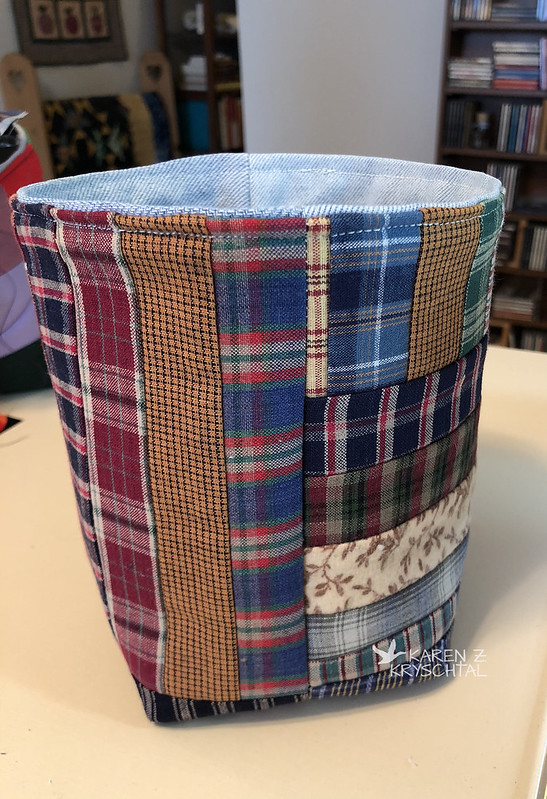
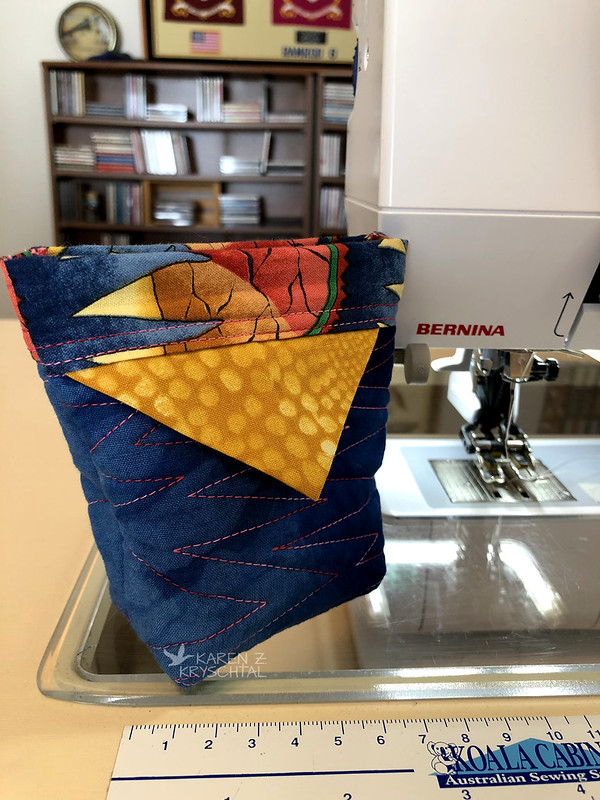
Hi readers!  The "bagets" are continuing to multiply in my Studio.  As I mentioned, I'm going with different themes now.  In digging through my scrap strip baskets, I found a lot of homespuns and decided I had more than enough for a small "baget".

IMG_3854HomespunBaget

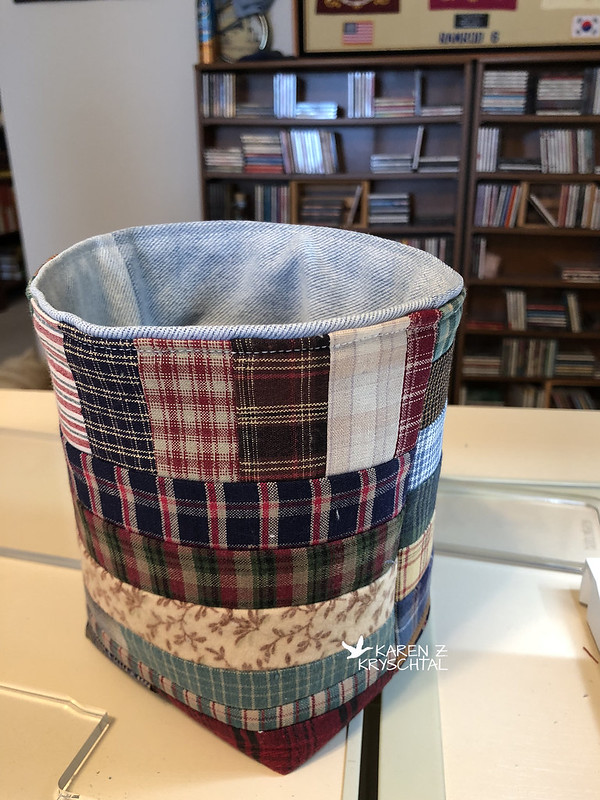
I also found that I had some strips pre-sewn, so I thought I'd work those in, too.

IMG_3853HomespunBaget

Why I had those small strips already sewn together, I could not say.  I also don't know why I had fusible fleece, but I had a hunk of that - so I used it for this project.  I'm working hard to gain some space back and use things I have on hand.

I lined with denim, which gave the "baget" even more stability -- and used some of the OODLES of denim I've accumulated.  I mean OODLES.  I see a denim bed-sized quilt in my future.  Let me first get through the remodel from %#&& first, so I can regain some sanity and have some uninterrupted Studio time.

As always, thank you for reading!


PS:  I'm fairly certain the tutorial at this link is the one I read several years ago and made everything sound so nice and easy.  It's well-written and is one that really made it all click for me!

Thursday, September 6, 2018

Holders

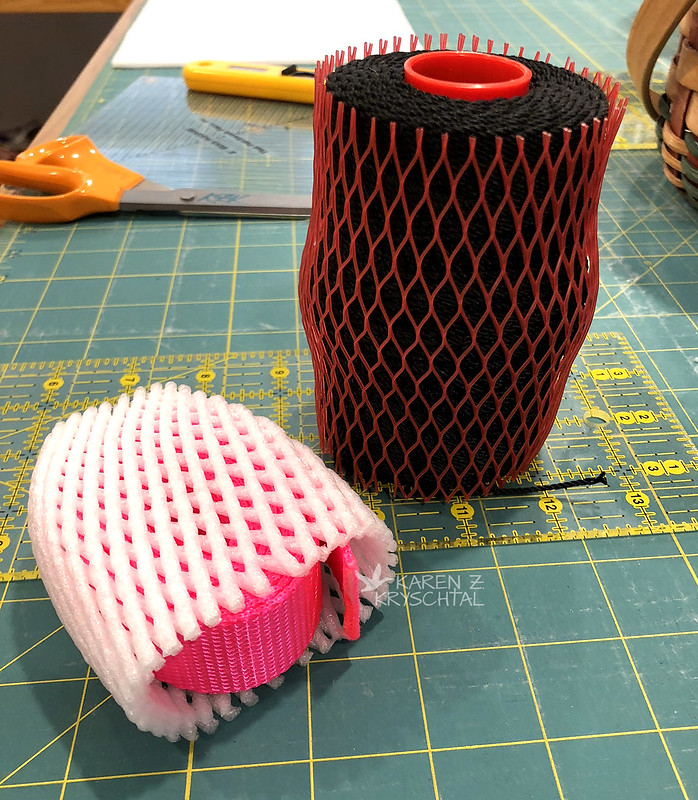
I'm not sure what to call them - holders?  Anyway, as I mentioned at the end of yesterday's post, the net-like thingies that the supermarkets use to protect some delicate fruits make really great "holders" for things in the Studio.

IMG_3836WebbingString

I especially like them for balls of twine and webbing.  It's hard to stick a pin in either, and tape can really make a mess.  I think the one around my hot pink webbing came wrapped around an Asian Pear - it's nice and padded!  Very handy and a great way to reuse them!

Thanks for reading!

Wednesday, September 5, 2018

Getting There!

I think getting there really is not just half the fun, but a whole lot of it.  I've been working on my "bagets" over the past few days, here and there, when I have time.  Now that I've started and have more or less of a plan, it's really relaxing!

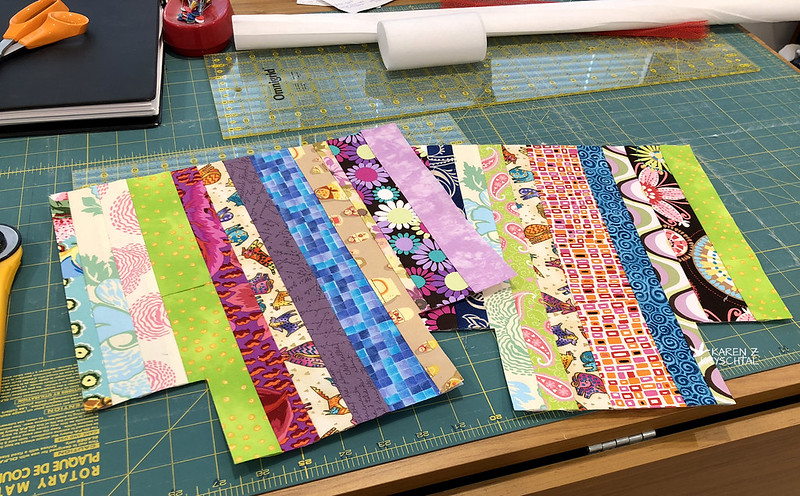
The "bagets" have been multiplying.  Here are some outside panels for 11 3/4" ones:
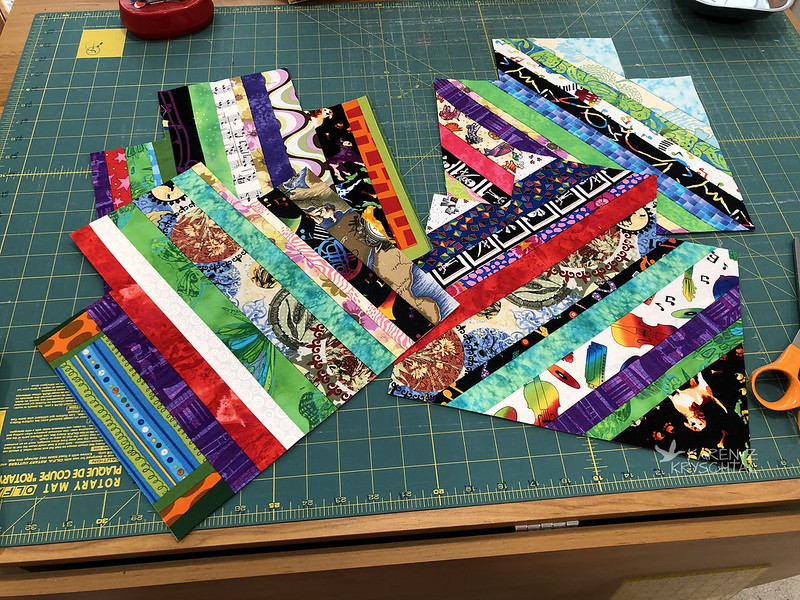
IMG_3782Panels

My construction method is sort of like the one at this link.  I'm sure I followed a tutorial somewhere along the way to get started, but it's so inscribed in my head how to do this now that I just wing it.  But if you're curious about how I actually make them, check that link or let me know in the comments.  I would be happy to post a tute if anyone is interested.

Here's a freshly completed "baget":
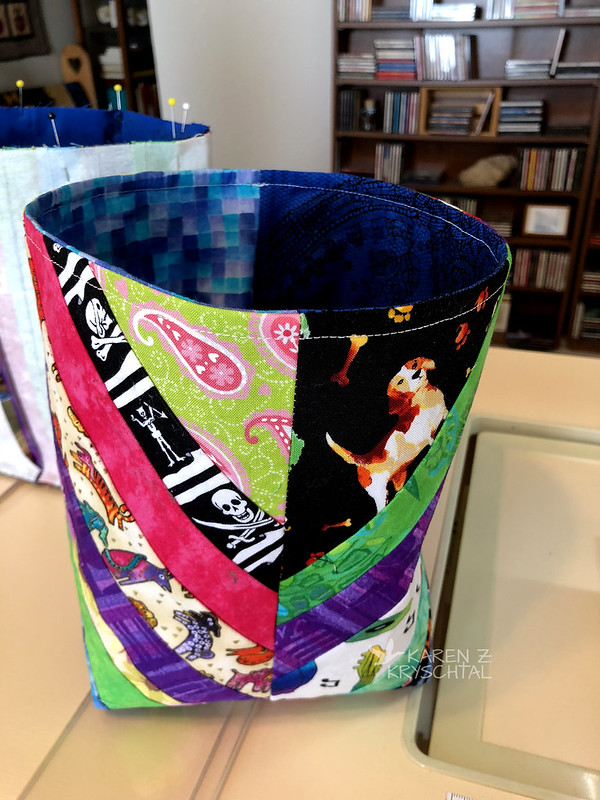
IMG_3786Baget

Note the topstitching along the top.  It holds everything together nicely.  See the bag in the background?  I had been pinning before sewing the top, but wow, that's a lot to pin through.  Since I often use clothespins when I'm sewing leashes or collars, I thought I'd try that:
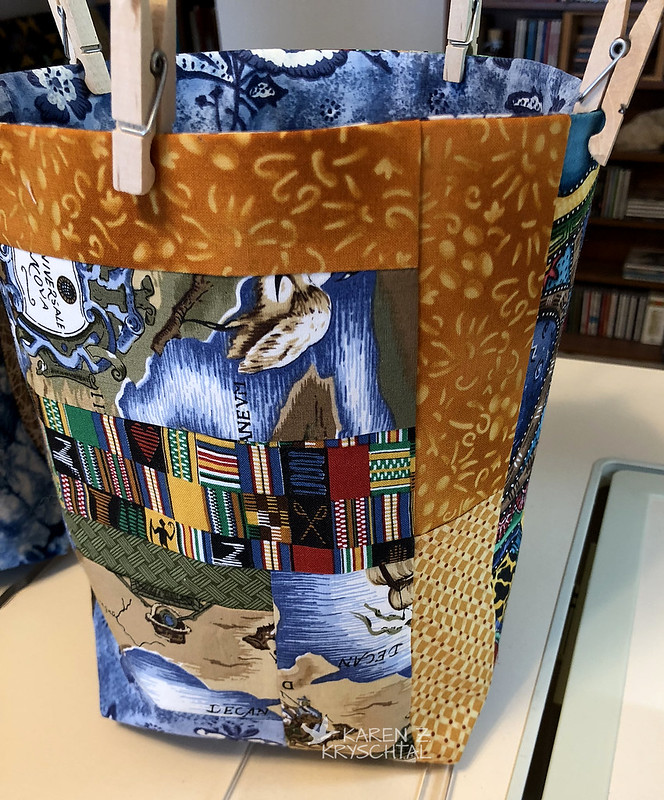
IMG_3820BagetTop

They held everything together nicely, but caught on my table and machine too much.  I switched over to the clips I use when I sew my bindings on quilts:
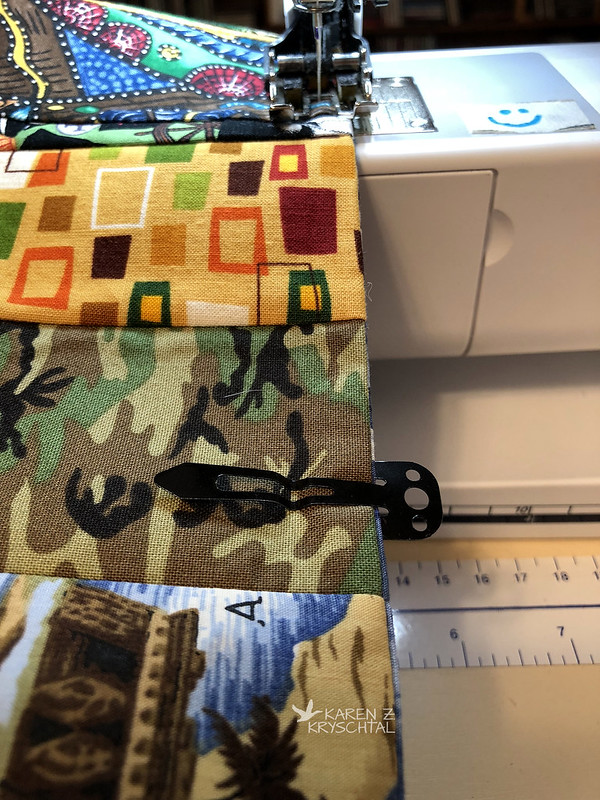
IMG_3821BagetTop

Much better!

You may have noticed I switched fabric themes for the "bagets".  Each "baget" has its own theme, but  I'm going multi-themed overall now.

Part of my problem with the old baskets I had my scraps in was not knowing which basket had which-sized strips in them.  Since I have a selection of bread ties that I used to mark quilt rows (see this link), I thought they might serve a useful purpose here, too.
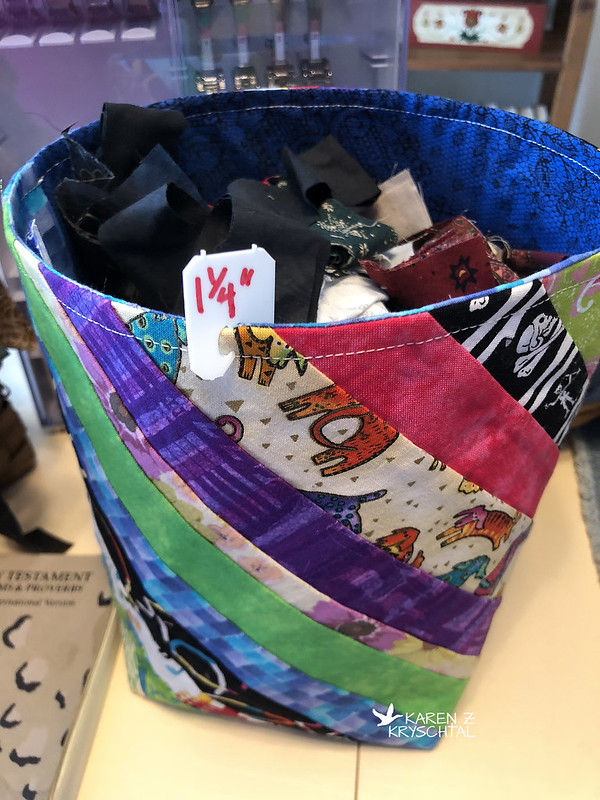
IMG_3788LabeledBaget
No pins required!

Perfect.

I actually used up all of the interfacing I'd been using.  I'm very pleased about that.  It was either medium weight or heavy weight; I have no idea which.  I needed more "bagets", though, so I took another look into the closet to see what else I had.

I found some small pieces of something heavy, stiff, and sort of padded.  I figured I'd give it a go.

The biggest size I could get two cuts of (for front and back) was 8", so I went with that.
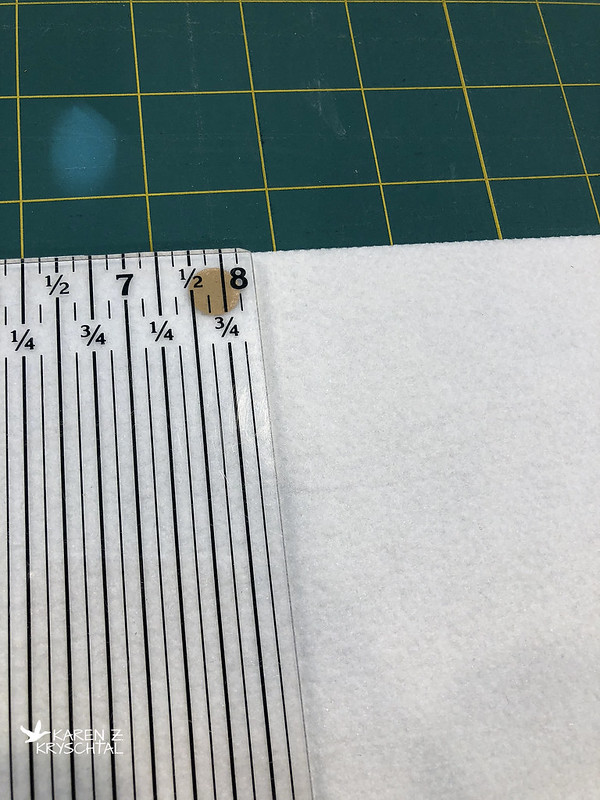
IMG_3822_8inchInterfacing

I found a fab for the lining and cut that to size.  Since I had reduced to 8", I reduced the corner cuts to 2".
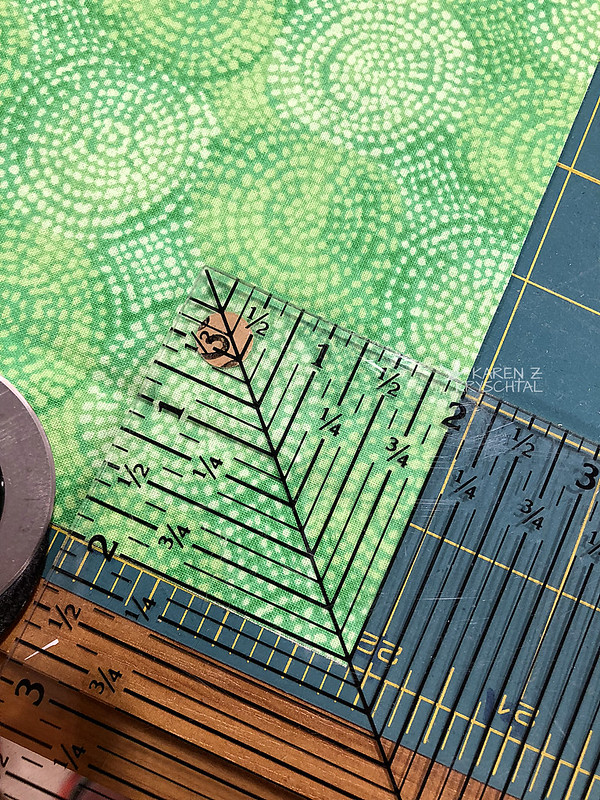
IMG_3823CornerFor8inchBaget

It seemed right.

The bag came out very cute and is a nice size.  What I realized after piecing the outside panels though, was that there would be NO turning that baby right-side out through a small hole in the lining.  Normally, I leave a small gap along the bottom edge of the lining when I sew it. I turn that right-side out, put it in the outer bag which is still inside-out, sew along the top edge, then carefully pull the outside of the bag through that gap/hole in the lining, making everything all set.  This ... whatever I used ... was so stiff there was no way I'd be able to do that.  I sewed both the lining and the outside all the way, boxed the corners, then turned the outside right-side out.  I pushed the lining inside and realized I could fold the lining over about 1/4 of an inch twice, bringing it over the top of the outside of the bag, and it would be fine.  I did that, and carefully topstitched it down.
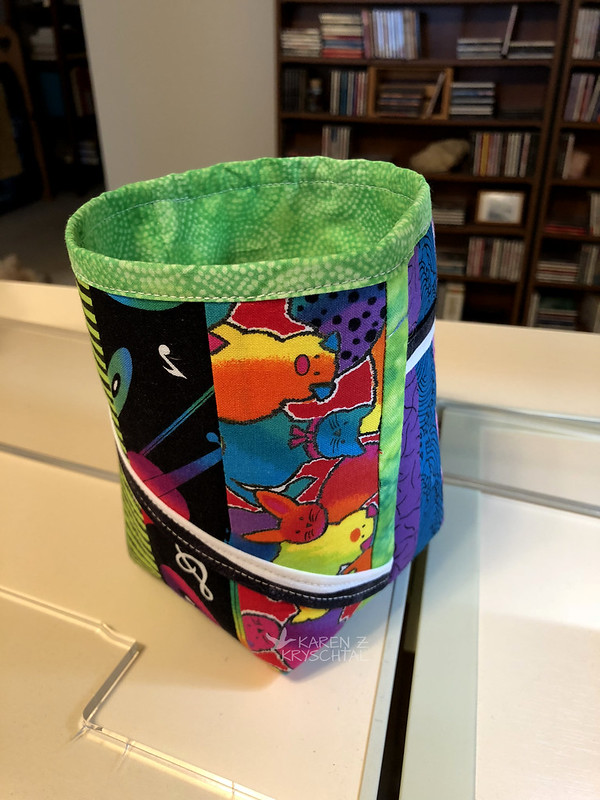
IMG_3826_8inchBaget
A classic "I meant to do that" moment

It looks sort of cute that way.

Do you like that black and white strip on the mini baget?  After I had pieced one of the panels, I realized there was a really goofy face on one of the fab strips that looked totally strange.  I decided to sew the black and white strip on to cover it.  I'm funny like that.

Here's how the line-up is looking:
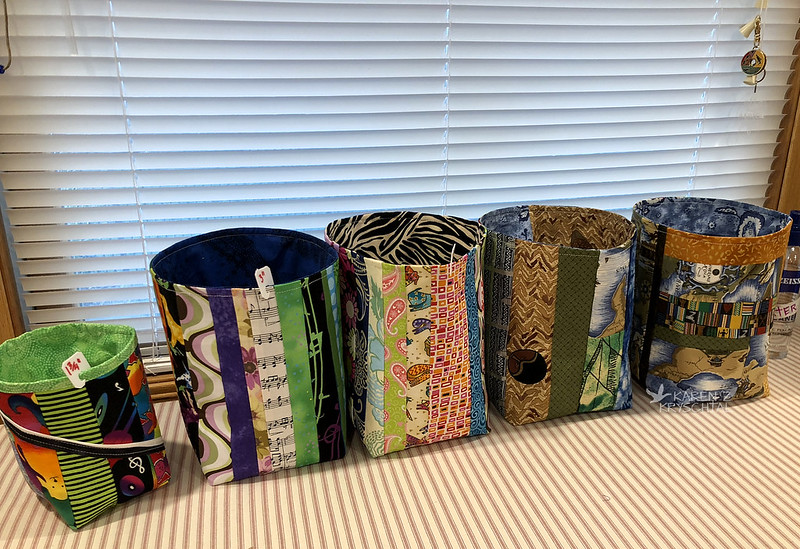
IMG_3827Bagets

I think the remodelers are leaving early today, so I should be able to get down to my Studio for a bit to continue to march on these.

Before I go, here's a helpful tip I don't think I've shared before.  If you have rolls of interfacing or other materials, and you don't want to stick a pin in to secure the end, use one of those thingies they put around fruit:
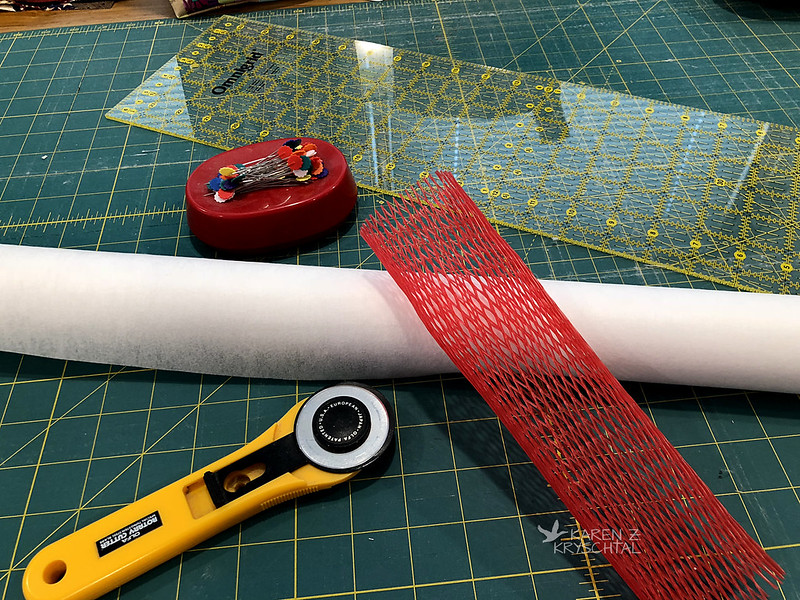
IMG_3781MeshThingie

That's a long one; I can't remember what was in it.  Very handy, though!  I have short ones, too, that I put around webbing to keep it tidy.  I'll shoot a pic later.

Have a great day - and as always, thank you for reading!

Sunday, September 2, 2018

Cutting Corners and Other Fun Things

Hi everyone!  I just wanted to give a quick "thanks!" to those of you who left messages here and on FaceBook.  Your encouragement means a lot to me!

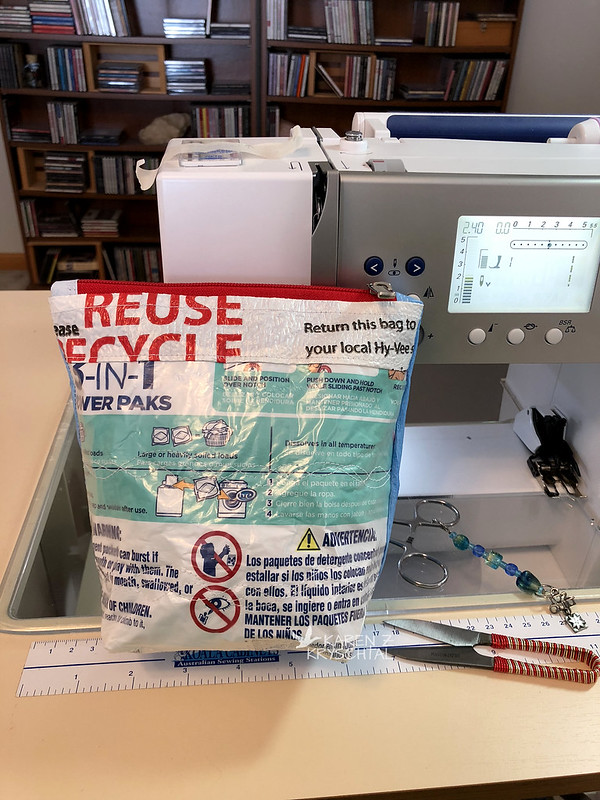
I made another zippy bag since I last posted. I used the last washing machine pod and started looking at the bag, wondering ... yeah. Had to try it:

IMG_3710ZippyBag
I fused the two sides between a very flimsy clear bag - I think a produce bag. It didn't completely fuse, but since I was going to do some quilting anyway, I figured it would be fine. I think it pairs nicely with the HyVee bag above it.  Ha ha ha.  On the other side, I fused some other shopping bags together:

IMG_3708ZippyBag
The ink from any bag will rub off and get messy if you have it on top, so I always put another bag on top with either no writing or I flip it so the writing is inside/reads backwards. The BBB bag is either the second or third bag down in the "stack".

Moving right along...

I have baskets in my Studio of my scrap strips. Sizes range from 3/4 of an inch, up to 3. Not only are the baskets getting to be in sorry shape, but they're way too full. To tackle both of those issues, I thought I'd make bags or buckets -- let's call them "bagets" from the scraps to hold more of their friends.

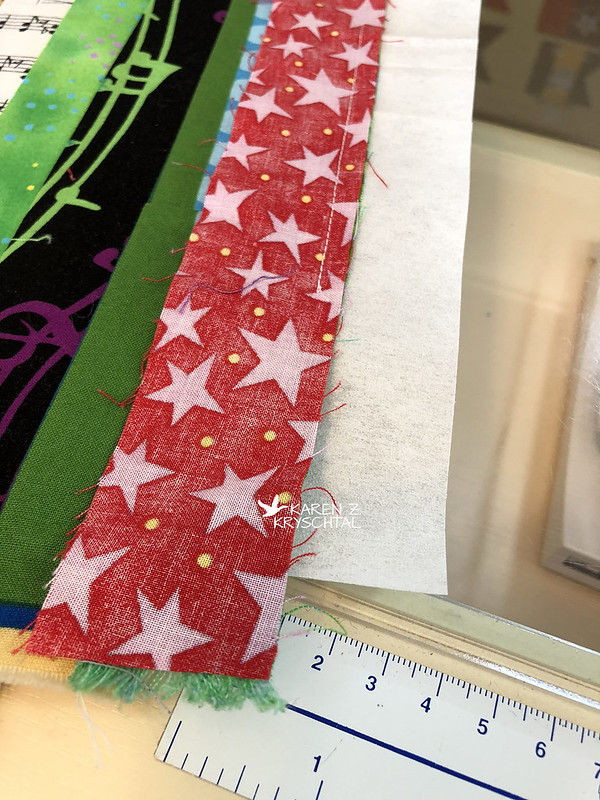
IMG_3764InProcess
I sewed the strips to interfacing I had laying around

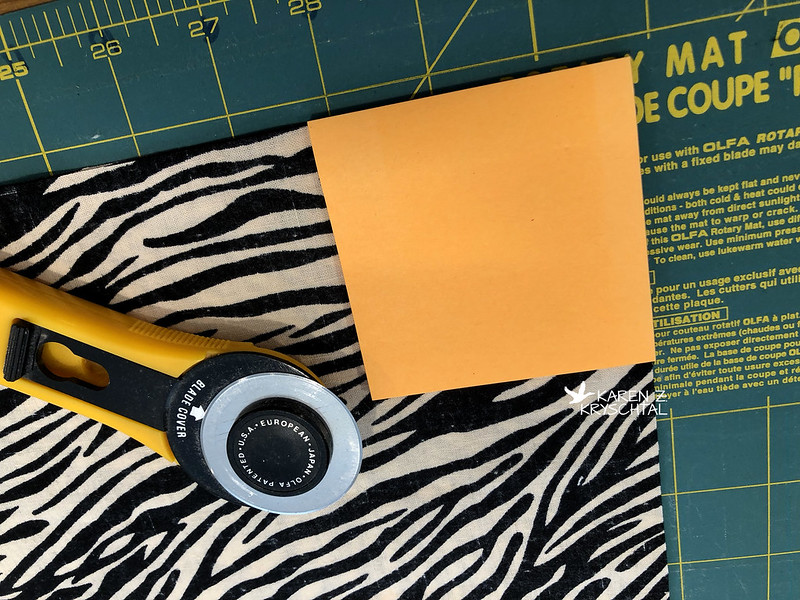
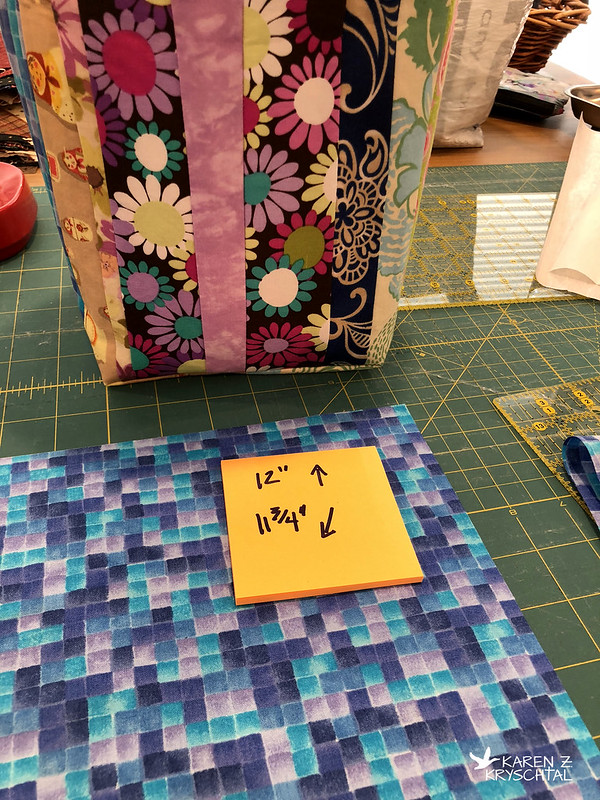
In the past, I didn't cut the corners off my panels before boxing corners - I'd box them, then cut.  I started cutting first and it really does make it a bit easier.  I also made an interesting discovery.  I was cutting a 3" square out of each panel and ...

IMG_3766CuttingCorners
Sticky note pad with lining panel

My sticky notes are exactly 3 square inches.  I cut the corners using the stack of stickies as my template.

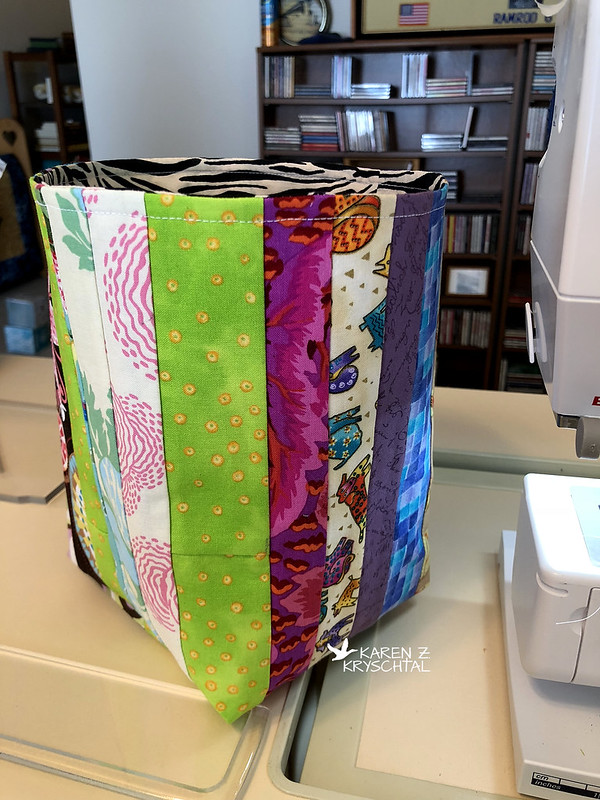
Here's the first "baget":

IMG_3768Baget
Colorful, functional

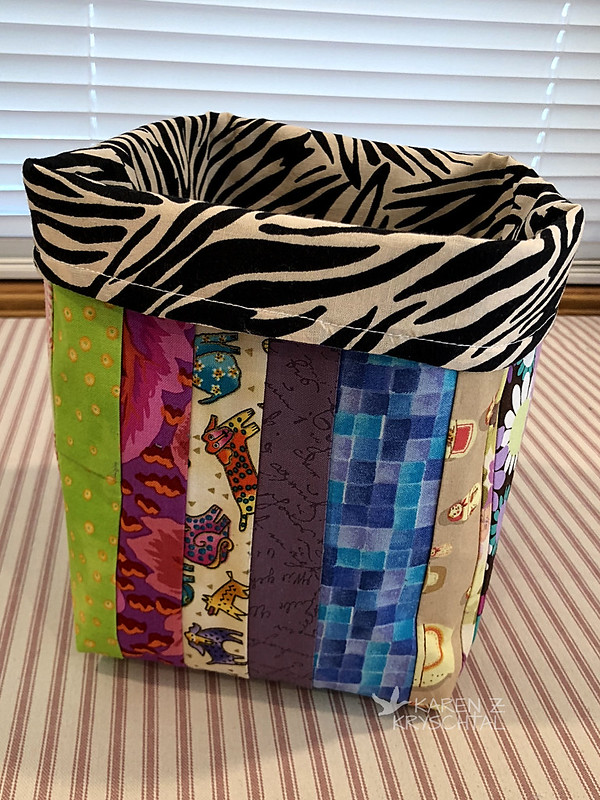
It's a bit on the tall side, so depending on how many scrap strips I need to put in it, I can always fold the inside down:

IMG_3771Baget
Boom!

That actually made it feel even sturdier for whatever reason.

I was on a roll, so I moved on to another bag.  I used 12" panels for my first "baget", but didn't quite have enough of the interfacing I was using to do that again.  I had 11 3/4.  Close enough.  I wanted to remember what size each one was, in case I really liked one better, so -

IMG_3772InProcess
Am I the only one who writes notes to herself?

I was rushing.  I admit it.  I made my lining and wanted to get the two panels at least pieced before I had to go upstairs and make dinner.  (Chicken, black bean and corn enchiladas, and they were wonderful.  I'm not just saying that because I get to serve leftovers tonight.)

So what's the rule when you're in a hurry?

IMG_3773InProcess
Well, that's a fine how do you do!

That's right.  My bobbin ran out!  Could it be any other way?

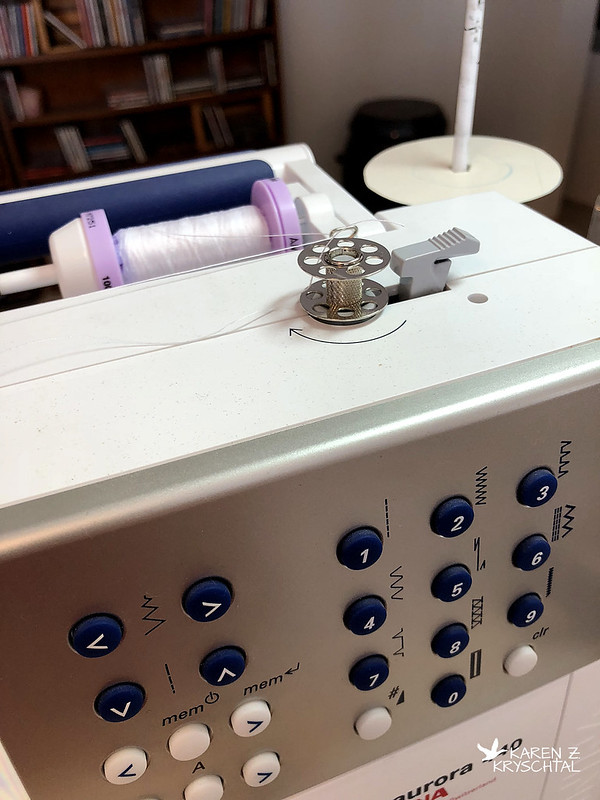
Since I was on the last strip, I hurriedly wound a new bobbin ...

IMG_3774Bobbin
♫ "... You spin me right round, baby, right round ..." ♫

... then sewed that strip on.  It didn't go all the way to the edge of the interfacing.  Of. Course.  Today, I'll be adding yet another strip on, then assembling the "baget".

Thanks for reading!

Thursday, August 30, 2018

Let's Get This Party Started!

Five years.  To.  The.  Day.  Rather than talk about why I haven't been blogging on this blog, what I've been doing, blah, blah, and blah, let's just celebrate that even though I hadn't been quilting or sewing lately, I am now.  I've done some bags, leashes and collars for my girls, just small things and very sporadically.  Recently, I've been trying to get serious again, heading into the Studio a few days a week, even if it's just for an hour.  It feels great.  I thought if I started this blog back up, it might help keep me going.

Here are my little projects from the past month or so ... I'm starting with small things!

I made a little purse for myself:

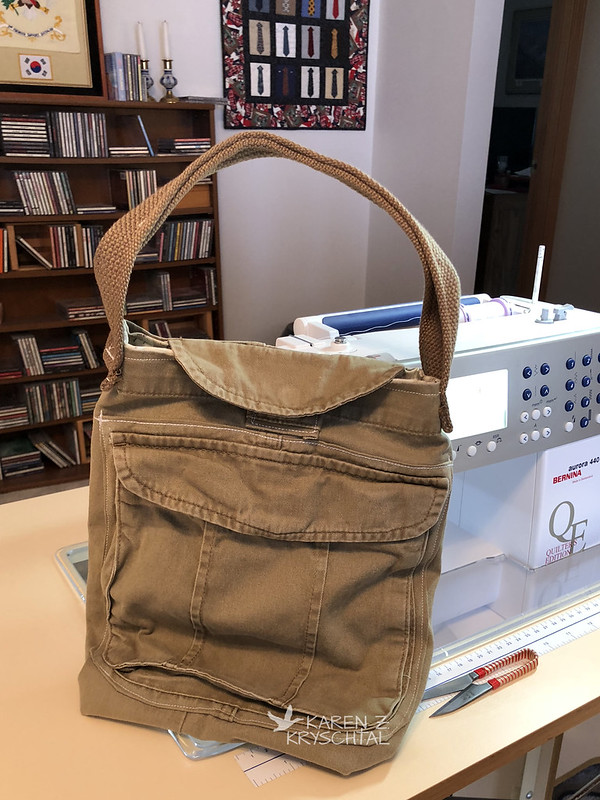
IMG_2328KhakiBag
Khaki Bag

It's from a worn out pair of Mike's pants.  I like it, but it's significantly narrower than the last bag I did like this.  I think I must have used the thigh area of the pants before and the calf area this time.  Oops.

The main issue was that all the zippy bags I kept in the old bag no longer fit (they were too wide), so I needed to make new, narrower ones - you know, we all need bags for various purse stuff, right?  That brought this about:

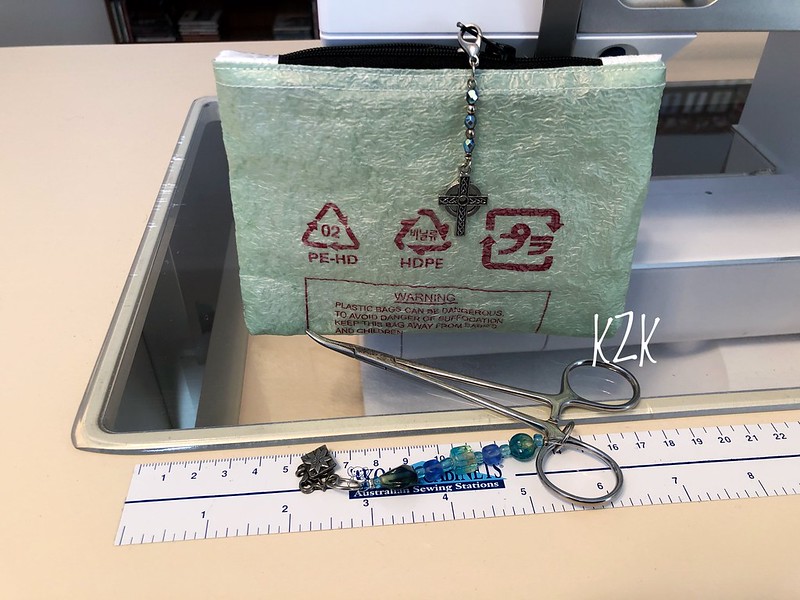
IMG_2438PlasticZippyBag
Zippy bag!

Remember all the fusing plastic I did before?  Yes.  I'm doing that again.  Why not?  It looks cool, is sturdy, and the whole "recycle" thing.  That being said, plastic bags do not go to waste in this house!

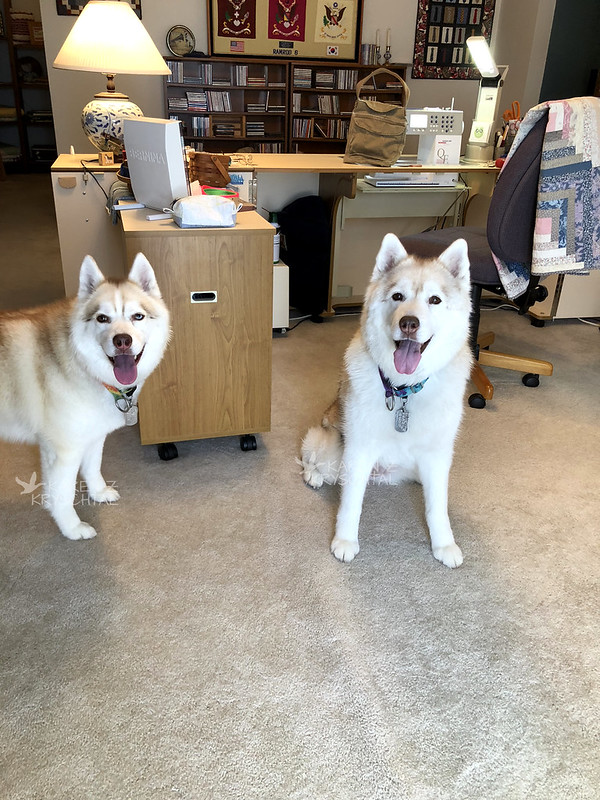
My girls were remarkably helpful:

IMG_2332MagsCamStudio
Maggie (Polargold's Margaret Thatcher) and Cam (D'Azul's Girl From Ipanema)
They are such a joy to me!

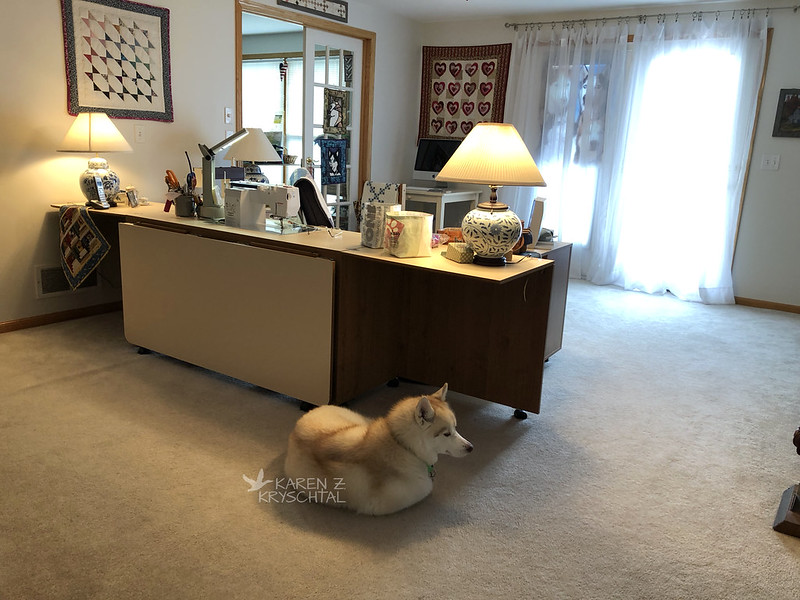
I have a large, open space in the outer part of the Studio, which gives them lots of room to play together.  I love having them down there with me!

The zippy bags got me going again, so ...

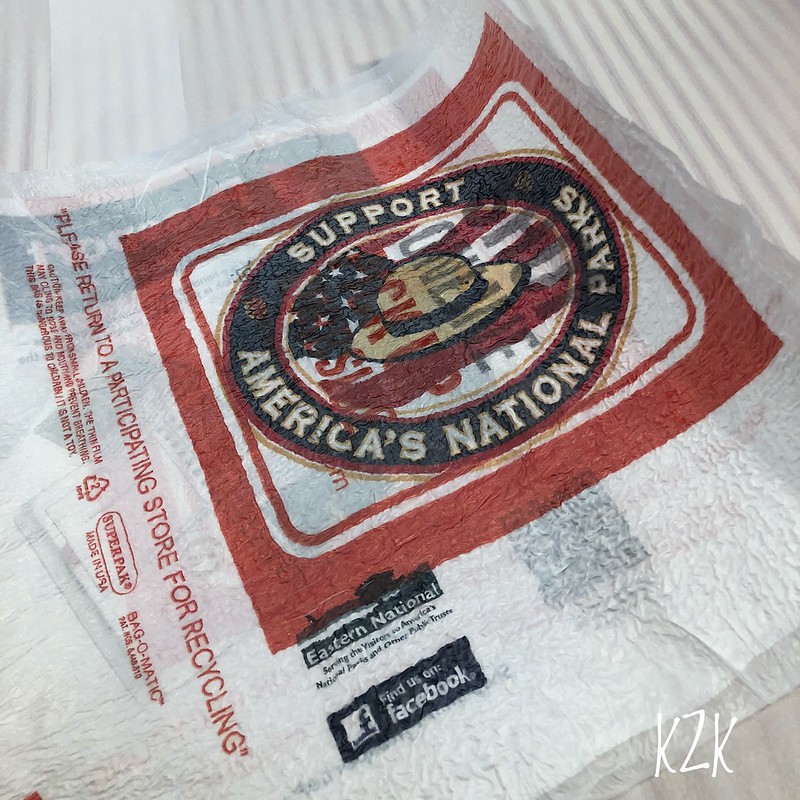
IMG_2708FusedPlastic
More fused bags for "fabric"


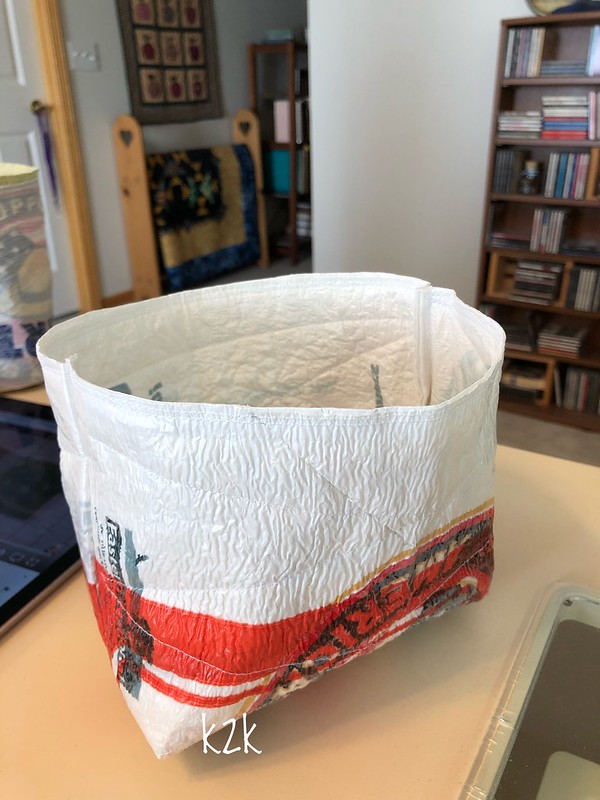
It's rather addictive.  And actually fun to work with.  Here's one of the boxes.  Or bags.  Or buckets.  Or whatever.

IMG_3666PlasticBox
Box/bag/bucket

I love seeing the writing and logos come through!

These two were in-progress at the time of the photo:

IMG_2402PlasticBoxes
How fun is the Chick-Fil-A one?!?

Cam doesn't always come down, but Mags loves to hang out with me at least for a while.

IMG_2732MagsStudio
My Maggie


The finished "carry out" bags are on the sewing table behind Mags.  We're in the midst of a major master bathroom remodel and those bags/buckets/boxes are going to be perfect organizer thingies in the new vanity.

I have played with fabric scraps a bit, too.  Here's a little snap bag:

IMG_3646SnapBag


It didn't come out perfect, as I was trying to use some metal bars I purchased about 125 years ago instead of cutting up a measuring tape like the tutorial called for.  They weren't quite the right size, so I adjusted.  I also decided I needed to quilt the bag even though she didn't in the tute.  I think the quilting and top stitching might be my favorite parts.

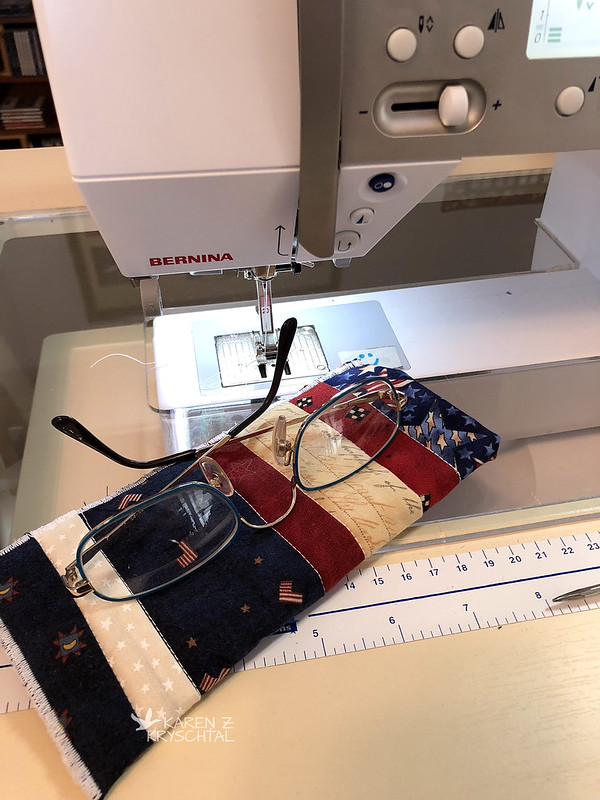
I also decided Mike needed a new glasses case, so I cranked this out:

IMG_3656GlassesCase

Not fancy, but it'll do the job.

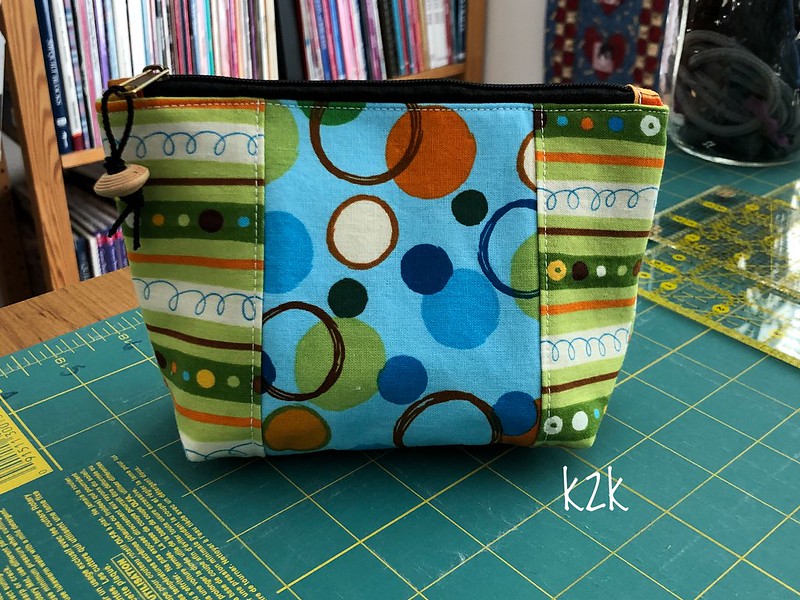
My last zippy bag for today's post:

IMG_3660ZippyBag

The fabs were leftover from a project I did quite a while ago.  I'm very happy I'm making use of existing fabs, zips, and batting, am making practical things (like the box/bucket/bags), and am getting back into the habit of being in the Studio!  It feels awesome!  It won't be long before I have my sea legs and will be on to larger projects!!!

Thanks for reading.  I won't wait 5 years to blog again.  Hahahahahahaha!!!

Friday, August 30, 2013

ZIP-adee Doo Dah

Oh, look! More zippers!

IMG_6385Zippers

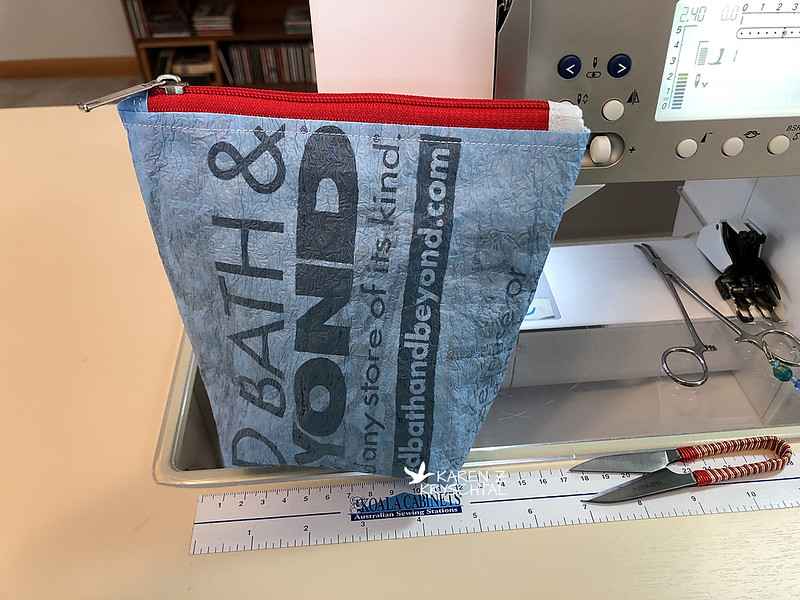
There's a good chance I'm feeding my addiction to making zippered bags out of fused bags by ripping zippers out of old clothing. It's ... recycling, right? Exactly!

I also fused a bunch of bags and am starting a collection of sheets of plastic:

IMG_6386FusedBags

Oooh. A Bernina bag!

I'm also STILL sewing the hand part of the binding onto my table runner:

IMG_6387Runner

I have no idea what's taking me so long. I totally enjoy the hand sewing. Maybe just because I'm out of practice? Or am distracted by fusing bags and playing with puppies? Hmm. Could be. And you know ... that fused Bernina bag was calling me...

I watched a cute video tutorial on how to make a boxed bag. I didn't buy into all of her techniques, but it sparked an idea for me. I wanted to know if I could pull off a boxed bag in plastic fused "fabric"!!! Could I do it?

IMG_0466BoxyBag

Apparently so! HA! How perfect is that?!?

Here's the bottom:

IMG_0467BoxyBagBottom

What a kick!

As you can see, I did some quilting on it. It was a pleasant experience, I must say!

I think the bag came out pretty cute. To do it over again, I would put a little loop in the seam allowance at the beginning and end of the zipper to have something to hold onto while you use the zipper. The tutorial didn't call for one, but I'm sure you could just slip one in there. It would be a nice touch. Next time!

That's what I've been up to in the Studio for the past few days. As always, thank you for reading!
Monday, August 26, 2013

Here a Bag, There a Bag ...

This whole fused bag thing is getting addictive!

If you read the Ao4 Digest this morning, you'll know that Zim has his own bag to hold bags now, too.  Here's a look at it in the Studio:

IMG_6280ZimsBag

I tried a little quilting on it, just to see how it would look and how easy or challenging it would be.  I think it adds a nice touch - and really no tougher to do than any other quilting.  Just use your walking foot!

I think the zipper was on an old backpack or fanny pack.  It's nice and sturdy and the "pull" has a very nice feel to it.

Here it is in action, so to speak:

IMG_6327ZimBag
"Totally cool, Mom!  My very own man bag!"

I found a source for the bone-shaped carabiners, which just delighted me.  I switched Cam's over to one that's a hot pink/reddish color.  It goes nicely with her leash.

Speaking of man bags, I also made one for my hubby - to carry his iPhone and a flashlight for the early morning walks.  In my stack of "heavier" bags, I found the perfect one - it's from the US Cavalry Museum!  The bag went together really well.  I was going to get Zim to model it, you know - keeping with the whole "man bag" thing - when ...

IMG_6301MikesBagCam
Nice, tough bag!

I guess you could say a certain daddy's girl put her foot down.  All-righty then!

IMG_6300CamMikesBag
"This is for my DADDY!"
Thank you, Cammie.

He's already tried it out and loves it.  Yea!

This is really fun ... and soooo incredibly addictive!

Thanks for reading!