
I made another zippy bag since I last posted. I used the last washing machine pod and started looking at the bag, wondering ... yeah. Had to try it:
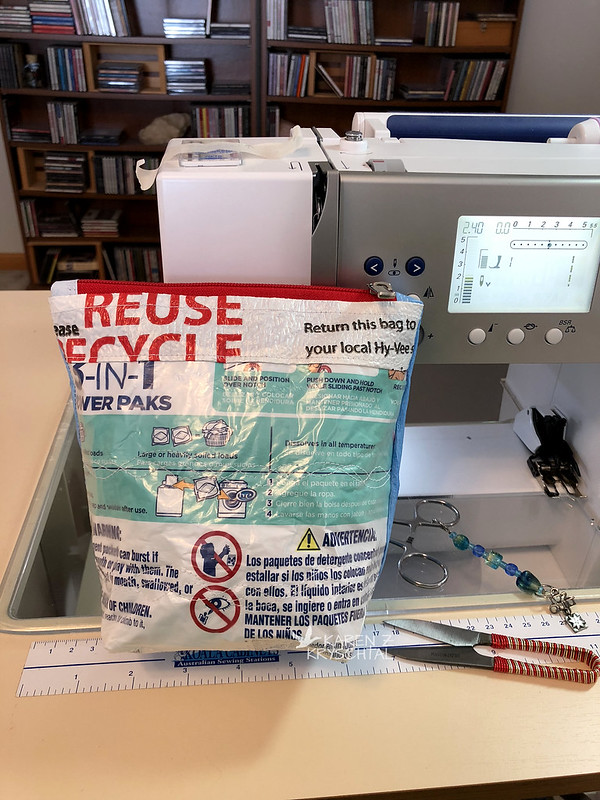
I fused the two sides between a very flimsy clear bag - I think a produce bag. It didn't completely fuse, but since I was going to do some quilting anyway, I figured it would be fine. I think it pairs nicely with the HyVee bag above it. Ha ha ha. On the other side, I fused some other shopping bags together:
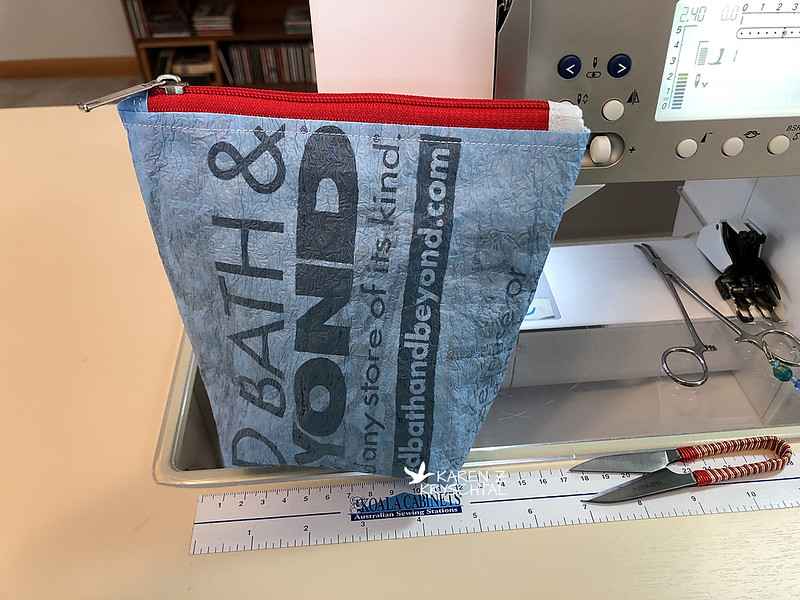
The ink from any bag will rub off and get messy if you have it on top, so I always put another bag on top with either no writing or I flip it so the writing is inside/reads backwards. The BBB bag is either the second or third bag down in the "stack".
Moving right along...
I have baskets in my Studio of my scrap strips. Sizes range from 3/4 of an inch, up to 3. Not only are the baskets getting to be in sorry shape, but they're way too full. To tackle both of those issues, I thought I'd make bags or buckets -- let's call them "bagets" from the scraps to hold more of their friends.
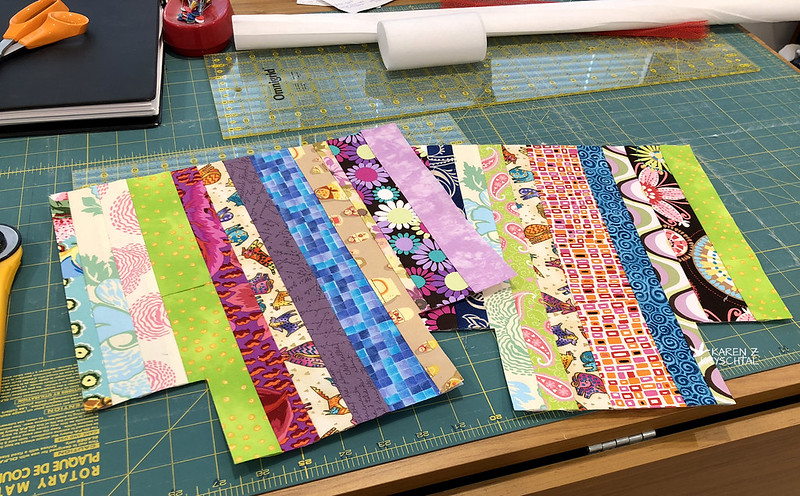 |
| I sewed the strips to interfacing I had laying around |
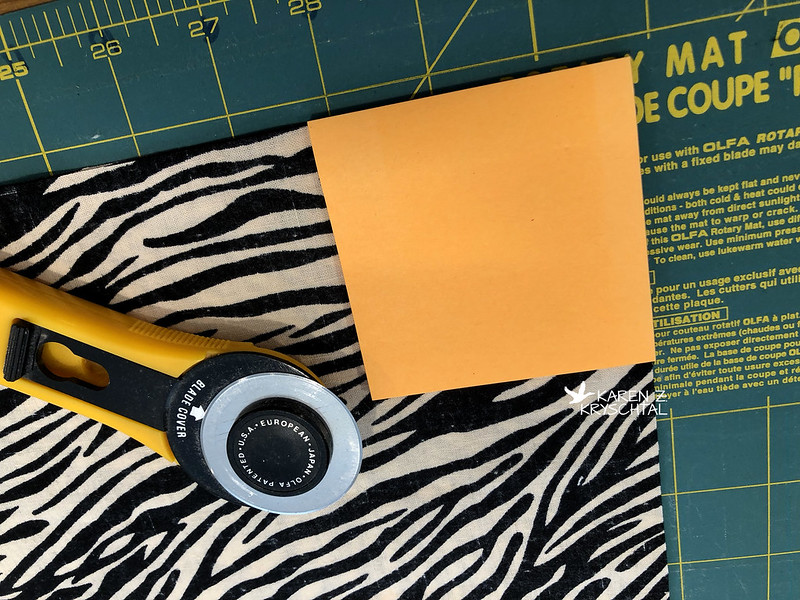
In the past, I didn't cut the corners off my panels before boxing corners - I'd box them, then cut. I started cutting first and it really does make it a bit easier. I also made an interesting discovery. I was cutting a 3" square out of each panel and ...
 |
| Sticky note pad with lining panel |
My sticky notes are exactly 3 square inches. I cut the corners using the stack of stickies as my template.
Here's the first "baget":
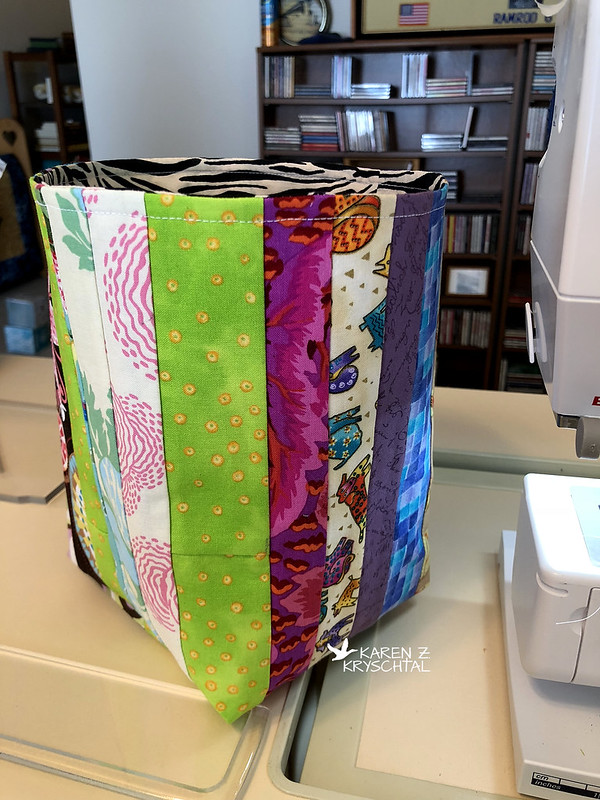 |
| Colorful, functional |
It's a bit on the tall side, so depending on how many scrap strips I need to put in it, I can always fold the inside down:
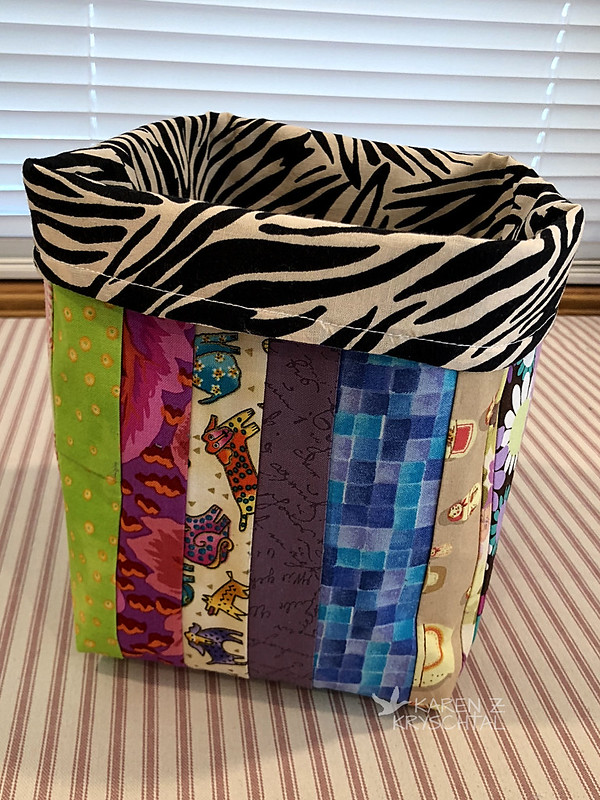 |
| Boom! |
That actually made it feel even sturdier for whatever reason.
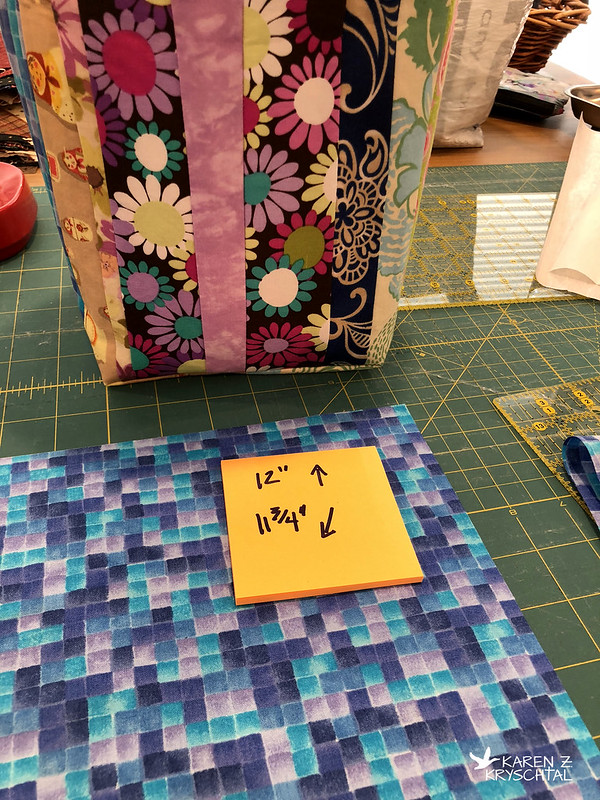
I was on a roll, so I moved on to another bag. I used 12" panels for my first "baget", but didn't quite have enough of the interfacing I was using to do that again. I had 11 3/4. Close enough. I wanted to remember what size each one was, in case I really liked one better, so -
 |
| Am I the only one who writes notes to herself? |
I was rushing. I admit it. I made my lining and wanted to get the two panels at least pieced before I had to go upstairs and make dinner. (Chicken, black bean and corn enchiladas, and they were wonderful. I'm not just saying that because I get to serve leftovers tonight.)
So what's the rule when you're in a hurry?
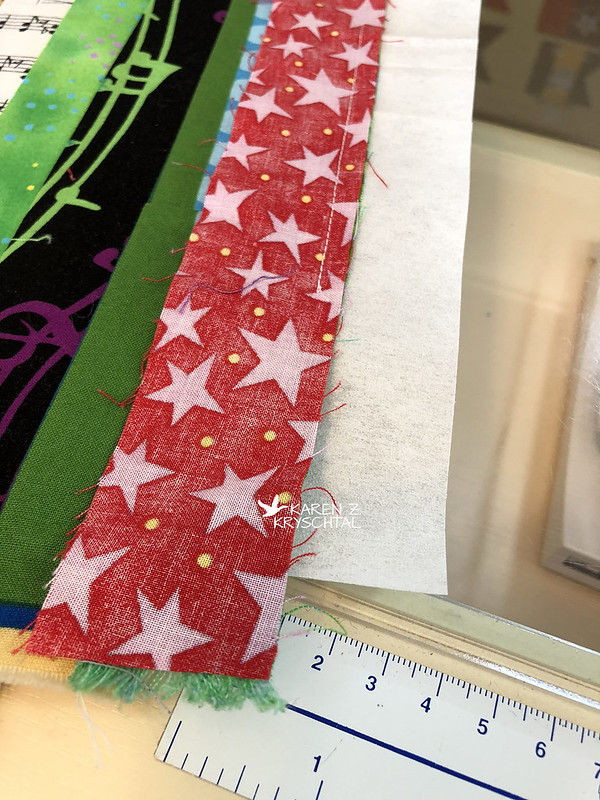 |
| Well, that's a fine how do you do! |
That's right. My bobbin ran out! Could it be any other way?
Since I was on the last strip, I hurriedly wound a new bobbin ...
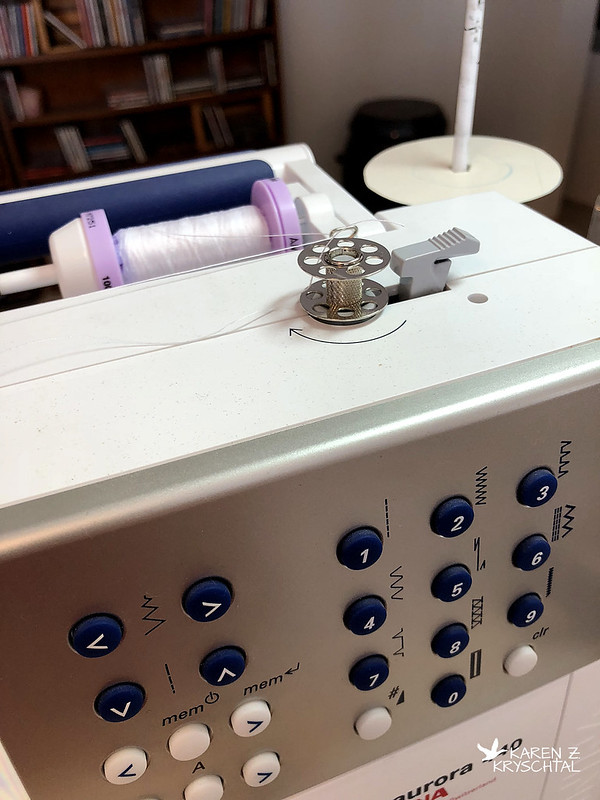 |
| ♫ "... You spin me right round, baby, right round ..." ♫ |
... then sewed that strip on. It didn't go all the way to the edge of the interfacing. Of. Course. Today, I'll be adding yet another strip on, then assembling the "baget".
Thanks for reading!

Those bagets are so fun to look at. Love all the mix of colors. They sure would brighten up a room. Nice work as always.
ReplyDeleteThe bobbin never runs out at a convenient time. That looks like a great way to use up scraps. I have a few boxes overflowing with the same and need to find a use for them some day too.
ReplyDeleteWhat cute and colorful bags!
ReplyDeleteWe love your fused bags! They're so clever and grreat recycling!
ReplyDelete