
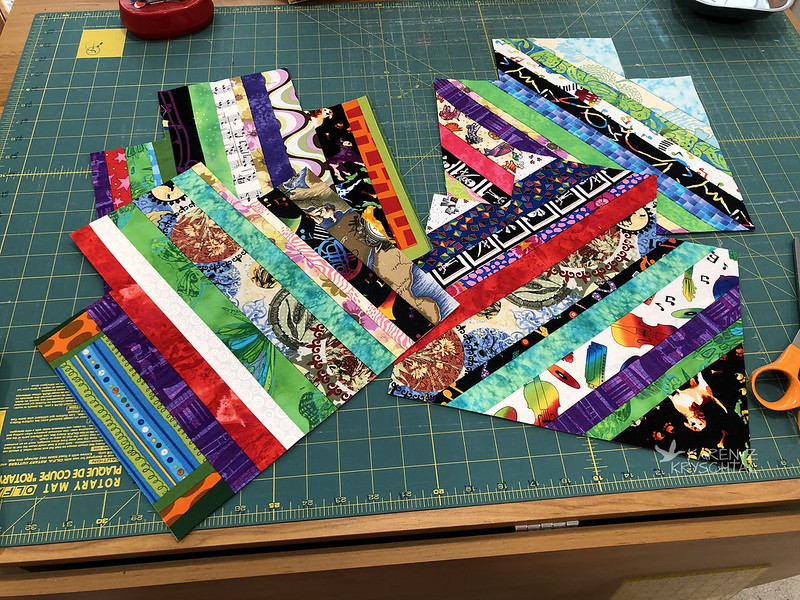
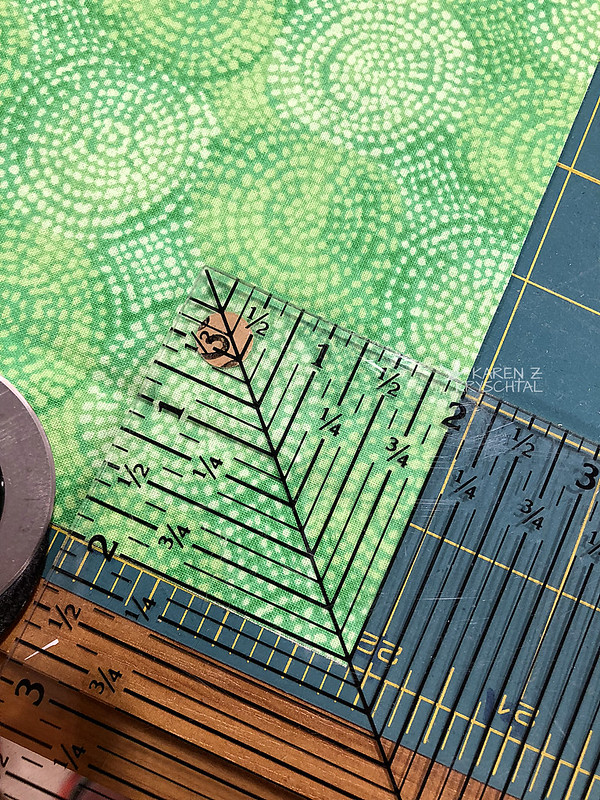
The "bagets" have been multiplying. Here are some outside panels for 11 3/4" ones:
My construction method is sort of like the one at this link. I'm sure I followed a tutorial somewhere along the way to get started, but it's so inscribed in my head how to do this now that I just wing it. But if you're curious about how I actually make them, check that link or let me know in the comments. I would be happy to post a tute if anyone is interested.
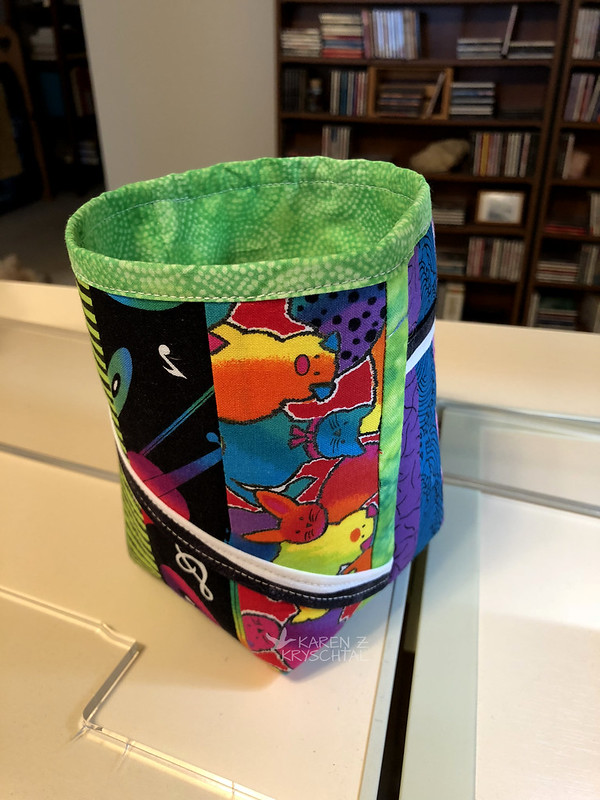
Here's a freshly completed "baget":
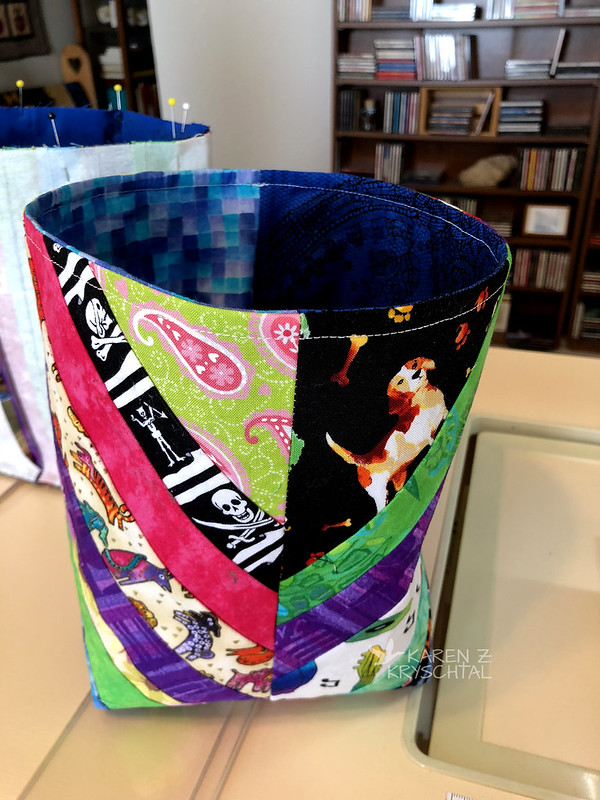
Note the topstitching along the top. It holds everything together nicely. See the bag in the background? I had been pinning before sewing the top, but wow, that's a lot to pin through. Since I often use clothespins when I'm sewing leashes or collars, I thought I'd try that:
They held everything together nicely, but caught on my table and machine too much. I switched over to the clips I use when I sew my bindings on quilts:
Much better!
You may have noticed I switched fabric themes for the "bagets". Each "baget" has its own theme, but I'm going multi-themed overall now.
Part of my problem with the old baskets I had my scraps in was not knowing which basket had which-sized strips in them. Since I have a selection of bread ties that I used to mark quilt rows (see this link), I thought they might serve a useful purpose here, too.
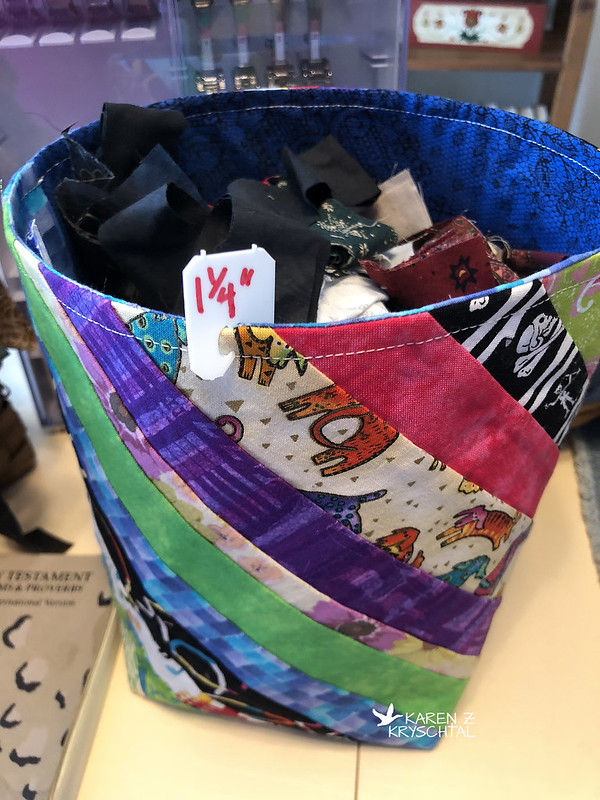 |
| No pins required! |
Perfect.
I actually used up all of the interfacing I'd been using. I'm very pleased about that. It was either medium weight or heavy weight; I have no idea which. I needed more "bagets", though, so I took another look into the closet to see what else I had.
I found some small pieces of something heavy, stiff, and sort of padded. I figured I'd give it a go.
The biggest size I could get two cuts of (for front and back) was 8", so I went with that.

I found a fab for the lining and cut that to size. Since I had reduced to 8", I reduced the corner cuts to 2".
It seemed right.
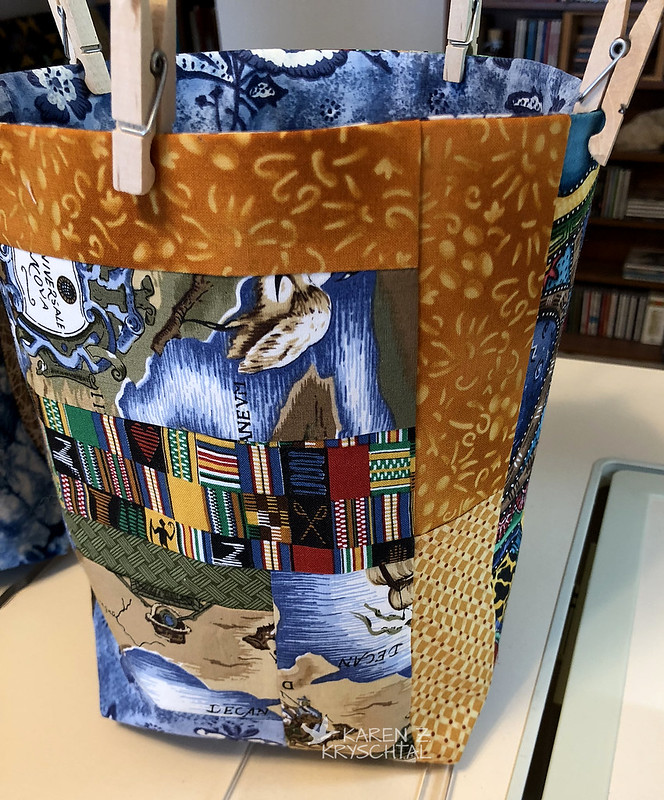
The bag came out very cute and is a nice size. What I realized after piecing the outside panels though, was that there would be NO turning that baby right-side out through a small hole in the lining. Normally, I leave a small gap along the bottom edge of the lining when I sew it. I turn that right-side out, put it in the outer bag which is still inside-out, sew along the top edge, then carefully pull the outside of the bag through that gap/hole in the lining, making everything all set. This ... whatever I used ... was so stiff there was no way I'd be able to do that. I sewed both the lining and the outside all the way, boxed the corners, then turned the outside right-side out. I pushed the lining inside and realized I could fold the lining over about 1/4 of an inch twice, bringing it over the top of the outside of the bag, and it would be fine. I did that, and carefully topstitched it down.
 |
| A classic "I meant to do that" moment |
It looks sort of cute that way.
Do you like that black and white strip on the mini baget? After I had pieced one of the panels, I realized there was a really goofy face on one of the fab strips that looked totally strange. I decided to sew the black and white strip on to cover it. I'm funny like that.
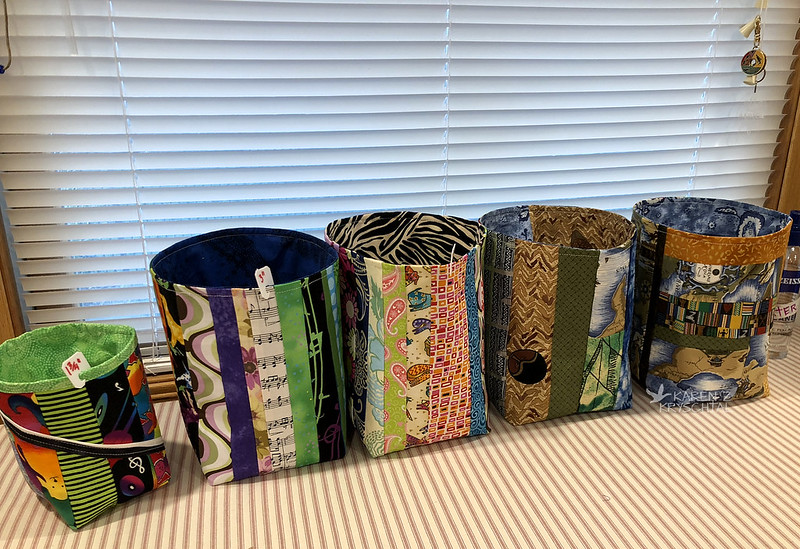
Here's how the line-up is looking:
I think the remodelers are leaving early today, so I should be able to get down to my Studio for a bit to continue to march on these.
Before I go, here's a helpful tip I don't think I've shared before. If you have rolls of interfacing or other materials, and you don't want to stick a pin in to secure the end, use one of those thingies they put around fruit:

That's a long one; I can't remember what was in it. Very handy, though! I have short ones, too, that I put around webbing to keep it tidy. I'll shoot a pic later.
Have a great day - and as always, thank you for reading!

I bet going down to the studio after a grueling day with workers relieves lots of stress.
ReplyDeleteHugs Cecilia
I LOVE these!
ReplyDeleteYour bags are too cute, Miss Karen!
ReplyDeleteAll your bags are so cute. You did a great job figuring out how to finish that bag without turning it inside out.
ReplyDelete