Saturday, January 4, 2020

Stack N Whack Scraps

Hi everyone!  Let's look around and see what else I've been up to!  I got out some old, unfinished projects, trying to decide what I could finish up.  Years ago, I took a Stack N Whack class.  (I used the book seen here.). I didn't finish all of my blocks, but have this much:

IMG_1627StackNWhackQuilt

I'm pretty sure I couldn't decide what color to make the background, so I opted for a split.  Because why keep it simple - right?

The basic "trick" to Stack N Whack blocks is to pin the fabric together at the "repeats", cut it EXACTLY, then stitch the pattern together forming sort of a kaleidoscope. All blocks are from the same fabric, but are all different!  Very cool.  Very precise.  Very ... much like something I didn't want to tackle right now.  BUT ...

I had cut some squares while I had my fabric stacked back when I cut this baby out.  I played around with them and thought I could make cute, little 4-patch mini kaleidoscopes.  I gave one block a shot ...

IMG_1668StackNWhackScrapsQuilt

... and thought it was mighty cute. I started sewing the rest together and was really pleased with how they came out. I thought it would set the blocks off nicely to pair them up with "plain" setting blocks. I auditioned several fabrics, ran them by my FaceBook friends, and came up with using this purple:
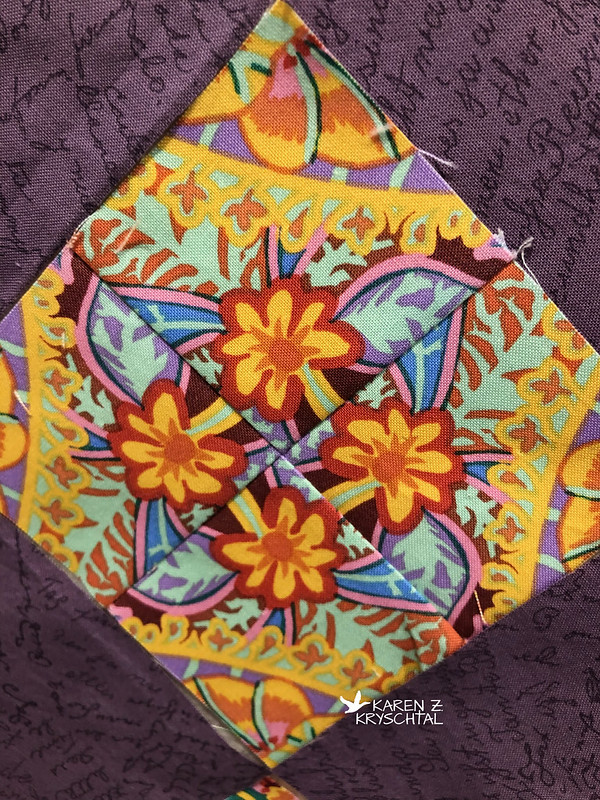
IMG_1716StackNWhackScrapsQuilt

I love that fabric!

I also decided to set the blocks on point; it makes them "twirl" a little better!
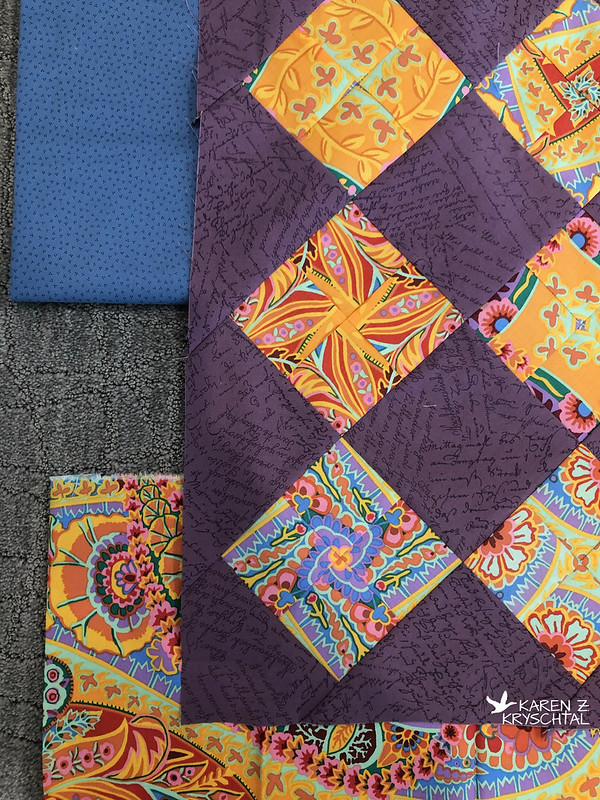
IMG_1833StackNWhackScrapsQuilt

I do want a border on the quilt, but am really still trying to decide.  The "focal fabric" I used for the blocks with either be a border or the binding - it will be out there somewhere!

IMG_1828StackNWhackScrapsQuilt

I still like the grey newsprint on the left (it totally blends with my carpeting in the photo), but maybe after an inner border of the focal fabric.  Or the green.  Or ... yeah.  That's why this is as far as I've gotten with this one.  

I've got it out where I can see it, so in the back of my mind, I'm still mulling over what to use for the border!

Thanks for reading !
KZK

Saturday, December 28, 2019

Not Tea Cups

Hi, everyone!  I didn't mean to take so long between posts, but things have been mighty busy here - plus a trip out of town and Christmas!  Anyway ...

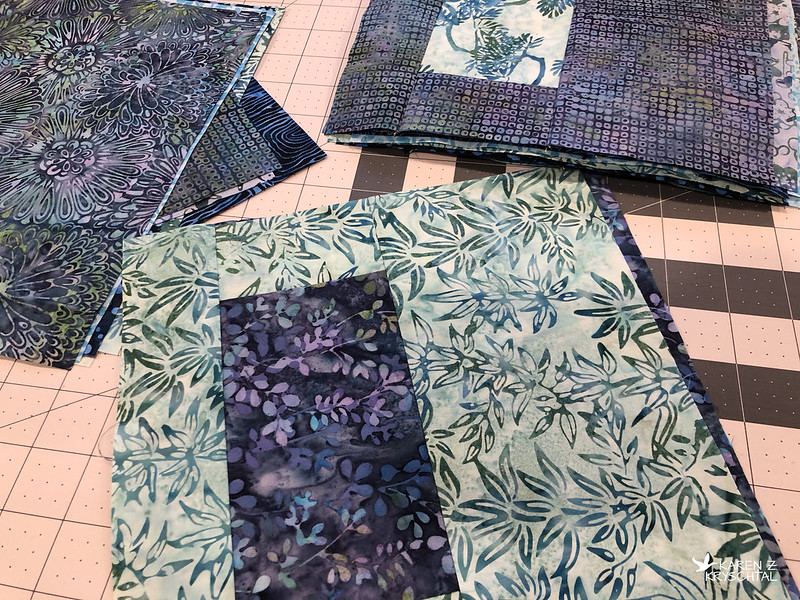
I love watching quilting videos on You Tube while I'm on the treadmill - especially ones by Missouri Star Quilt Company.  I watched one by Hillary (Jenny's daughter) called The Tea Cup Quilt and was fascinated by it.  It didn't look like tea cups to me, but I loved the sort of free-form squares and rectangles.  I knew I had to try it!

I cut into some batiks and before I knew it, I had a good number of blocks:

IMG_1399CurtainsBlocks

It was fun and they went together quickly!

IMG_1416CurtainsBlocks

And may I add, egads, I love these batiks!!!

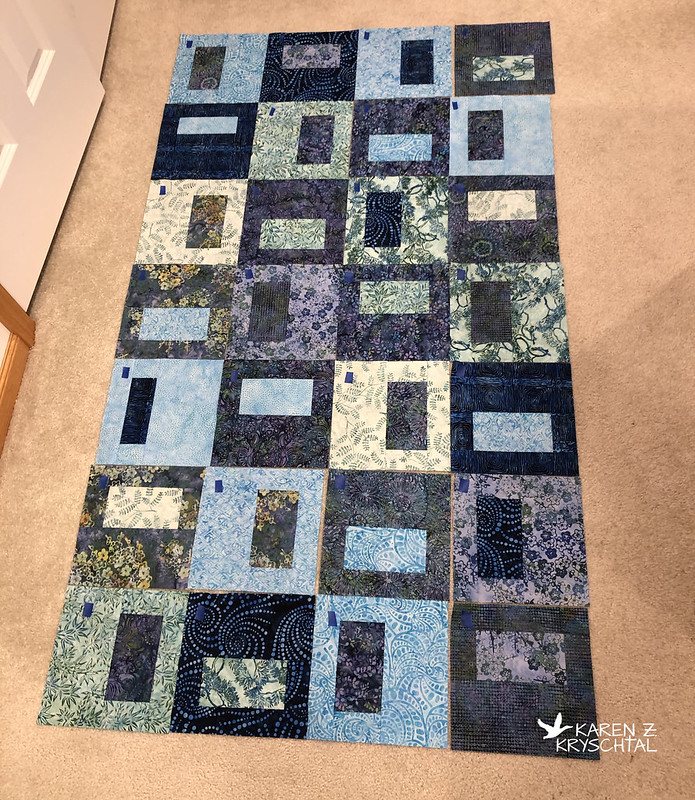
I came up with the layout I wanted ...

IMG_1428CurtainsBlocksLayout

... and had the top together before I knew it.  (The blue painters tape pieces were my row/column markers.). I auditioned a couple fabs for borders and came up with this:

IMG_1438CurtainsTopComplete

I'm very pleased with the overall look and feel of it!

IMG_1437CurtainsQuilt

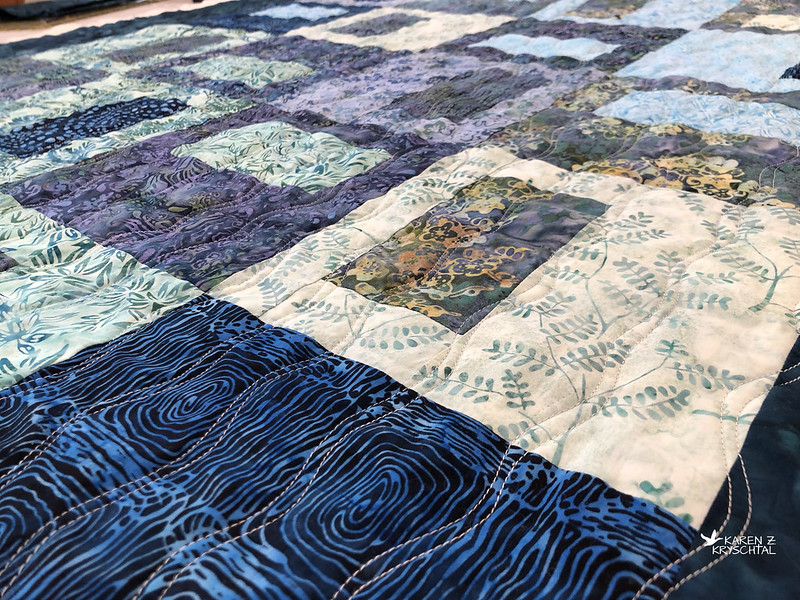
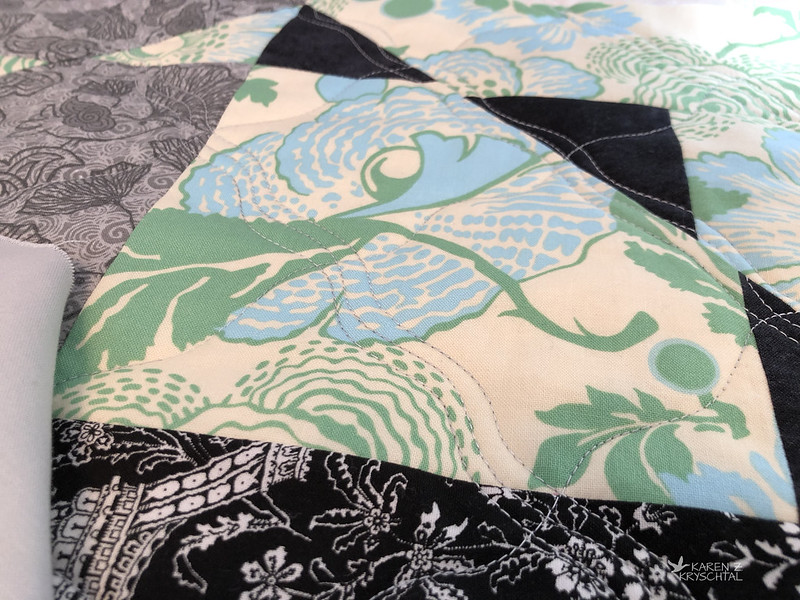
For the quilting, I did double wavy lines, running down the length of the quilt.

IMG_1648CurtainsQuiltDetail

The whole thing reminds me of rain, so the wavy lines seemed to be a good fit.

For the binding, I used lighter prints at the top and darker at the bottom:

IMG_1659CurtainsQuilt

That was before I had done the hand work.  Yes, I sewed it on by hand!

About the same time I was making this, my husband mentioned the new door-less shower and how, now that it was cold out, it gets super drafty in there - and did I have any ideas about what we could do?  Well ... YES!

IMG_1774CurtainsQuilt

The colors are perfect in there, the size is right, and the whole "looking like rain" thing sort of fits the shower.  I found a nice-looking tension bar and clips, so installation was super easy - and we can take it down when the weather warms back up.

Because it all looks rainy to me, the boxes sort of look like curtains in windows - so I'm calling this the Curtains Quilt.  I'm not sure that's perfect, but it's good enough!

Fun tutorial, fun quilt to make, and it was awesome working with those batiks!

Thanks for reading!
KZK

Friday, December 13, 2019

Ferris Wheel

I'm blaming starting yet another project on some of my quilting friends.  Ha!  They had been discussing English Paper Piecing (EPP).  It's a technique I've used before and really enjoyed the process.  Basically, you have paper or cardboard shapes, secure your fabric around that, hand sew the fabric pieces together, then remove the papers.  Here's a much better explanation - click here, please!

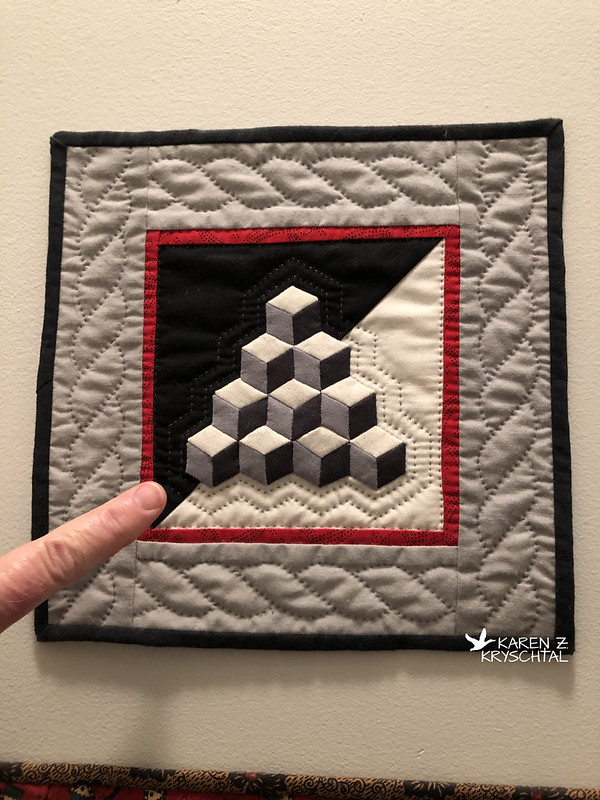
My other projects were miniatures - hand pieced, hand quilted.  The first one was a Hexagon Quilt, made in August of 2000, using Civil War reproduction fabrics:

IMG_1231HexagonQuilt

My finger is for size reference in these.

In December of that year, I pieced this one:

IMG_1234VotingBlocksMini

I called it "Voting Blocks", as I made it during the election period.

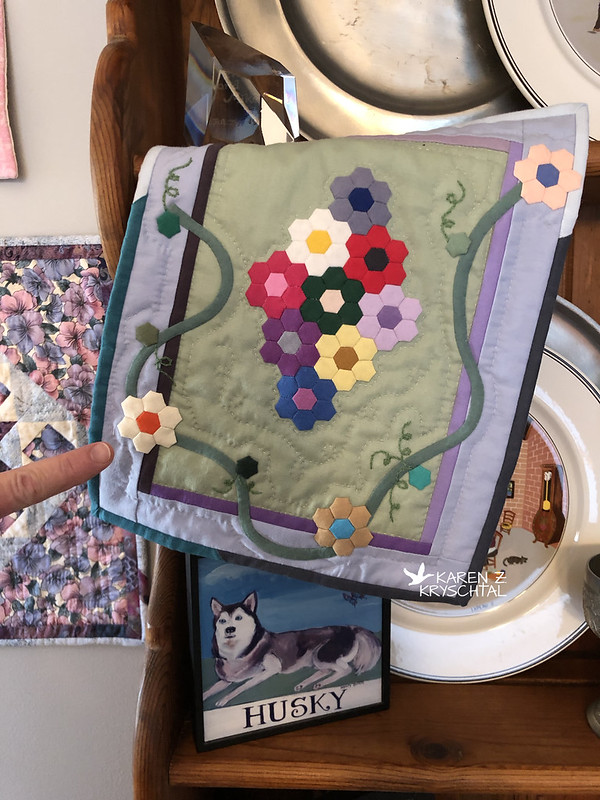
Next up, a combo of some EPP, a little appliqué, and a touch of embroidery:

IMG_1233GrandmothersTinyFlowerGarden

I called that one Grandmother's Tiny Flower Garden - made in 2007.

ANYWAY, I remember enjoying the process, so I thought I'd start another! That would explain ...

IMG_1223FerrisWheelEPP

What a mess.

I had a pattern pack of pre-made templates for a quilt called Ferris Wheel, so I thought I'd give that a whirl.

I've watched a lot of YouTube vids about EPP and the current trend is to use glue rather than stitching your fabric to the templates. That sounded a lot easier and faster!  My pieces are about half and half - some stitched, some glued. All I had to start was a glue stick, and I was a bit concerned about the template removal process.

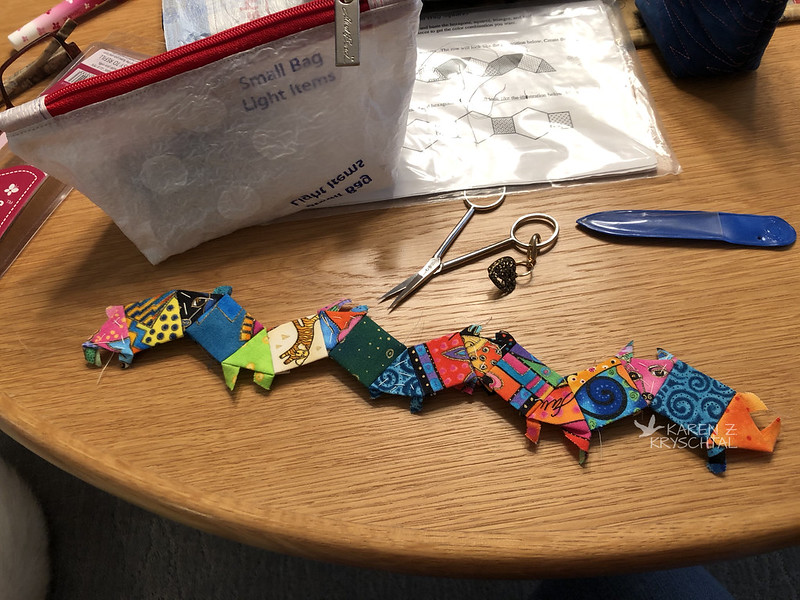
The pattern I'm following calls for sewing your shapes into long strips ...

IMG_1348FerrisWheelRow

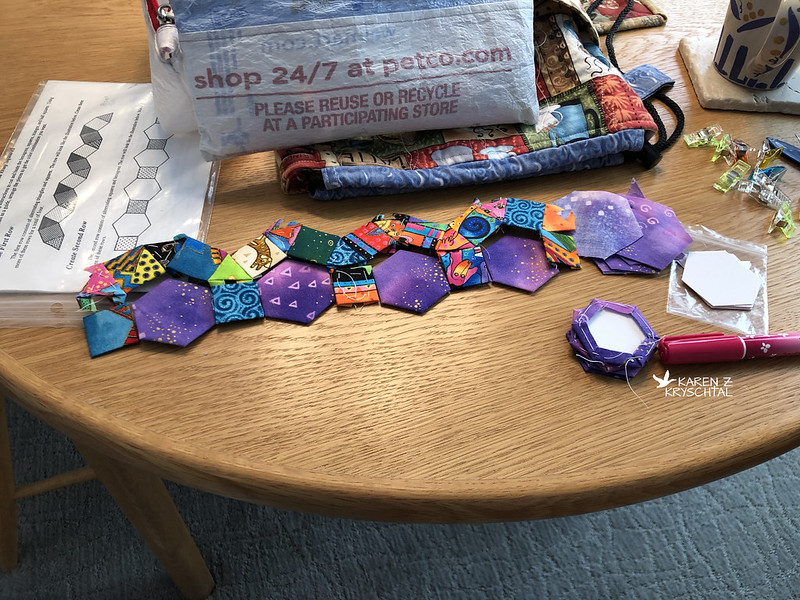
... two different kinds of strip sets ...

IMG_1355FerrisWheelRows

... then joining those strips together:

IMG_1503FerrisWheelRowsTogether

That's as far as I've gotten. (I even exhausted Maggie, as you can see!) The big difference between this one and the others is that there are three different shapes.  The hexagons are pleasant enough, and the squares are OK, but YIKES, those triangles are insane to deal with!  What was I thinking?!?

Anyway, I'll have time to get back to hand work coming up, so I will continue to march on it.

Oh!  And I found a "quilter's glue stick" that is recommended by some of the EPP experts.  I got mine from Amazon - you can see it here.  Very handy and much neater to work with than my old glue stick.

That's it for now!  Thanks for reading!
KZK

Thursday, December 12, 2019

Kaleidoscope

I know!  It's been way too long!  I've been doing a lot of quilting, just not taking the time to update the blog.  I thought I'd make an attempt to get caught up starting today.

Remember the Not Kira quilt I pieced back in August?  I quilted it back in October.  Let's take a look at the process!

I wasn't sure what I was going to do at first, then went with wavy lines.

IMG_1178KaleidescopeDetail

I love wavy lines.  I used Canaan, by King Tut.  Lovely shades of silvery, light grey!

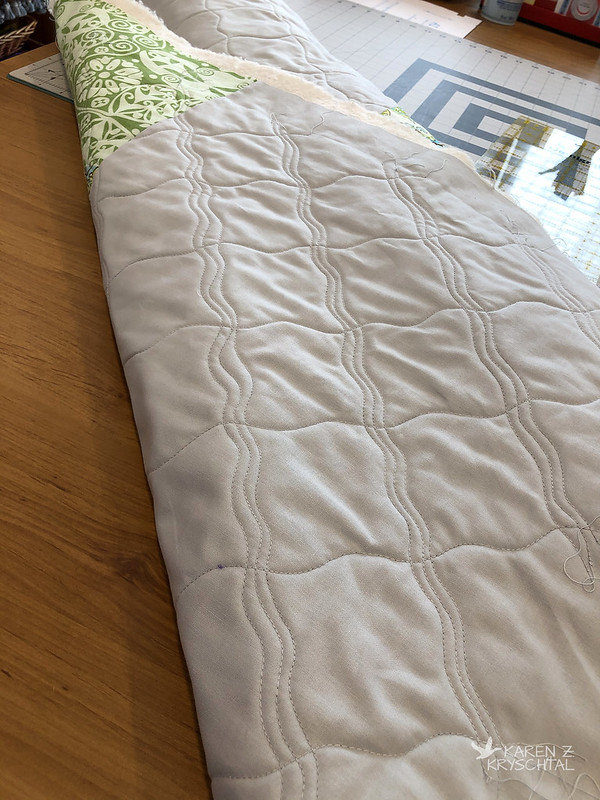
I thought I'd do groups of three one way and one lone wave doing a criss-cross. You can see that better on the reverse side:

IMG_1184KaleidescopeBackQuilting

The more I looked at it, though, the more I wanted MORE.

IMG_1195KaleidescopeQuilting

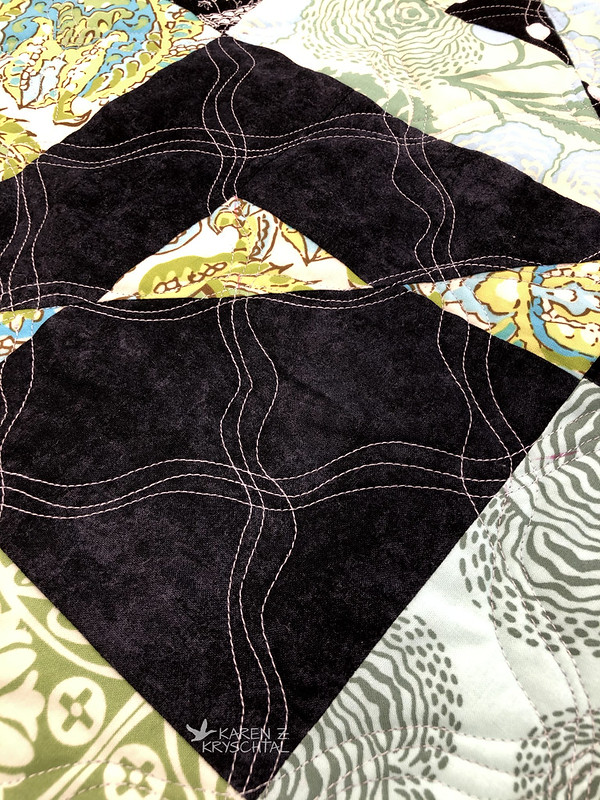
I knuckled down, tried to be patient with myself, and did a three-line wavy pattern, both ways:

IMG_1201KaleidescopeDetail

I was so much happier!

Speaking of happier, I also realized that yes, for some projects I really like the "all machine bound" option - especially for things that will be laundered frequently. But for this? No. I really knew I'd be happier doing the binding by hand. I sewed the front on by machine of course ...

IMG_1342KaleidescopeBinding

... and now I'm slowly but surely sewing it to the back by hand.

Also, at the suggestion of a friend (thanks, Cindy!) I have renamed "Not Kira" to "Kaleidoscope"! I think it's a good fit! Full photos upon completion!

Thanks for reading!
KZK

Monday, October 7, 2019

YAY!

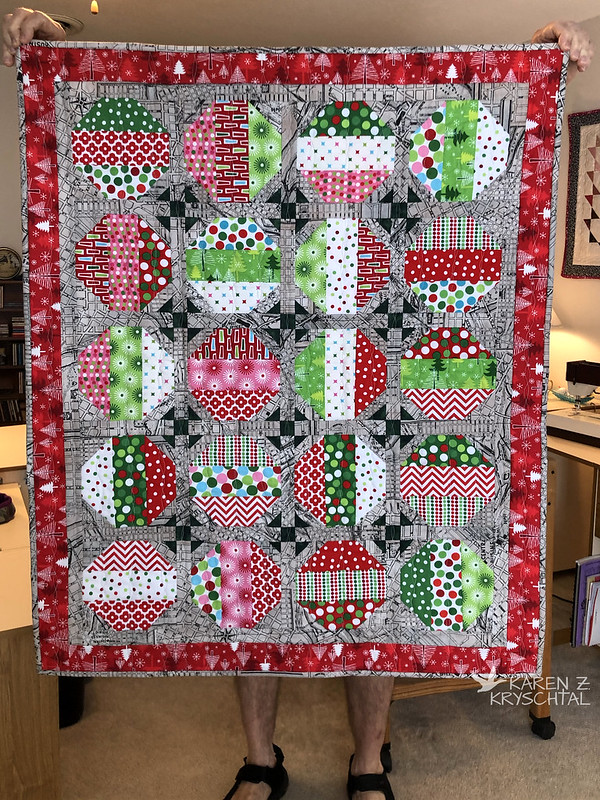
Hi everyone!  In the "Yay, I'm Finished!" category today, we have ... Christmas In The City!!!

IMG_1122ChristmasInTheCity

I really had fun with this one.  That fabric ... I just can't thank my friend Donna enough for giving me her VERY cool retro "scraps"!!! I love the bright, cheery fabs paired up with the city map fabric - I'm very pleased with how it came out! (... except maybe for having some rows "off", but that's another story altogether!)

I ended up sewing the binding by hand; I'm really happy with how it came out!  I'm still working on my machine binding skills, but ... I need work!

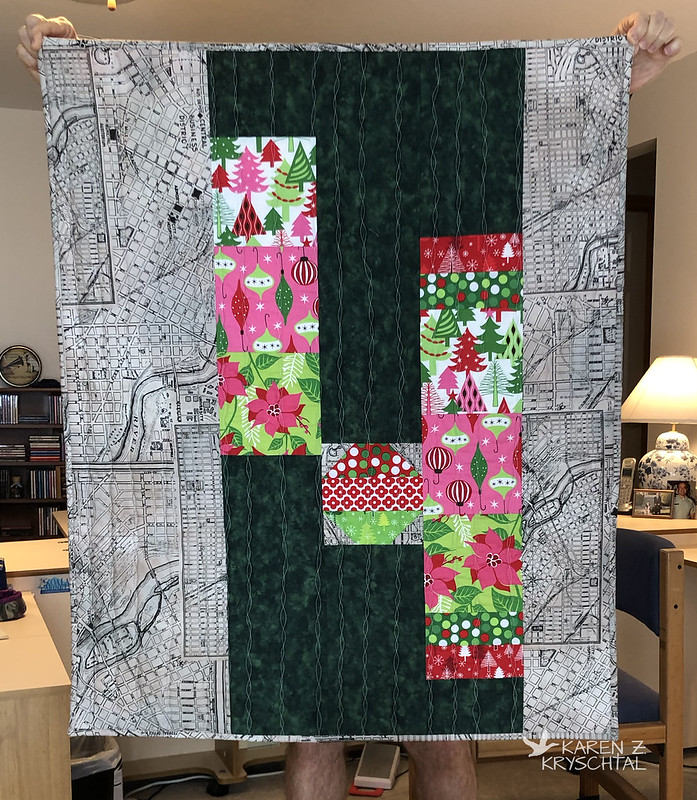
Here's a look at the back; you can get a good look at the quilting this way:

IMG_1125ChristmasInTheCityBack

I had a swingin', groovin', retro-coolin' time making this quilt! Thanks again to Donna for the awesome fabrics!

Thanks for reading!
KZK

PS:  Maggie likes it, too.

Saturday, October 5, 2019

Storage Cube

Hi everyone!  I thought I'd give you a couple updates today!

Remember the not-a-Kira quilt?  I finally pieced a backing for that!  I have it all basted and ready to be quilted.  Now I just need some time.  And to decide how I'm going to quilt it.  I keep changing my mind on that!  One of my friends suggested the name "Kaleidoscope" and I really like that!  I think I'm running with it!

And the Hunter's Star?  That massive quilt is now in the hands of a professional long-armer.  I'm SUPER excited!  More details to come on that!

The only other project I've tackled lately is a toy box for my girls!

IMG_1033ToyBox

I used Soft and Stable to help the box hold its shape.  I heard in another video that using Wonder Clips can help "train" the foam to go the way you want it to go, so after I hit the top seam with an iron, I Wonder Clipped the top before doing the top-stitching.  It worked out very well!

It was tricky sewing a cube (the "Y" seams at the bottom corners), but I followed a tutorial by Debby Shore. I found her directions to be clear and easy to follow. I've just "discovered" her videos and am really enjoying them!

Speaking of enjoying things ...

IMG_1037CamMagsToyBox

Both Cam and Maggie are enjoying their new toy box!

Thanks for reading!
KZK

Thursday, October 3, 2019

Wrapping It Up

Hi everyone!  I have two more little fabric baskets to show you today - made from the same tutorial from Pink Penguin that I've used many, many times.  I love the size and shape of this basket; we have a few here at the house and they are so handy!

A couple weeks ago, I showed you two I made recently - the one in colonial/early American type fabrics was for my mom and the denim/homespun one was for the owners of the cabin we stayed in on our trip out to see her.  Just a little "thank you" -- especially since they had no problem with our pups staying there.  I made two others, and they wrap up all the "making them for the trip" projects!

First up was this one:

IMG_0794FabricBasket

Pumpkins, acorns, leaves, sunflowers ... a lot of fun Fall fabrics!  I wanted to leave something with my mom to give to my sister-in-law.  (She and my brother live close to where my mom is, but they weren't home when we visited.). I thought it was adorable!

Next, a variation on a theme:

IMG_0810FabricBasket

Sunflowers, crows, birdhouses, lots of garden motifs.  I didn't piece the top of the outer part; I just wanted those sunflowers to shine!  I gave it to my neighbor as a "thank you" for taking our mail in and watching the house a bit while we were gone.  She grows sunflowers, like the good Kansan that she is - and has a veggie garden.  She really seemed to like it; I loved giving it to her!

That's a wrap of the "trip" projects!  As always, thank you so much for reading!
KZK