Wednesday, September 25, 2019

New Purse And Another Dumpling Pouch. Or 2. Or 3.

Hi everyone!  I decided at some point that I wanted a new purse.  The one I had been carrying was OK, but heavy!  What did I do that made it so heavy?  I have no idea.  Anyway, I knew the exact fabric I wanted to use!

Camo print with a plum (is that plum?) roses:
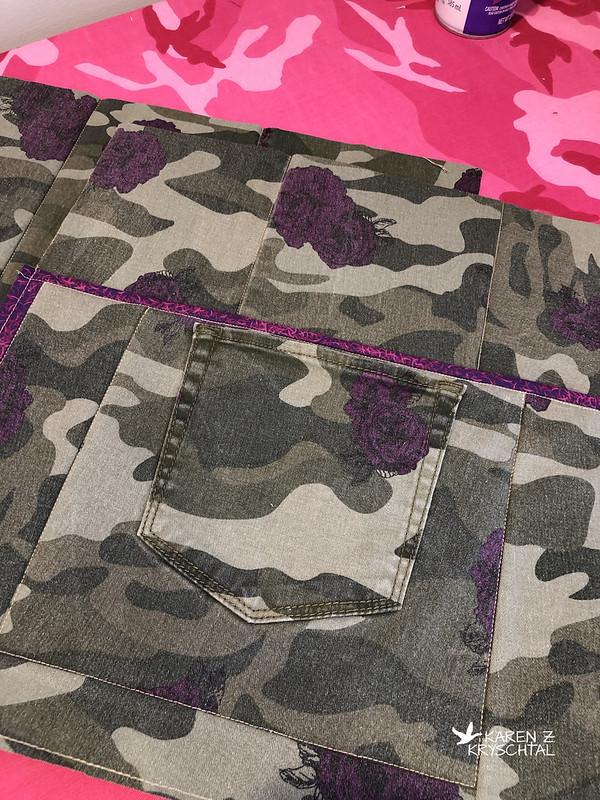
IMG_0522PursePanel

To be honest, it's a pair of jeans.  Actually, two pairs.  I bought a pair and they were too small.  I was in love with the print, so I bought the next larger size.  They weren't much better, but I vowed I'd be able to wear them.  Some day.  So ... to make a long story short, both pairs are now too large (yeah!  but ... that FABRIC!!!).  I thought a bag was the answer.

My plan was to just wing it for the bag itself, but I had watched a tutorial on how to install a recessed zipper into any bag and thought I'd give that a go.

IMG_0534RecessedZipper

Her instructions were pretty clear, but I did a lot of stopping and re-starting the vid.  She's a fast talker.  Or I'm a slow learner.  Whatever.  I liked how her tabs stuck way out on each side and it just looked cool.  And relatively easy.  Except ...
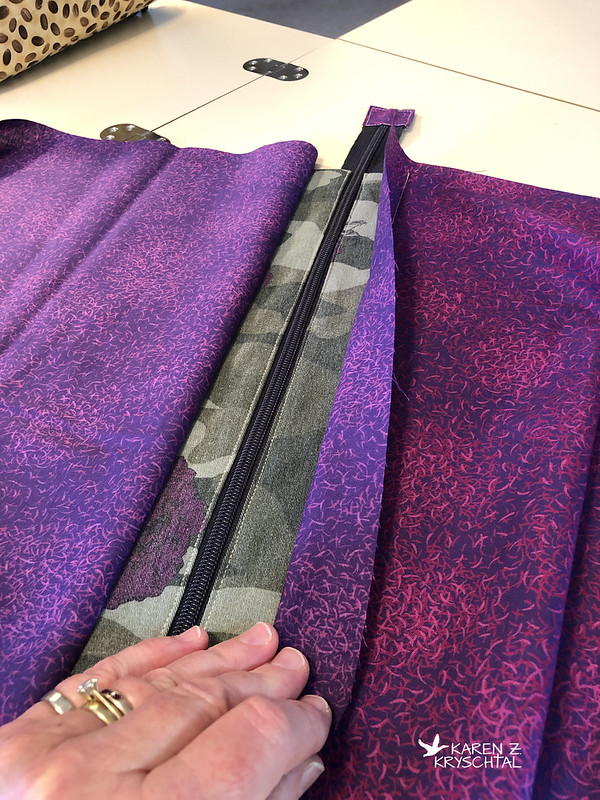
IMG_0535Oops
"Oh, -- insert HBO words here --!!!"

Yeah.  Oops.  Well, that's why God gave us seam rippers, right?

My bag was together before I knew it:

IMG_0541Purse

The fabric, the purple/plum/pink/whatever else is an old Mary Ellen Hopkins that I probably bought in Korea.  I thought it was a good fit!
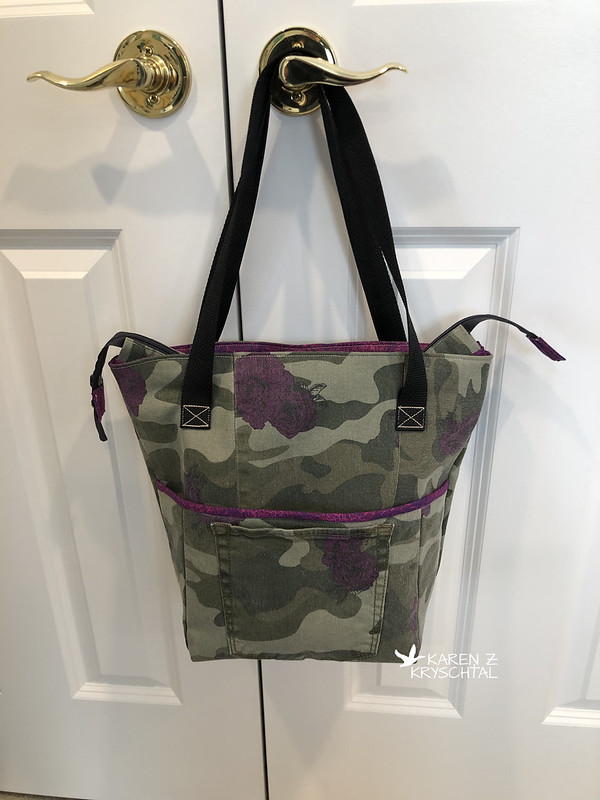
IMG_0538Purse

A pocket on a pocket on the outside front!

I still had fabric left over, so I decided to make another Persimmon Dumpling Pouch!  Or two.
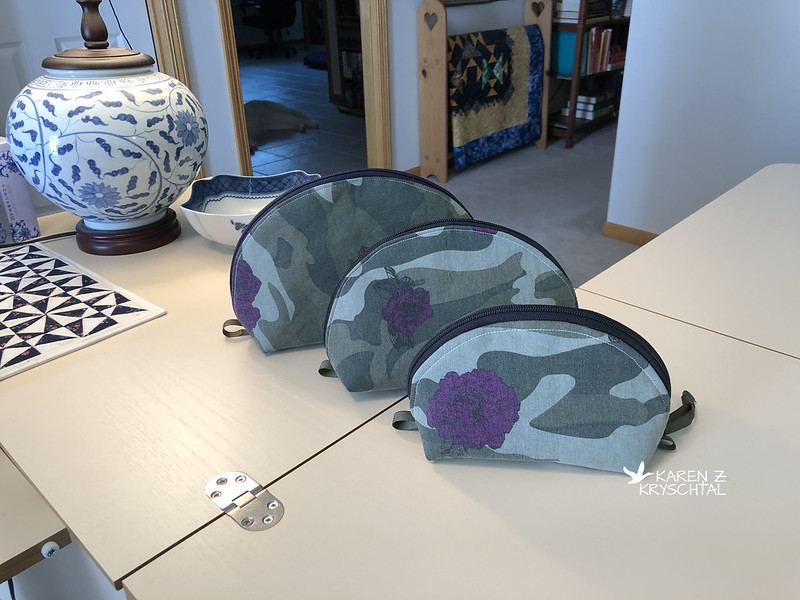
IMG_0703PersimmonDumplingPouch234

Or three.

I used recycled zippers from discarded clothing:
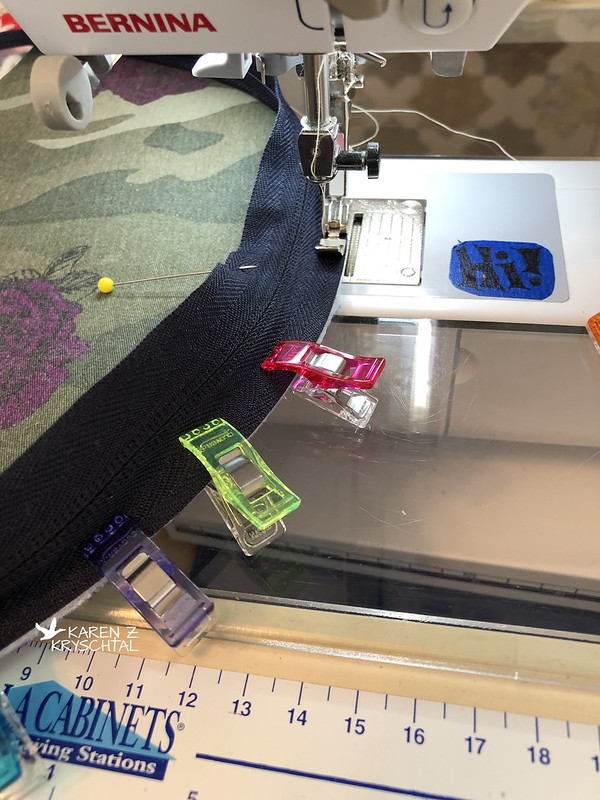
IMG_0631PersimmonDumplingPouch2

And for zipper pulls and tabs at each end, I used the ribbon from the bottom of BDU pants: 
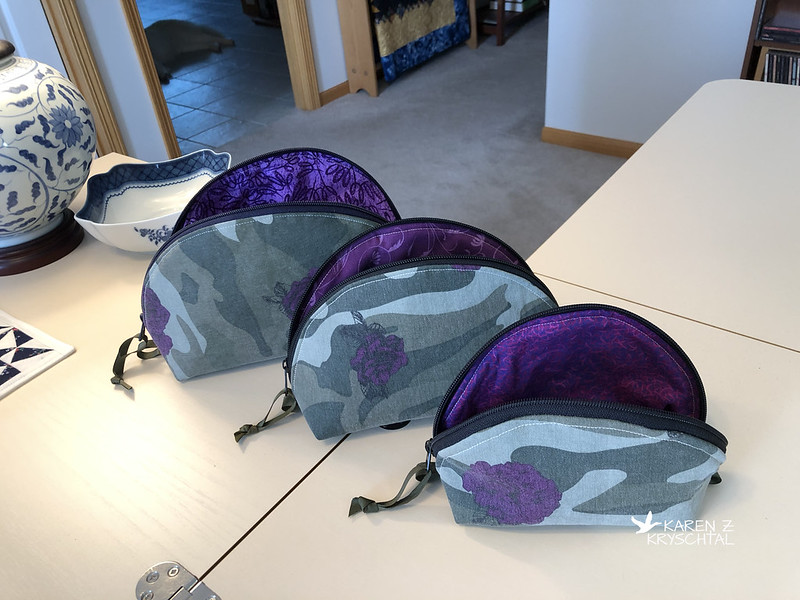
IMG_0705PersimmonDumplingPouch234

The tabs on the ends make it much easier to zip and unzip the bags!
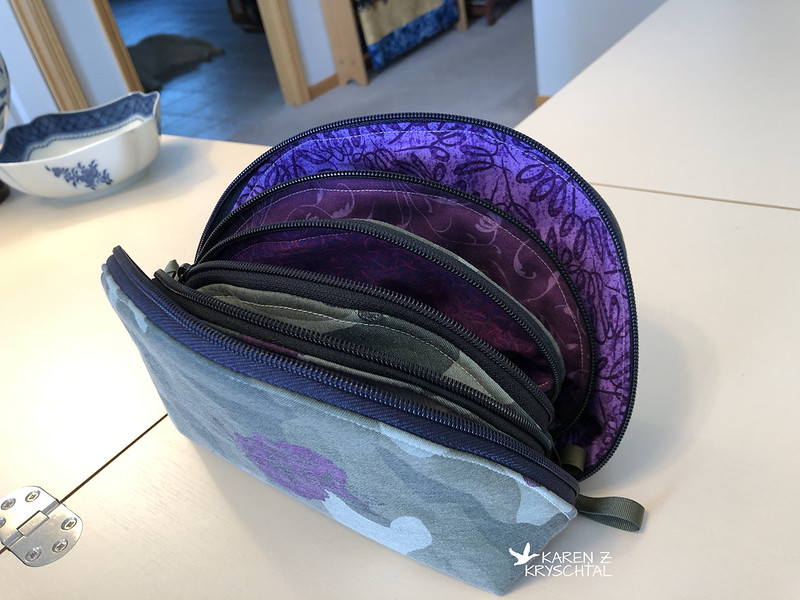
IMG_0706PersimmonDumplingPouch234

I love that Sara includes three different sizes for the pouch - and they nest inside each other for easy storage!  I took mine with us on our trip (toiletries, cosmetics, etc.) and they were SO handy!  I've even washed them now and they held up perfectly!  Yay!

Please stay tuned ... there is a good chance there are more Dumpling Pouches to come!

As always, thank you for reading!
KZK

Tuesday, September 24, 2019

Filler

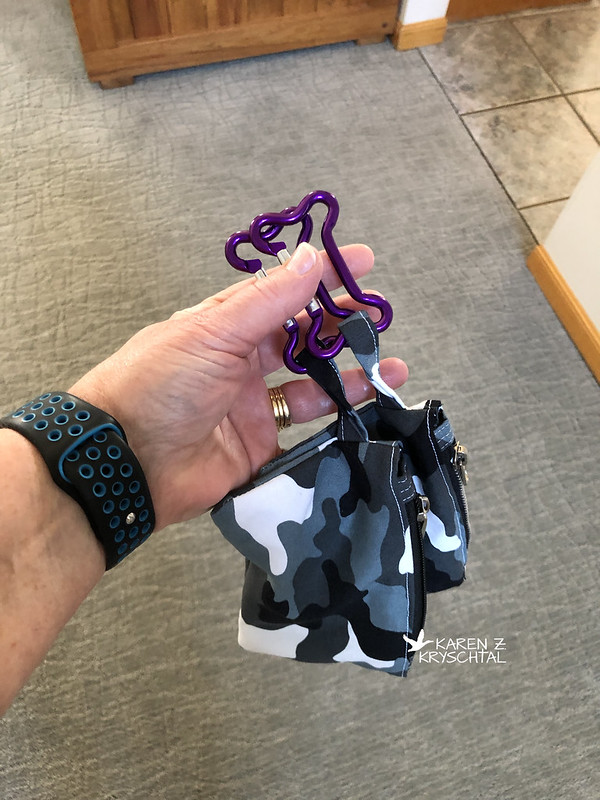
Hi everyone!  I usually like to have a project (or two ... or ...) going at all times in the Studio.  Sometimes it's little "filler" projects.  One thing I recently did was new "bag holders" to attach to my dogs' leashes:

IMG_0452BagHolders

Really convenient to have already hooked up to their leashes, in case you forget to grab a bag on your way out the door with someone. I don't know this for a fact, but I'm pretty sure there's a section in the Siberian Husky Rule Book about trying your hardest to have a BM if your person leaves without a bag. I thought it was time, plus we would be leaving for a trip soon (we've been and gone now) and I thought it would be extra handy!

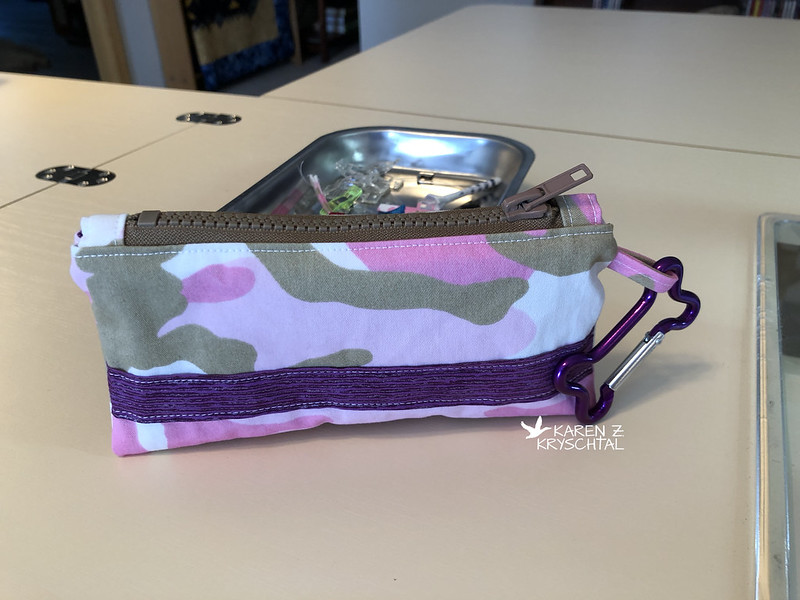
I decided to do one for a friend, also. Her pup's collar and leash are pink, but because her husband is the one who usually walks her, she didn't want anything too girlie. I thought this called for pink camouflage!

IMG_0491BagHolder

I just happened to have a re-purposed zipper that matches the khaki in the camouflage print.

IMG_0490BagHolder

The purple is for Kansas State University, of course!!

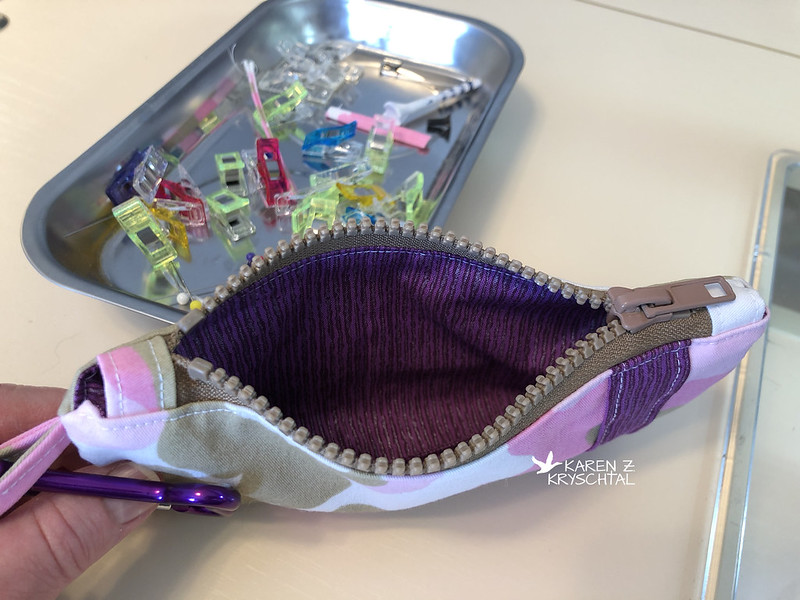
I lined hers (I skipped that on ours) with more of the purple:

IMG_0492BagHolder

I'm really pleased with how it came out - and I think my friend is, too. 😊

Thanks so much for reading!
KZK

Sunday, September 22, 2019

My First Dumpling Pouch!

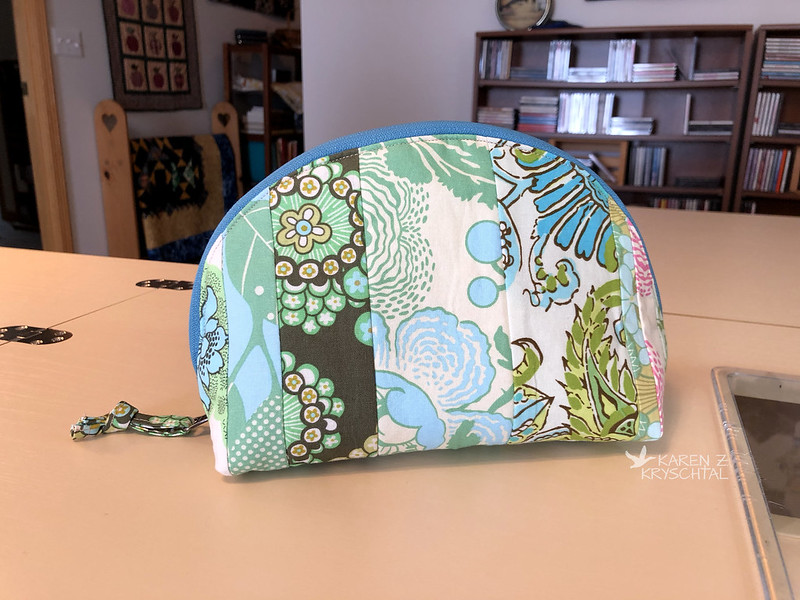
Hi, everyone!  I have so much to show you - it's going to take a handful of days to get caught up!  I've now made several Persimmon Dumpling Pouches (pattern by Sew Sweetness) and want to show you the first today!

I'm not even sure how it started, but I think I stumbled onto one of Sara's videos on YouTube - and the rest ... you know the saying!  Shortly after seeing her Persimmon Dumpling Pouch, I knew I had to give it a try!

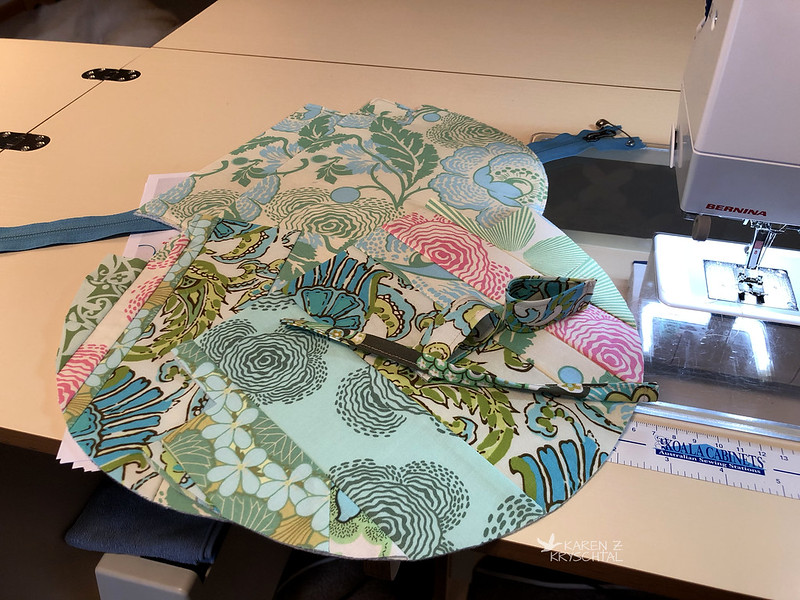
I wanted to play with some of my Amy Butler scraps.  I made templates and had everything cut out quickly:

IMG_0433PersimmonDumplingPouch1

I intended to insert side tabs, to make it easier to unzip the pouch, but I couldn't quite pull it off with this first one; I have for subsequent ones!

I followed Sara's directions except for adding a little panel at the bottom. I'll try that technique eventually, but I skipped it for the first one. Here it is!

IMG_0447PersimmonDumplingPouch1

The zipper is from a discarded jacket. (I have finally broken down and bought some zips! They should be here next week.). Waste not, want not!

Here's the other side:

IMG_0446PersimmonDumplingPouch1

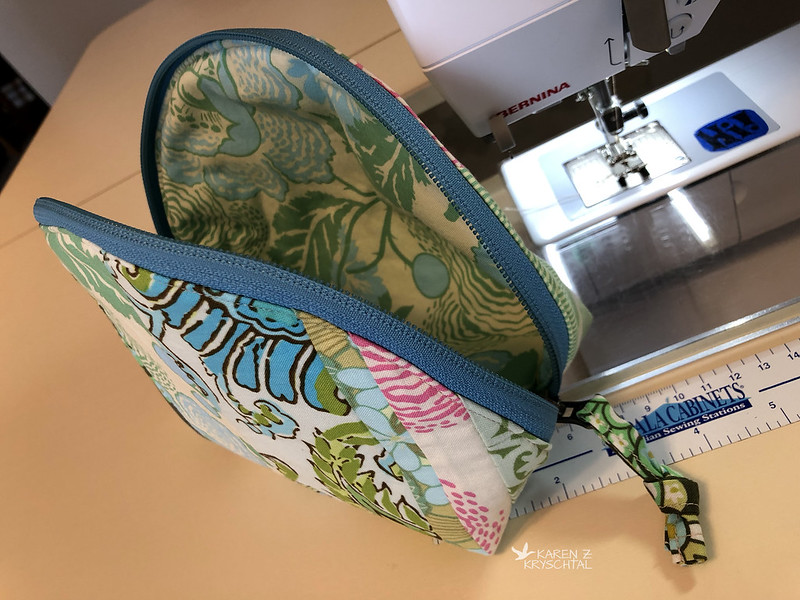
And a look inside:

IMG_0444PersimmonDumplingPouch1

She has three different sizes -- this is the large.  I made a zipper pull from fabric - just to dress it up a bit.

This was so much fun to make!  It's fully lined, with no exposed seams.  Sara's instructions are terrific, both written and the video.  More Dumpling Pouches to come - please stay tuned!

Thanks for reading!
KZK

Wednesday, September 11, 2019

Baskets

Hi everyone!  Thanks for stopping by!  The next projects I tackled were some cute little fabric baskets.  I wanted a couple of sort of "hostess" gifts and thought these would be perfect.  I used one of my favorite tutorials - it's by Ayumi at Pink Penguin, click here for the link.

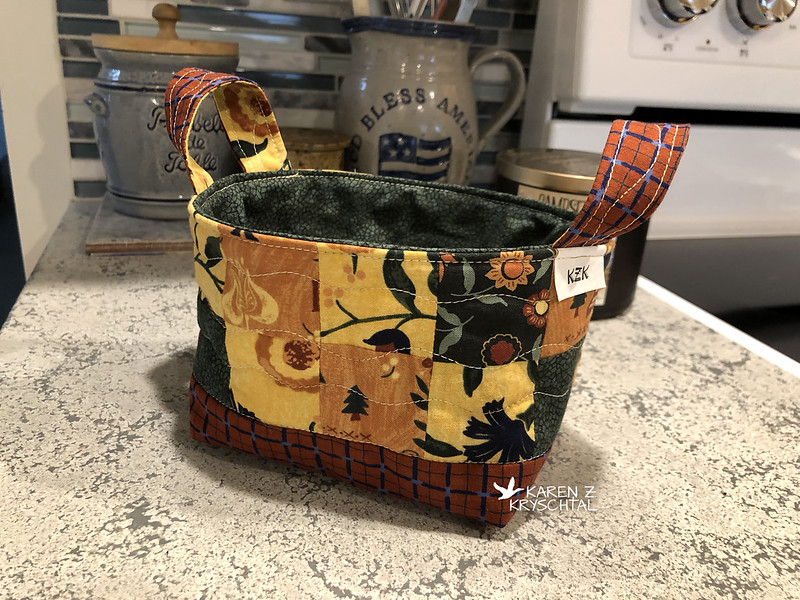
For the first basket, I wanted a sort of colonial America feel to it.  Here are the pieces I started with:

IMG_0408ColonialBasket

I love these fabrics - I made a table runner with them for a friend several years ago that I just loved!

It was together before I knew it:

IMG_0410ColonialBasket

I have a cute, coordinating blue, but she's more of a green person, so I went with that for the lining and a few of the patchwork pieces.  I'm very happy with how it came out!

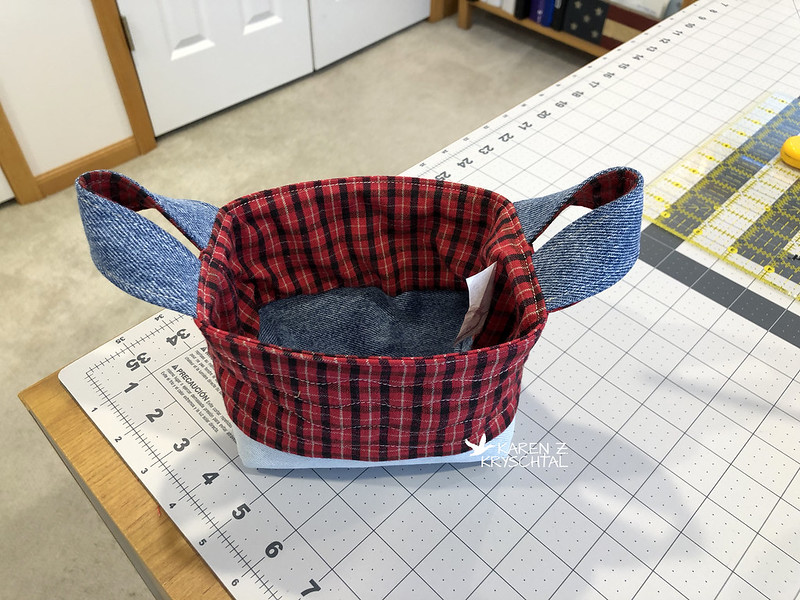
For the next one, I wanted something sort of rustic. I chose denim and homespun, and decided not to do the patchwork along the top.

IMG_0429DenimAndHomespunBasket

Here's a look inside:

IMG_0428DenimAndHomespunBasket

I'm hoping the person it is intended for will appreciate the recycled aspect of the denim parts!

I think they're both cute and hopefully the recipients will think so, too!

Thanks for reading!
KZK
Tuesday, September 10, 2019

Quilting Christmas In The City

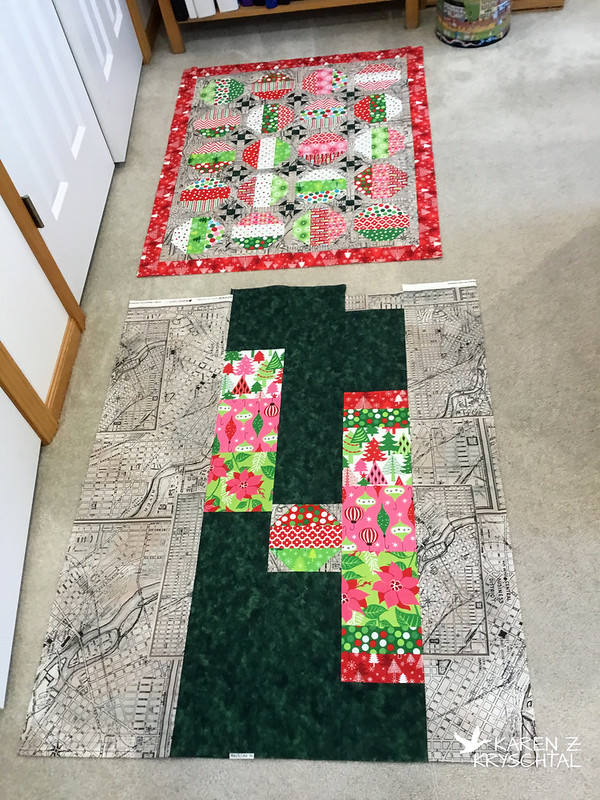
Hi everyone!  Thanks for being here!  Once I had my retro Christmas In The City Quilt pieced, it was time to come up with a backing! I had only made a dent in Donna's "scraps" (honestly, the most generous "scraps" EVER!!!), so I took a look at what I had in that group. There was plenty of the dark green I'd used in the Shoo Fly blocks -- and there were some large squares of some awesome fabrics I hadn't even used! Here's what I came up with:

IMG_3362ChristmasInTheCityTopAndBack

I put my extra "ornament" on there, too.  Why not, right?  And more of the city map fabric!

Next, I chose a binding. I had all kinds of crazy ideas, from the green to using all scraps, then decided I really wanted to just use the map fabric:

IMG_0388ChristmasInTheCityBindingChoice

It's a good fit!

On to the quilting thread! I ran this photo past my friends:

IMG_0562ChristmasInTheCityQuiltingThreadChoices

The general consensus was to go with the silver/grey. Excellent choice -- it's Canaan, by King Tut.  Actually all the threads are by King Tut -- all hail the King!  I think any of the above would have worked, but the silver/grey was perfect for the quilting design I had in mind!

IMG_0590ChristmasInTheCityQuiltingBack

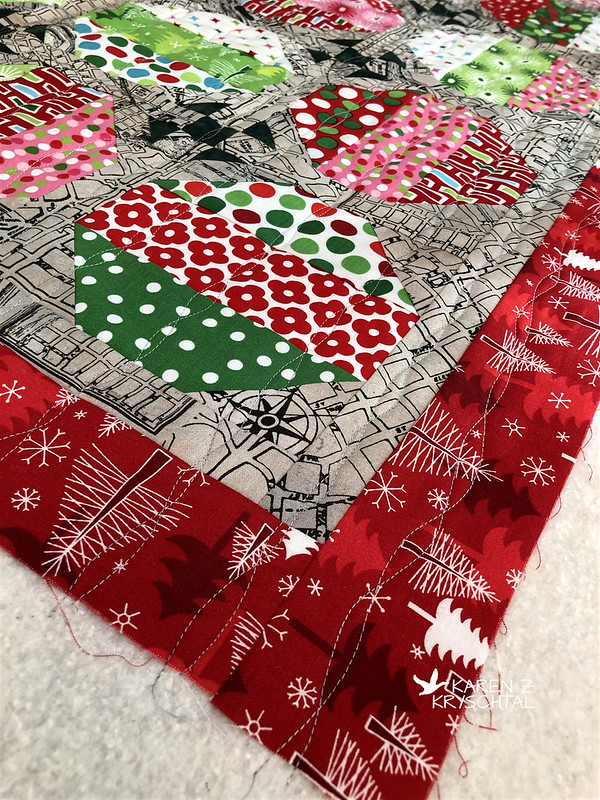
That's a shot of the back. Remember those old tin icicle ornaments? I wanted to suggest those, or twisted ribbons. I remember seeing a lot of those ornaments in the 60s or 70s. I thought it was a good fit!

IMG_0598ChristmasInTheCityQuilting

I think it's just enough, without taking anything away from the quilt!

I winged it with my walking foot and was done in no time!

IMG_0630ChristmasInTheCityQuiltingDone

I decided to do the binding by hand, so that might take a while. The machine part is done; now I need some hand-sewing time!

Thank you so much for reading!
KZK

Monday, September 9, 2019

The Girls Beat Me To It

Hi everyone!  Thanks for stopping by!  My girls actually beat me to posting about this new project over on the Ao4 Digest, so I figured I better get off the stick and blog it as well!

Years ago ... we don't have to talk about how many ... my friend Donna sent me what she called "scraps" -- leftovers from a Christmas project she had wrapped up.  WOW!  Not only was it very kind of her, but ohmyword, I LOVE the fabrics!!!  And there were TONS!!!  Time to put them to use!  ... finally.

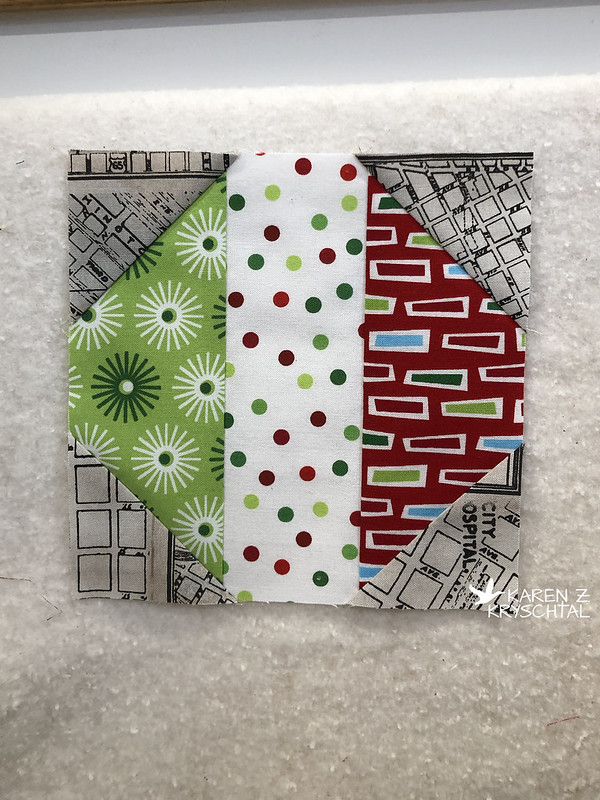
It started with one innocent block:

IMG_0256ChristmasInTheCityBlockOne

Tell me those aren't the coolest, hippest, swinging-est fabrics!!!  So totally retro-Christmas!!!  I paired everything with an awesome city map fabric I recently purchased.

The block sprung out of one of Jenny's tutorials over at Missouri Star Quilt Company -- it's the Beach Balls quilt.  I thought the beach balls could also look like Christmas ornaments -- right?!?

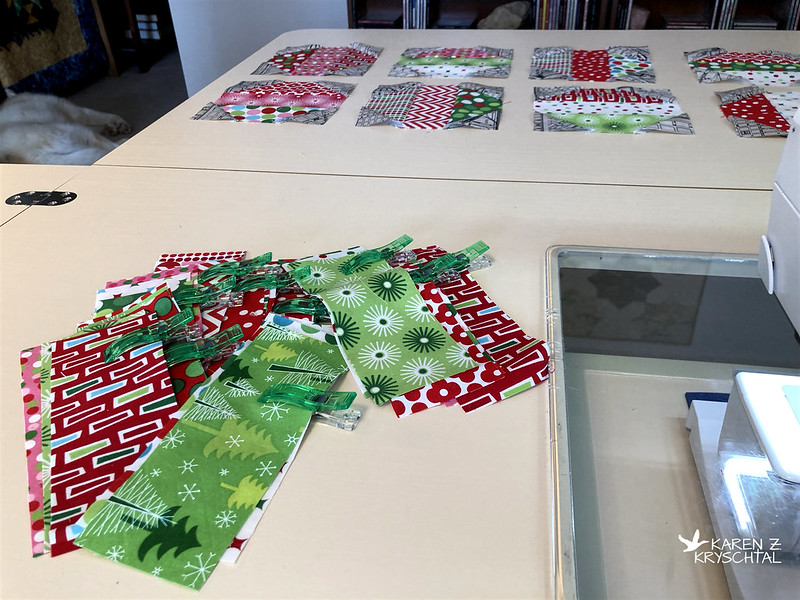
I kept marching:

IMG_0280ChristmasInTheCityBlocks

I wanted each ball, each ornament to be different, so I kept dealt my fabric pieces out, then Wonder Clipped them together.  I knew they'd get all mixed up otherwise.

I had lots of help along the way:

IMG_0277ChristmasInTheCityHelpers

Such wonderful company!

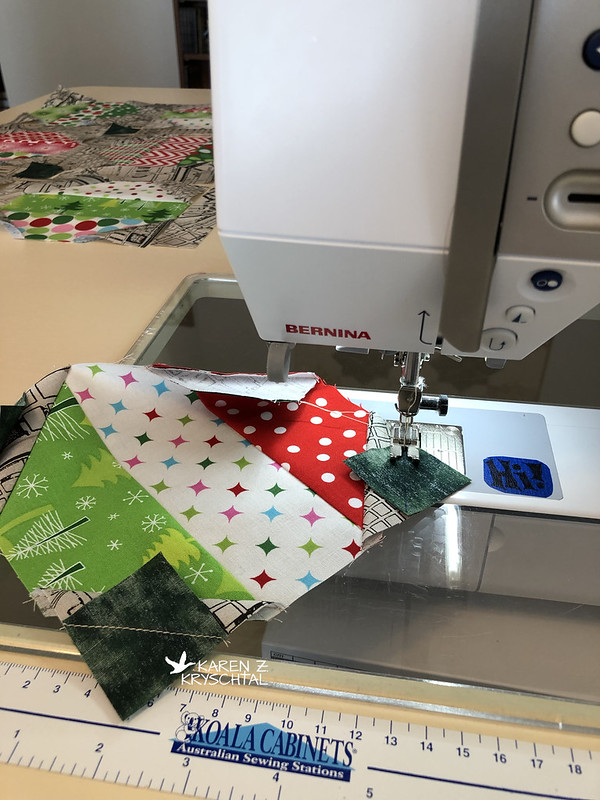
There were an awful lot of flippy squares involved:

IMG_0302ChristmasInTheCityTrimming

When I trim the excess fabric off, I like to use my "Add A Quarter" ruler.  It's really for paper foundation piecing, but I've found that the ridge lines up nicely on my seam line, then I can just zip the flips off with my rotary cutter.

I also sashed with the map fabric.  I couldn't wait to see what it would look like:

IMG_0303ChristmasInTheCitySashingLayout

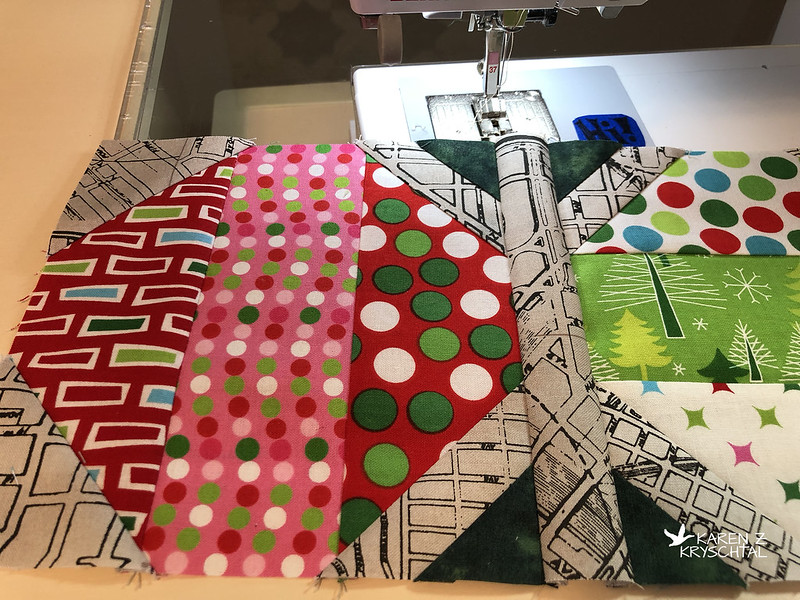
Part of Jenny's design that I really liked was that her sashing and cornerstones made little Shoo Fly blocks.  I love sub-pattern play like that!  For the triangles in the Shoo Fly, you actually make flippy squares on top of flippy squares!

IMG_0315ChristmasInTheCityFlippySqsOnFlippySqs

Donna had used a dark green sort of marbled print in with her retro Christmas fabrics.  I thought that would be perfect for the Shoo Fly blocks!

Here it is, laid out on my "design wall" (OK, a piece of batting tacked up above my closet door):

IMG_0318ChristmasInTheCityLayoutDesignWall

You can get the general idea there.  Some of the flippy squares look flipped up, but ... you know.

I liked the layout (horizontal, vertical, repeat, repeat; vertical, horizontal, repeat, repeat -- and on), then set about sashing them all together:

IMG_0330ChristmasInTheCitySashing

I totally dig the fabrics!  How can you look at them and not be happy?!?

Here it is, once I got it all together, complete with border:

IMG_0385ChristmasInTheCityTopComplete

How I went from my perfect layout to the above, I do not know.  Somehow I got the rows out of order ... but I really don't care.  I could not love this more than I do!

The fabs from Donna feel so 1960s to me, and bring me back to my childhood.  The map fabric - it's some made up city, I think - but paired with these fabrics, it's like Christmas In The City!!!  We spent many Christmases at my Grandparents' houses in Pittsburgh, PA.  I remember going downtown to look at the lights and the pretty Christmas window displays!  I especially remember Macy's, for some reason.  I also remember the smell of city bus exhausts -- for some reason, it's a pleasant memory!  That's all what this quilt brings to mind for me, hence the name Christmas In The City.  Many, many thanks to Donna for her "leftovers"!!!

Tune in tomorrow for a look at the quilting!

Thanks so much for reading!
KZK
Sunday, September 8, 2019

Fun With Fusing

Hi everyone!  Sorry it's been a while!  I've been doing a lot of quilting and other small projects, so let's just jump right in!

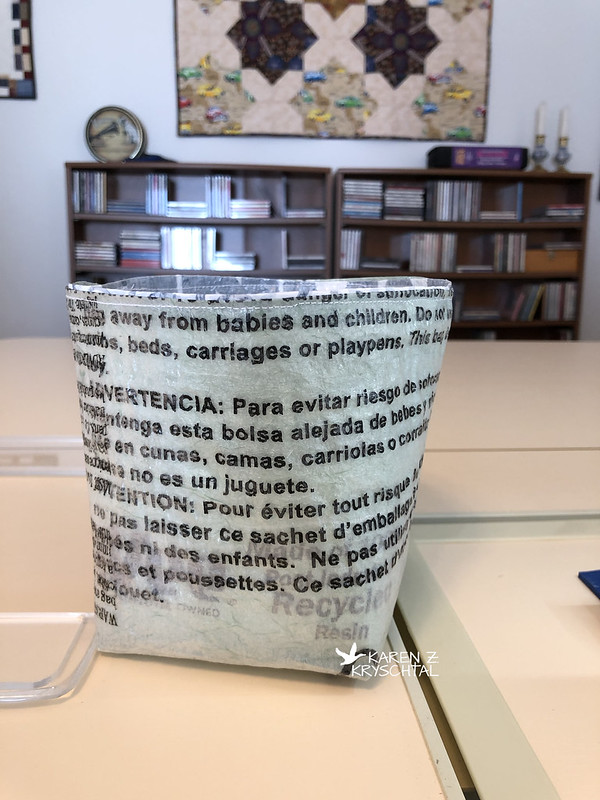
One of the "quick and fun" projects was a little storage bin made from fused plastic bags:

IMG_0235PlasticBagBag

I have to say, Wonder Clips are fabulous when dealing with plastic! They hold the layers together without leaving holes. Just perfect!

Oh! You can see my Australian Floor Tiles Quilt hanging on the wall facing my machine. Doesn't it look wonderful there? And this was too funny! We were dialing around on the TV the other day, and I think an episode of Fixer Upper was on HGTV. I grabbed my iPhone and took a quick shot -- check out the floor tiles:

IMG_0544

How cool is that?!?  It's the exact pattern/layout as my quilt!

OK, back to the little fused project!

I really love the bags that come with new appliances. Any kind of fabric (even fused plastic) with the writing on it always intrigues me.

IMG_0236PlasticBagsFused

I think I have the request at the bottom of this bag covered:

IMG_0238FusedBagsBag

Making them can be a bit addictive!

Thanks for reading!
KZK