Monday, October 8, 2018

Lined Zippy Pouch Tutorial

Hi everyone!  As I promised in the last post, I'm here (finally) with a tutorial for a zippy pouch.  Let me first say there are a gazillion of tutes on the web for lined zipper pouches.  This is my way.  I'm doing this almost as much for myself as I am for those who asked, as I can never remember which tute I followed and what I did.

This is photo-heavy, but I wanted to post the complete process.  Ready to go?

First step, cut your fabs.  Use anything - any fab, piece it if you want to.  For this tute, I'm using "vintage linen" - an old tablecloth of my grandmother's.  I made my sister a bag from the rest of it.
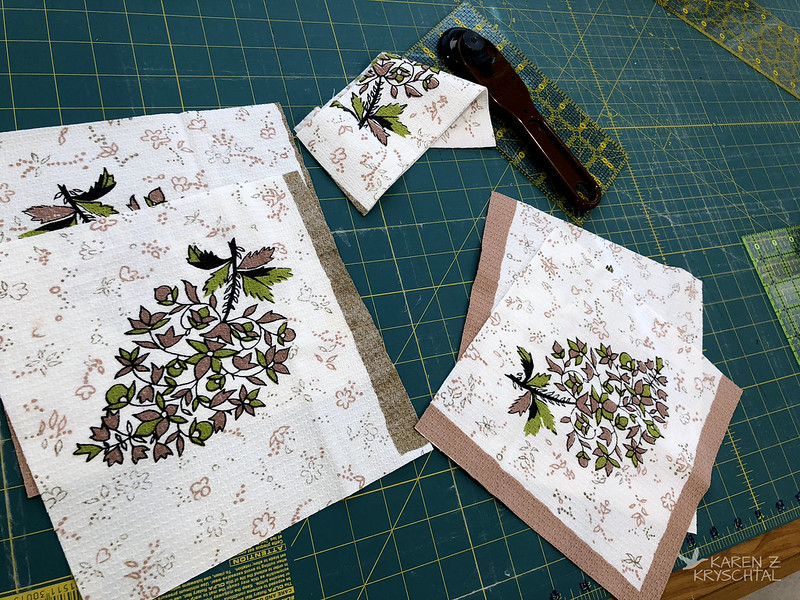
IMG_4438CutPieces

You want 2 pieces for the outside and 2 for the lining, and scraps for zipper tabs.  I cut my pieces 8" square; they can be any size!

Next, AN OPTIONAL STEP (only if you want to box your corners) - cut the bottom corners off each panel like so:
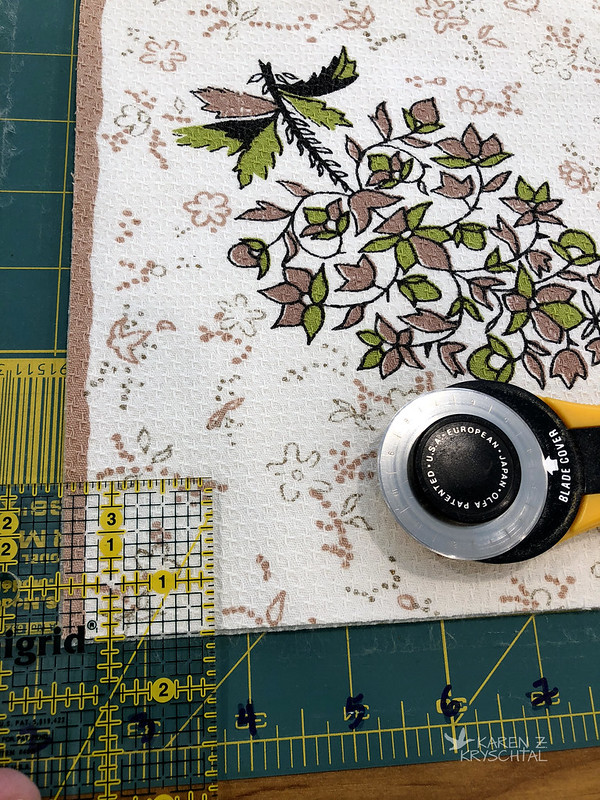
IMG_4442CutCorners

For an 8" square, 1.5" square is good.  Do the bottom corners ONLY of each of the 4 panels.
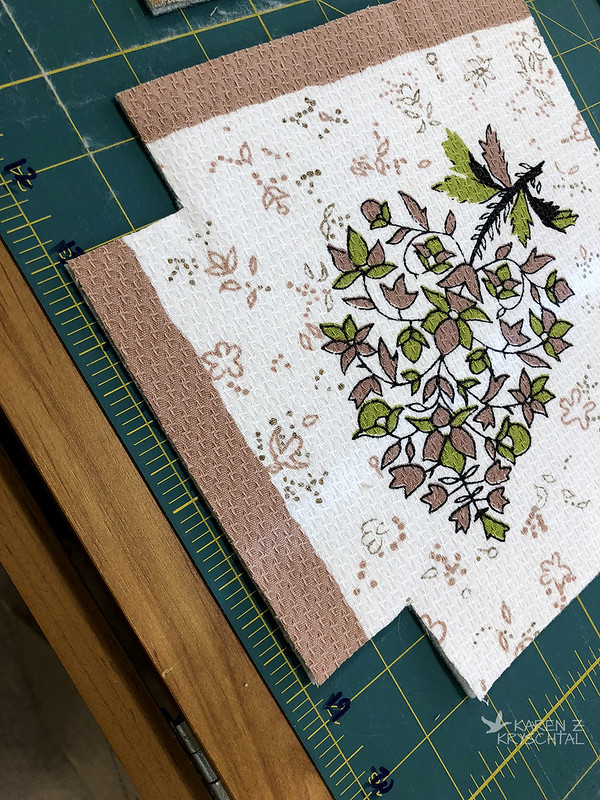
IMG_4443CornersCut

Again, that was optional.

Next, grab a zip!
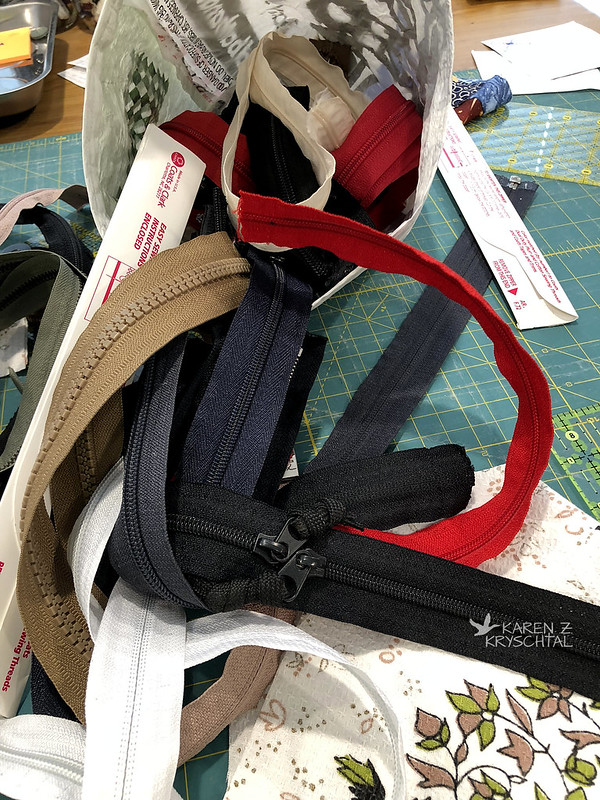
IMG_4440GrabAZip

I save zippers out of discarded clothing, backpacks, etc.  Why not?  Your zipper should be 1" smaller than the width of your bag and NYLON.  So for our example, a 7" zip would be fine.  Longer is totally good.  You can sew through nylon zips, so ... yeah.

Mark the zipper 1" smaller than your panel and CUT, if needed.  If you need to cut it, make sure the pull tab is on the part you're saving.
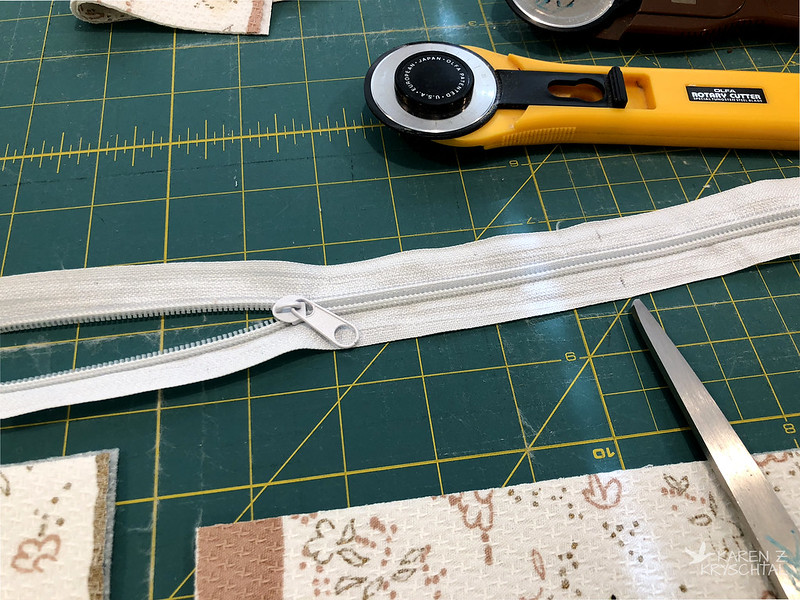
IMG_4444CutZip

Next - we're making zipper tabs.  Use scrap fabric.  Cut about 2" x 4".  Make 2.
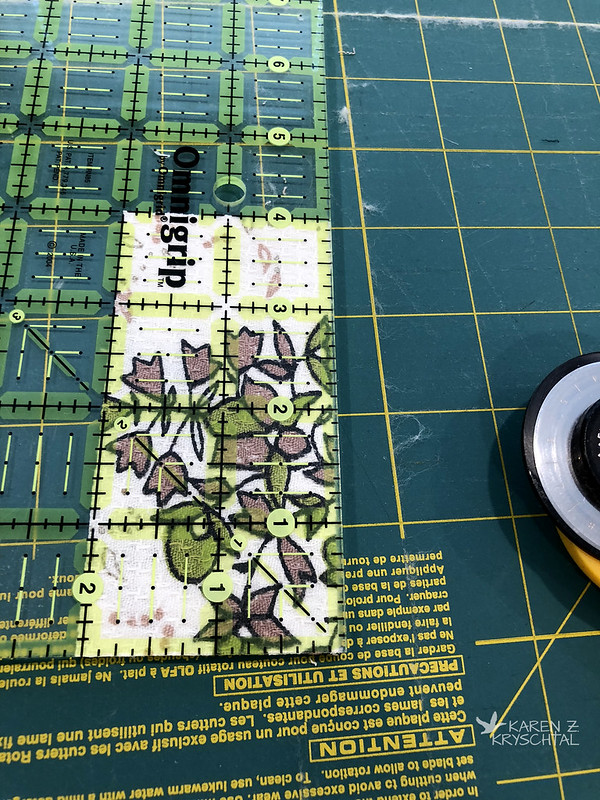
IMG_4449CutZipTabs

Take over to your pressing surface, fold in half (bringing short sides together), and press, wrong sides together.
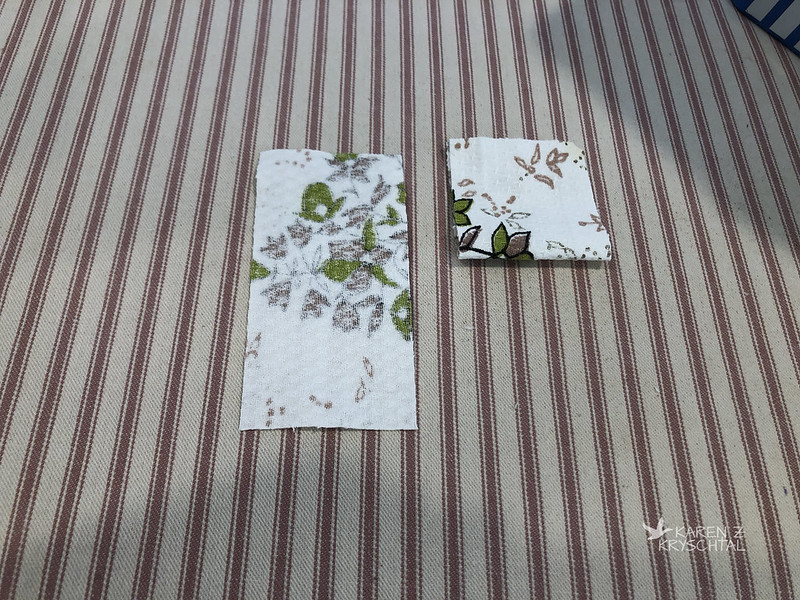
IMG_4450ZipTab

Unfold, then fold ends in to that crease.  Press them.
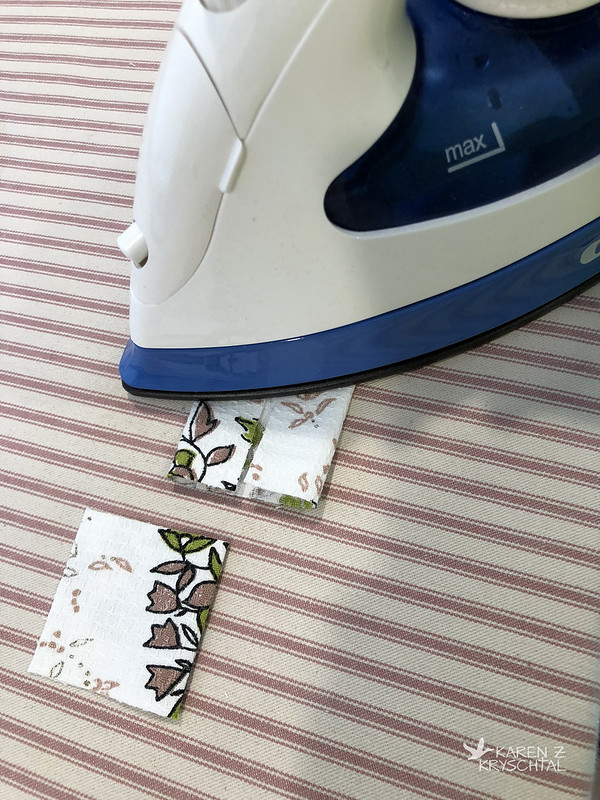
IMG_4451ZipTabs

Now fold the whole thing in - so you basically have a 1" tab.  Press.  Do that for both.
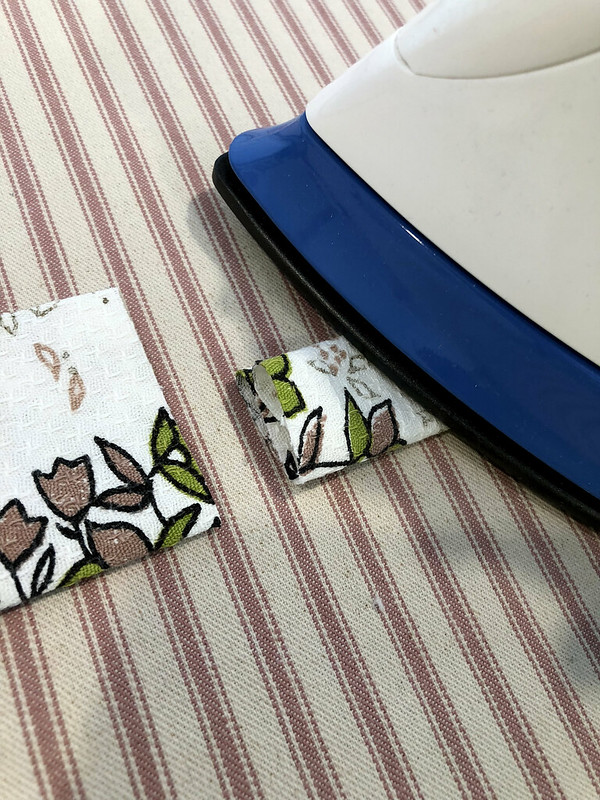
IMG_4454ZipTabs

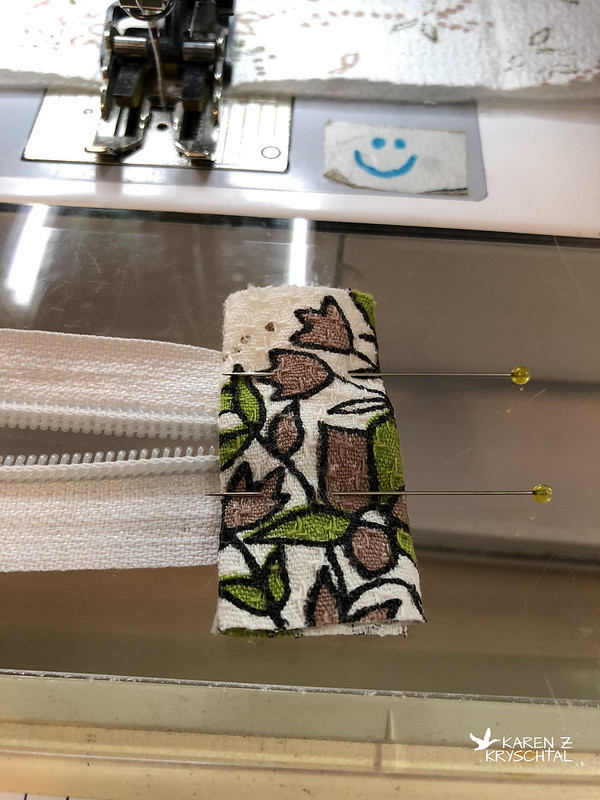
Open your tab up and insert one end of the zip.
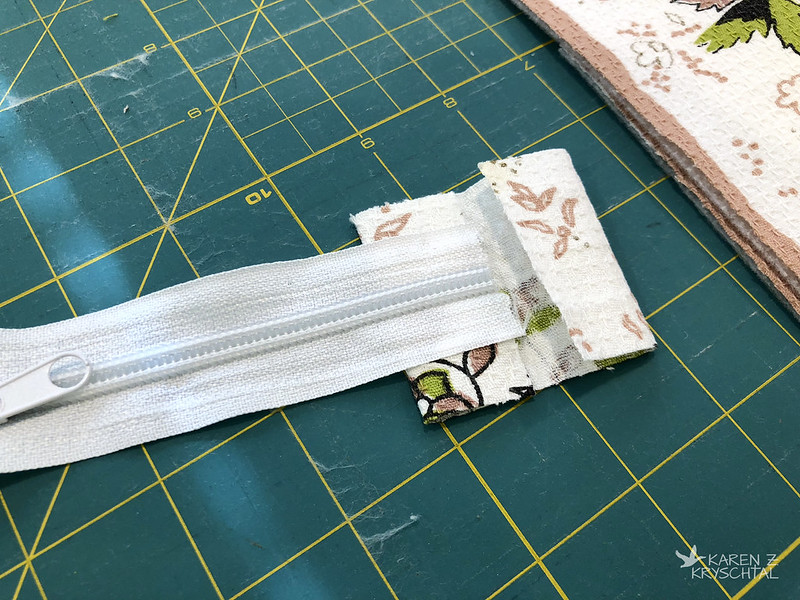
IMG_4456InsertZip

Pin shut.

IMG_4458PinZipTabs

Sew close to your folds, making sure to catch all layers.
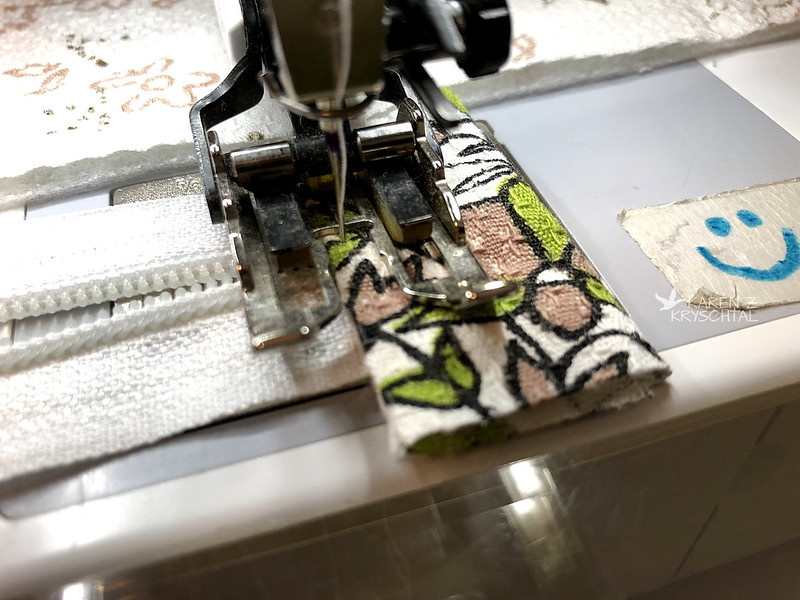
IMG_4459SewThroughZip

I like to put two lines of top stitching in there.
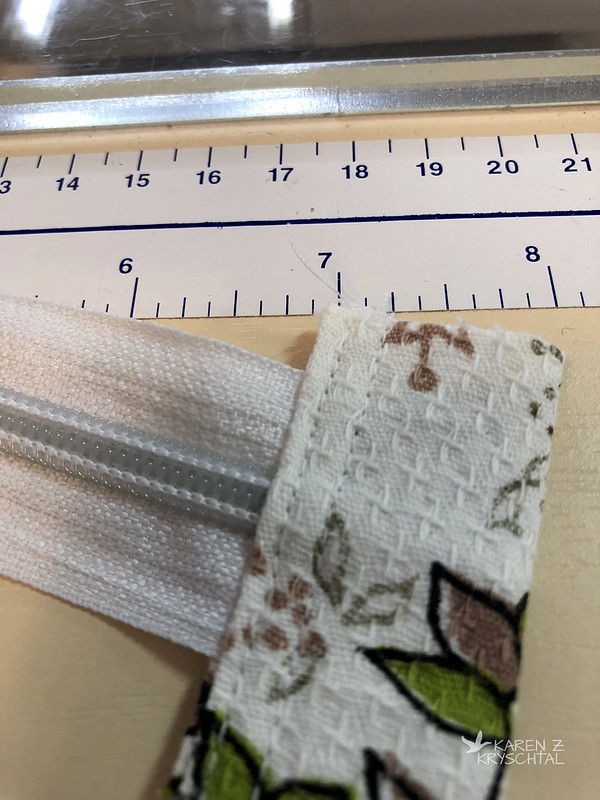
IMG_4462ZipTab

It looks cute and is strong.

Do that on both ends of the zip.

Trim the tabs even with the zipper fabric's edges.

IMG_4466TrimZipTabs

Next, another OPTIONAL step.  If you want to quilt the outside of the bag, knock yourself out.  I just put the exterior fab right on some batting and did some straight lines.
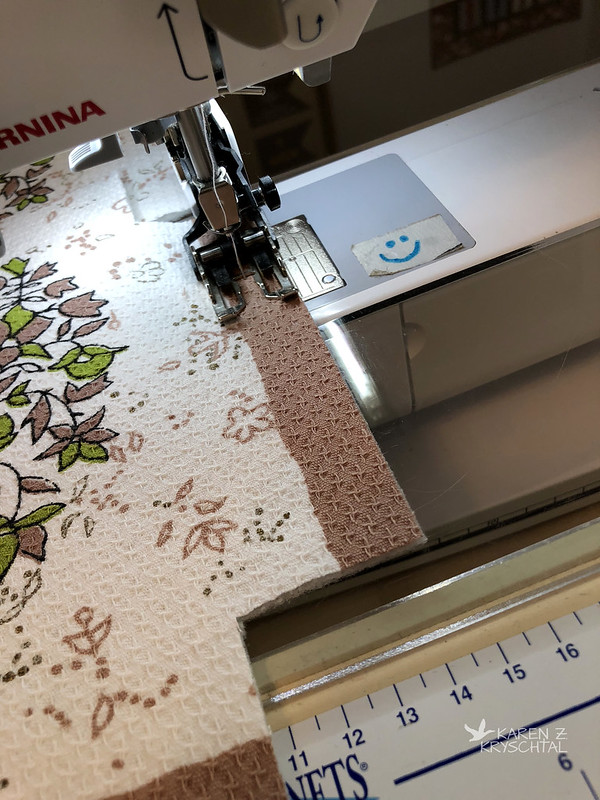
IMG_4457Quilt

Instead of that, you can add stabilizer if you'd like, or just leave it as "just fabric".  Totally up to you.

Once that's done, we'll be working at the tops of the panels.  Take one exterior panel, right side up, and put the zipper on it, right side down.  Like so:
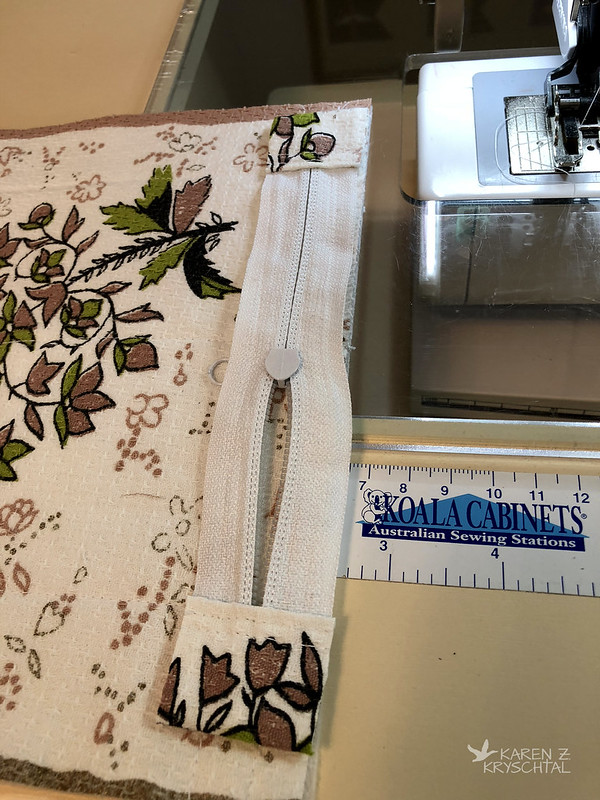
IMG_4467Layers

If you'd like to baste that down, you can - about 1/8" away from the edge.  I've only done that once - when I was putting a zip across a heavy denim bag.  It was helpful.  Now -- lay an inside panel right side down on top -
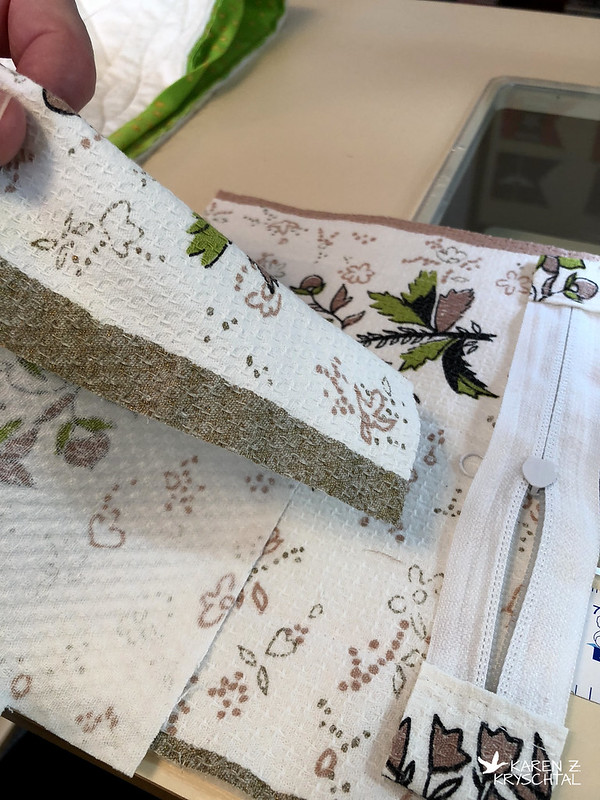
IMG_4468Layers

Line up your edges carefully.  Use lots of pins or clips.

Switch over to your zipper foot.  MAKE SURE YOU MOVE THE NEEDLE over to the left.
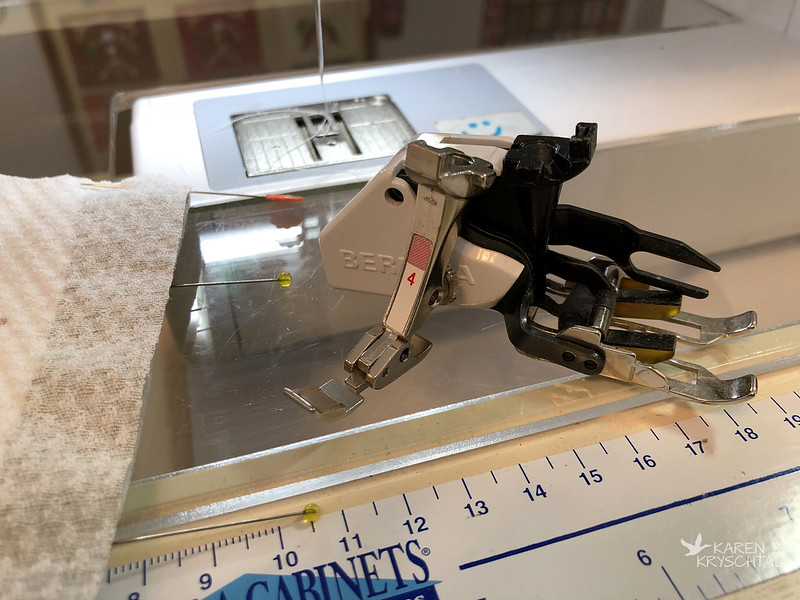
IMG_4469ChangeToZipFoot

Sew carefully along that top edge.

Open it up like this:
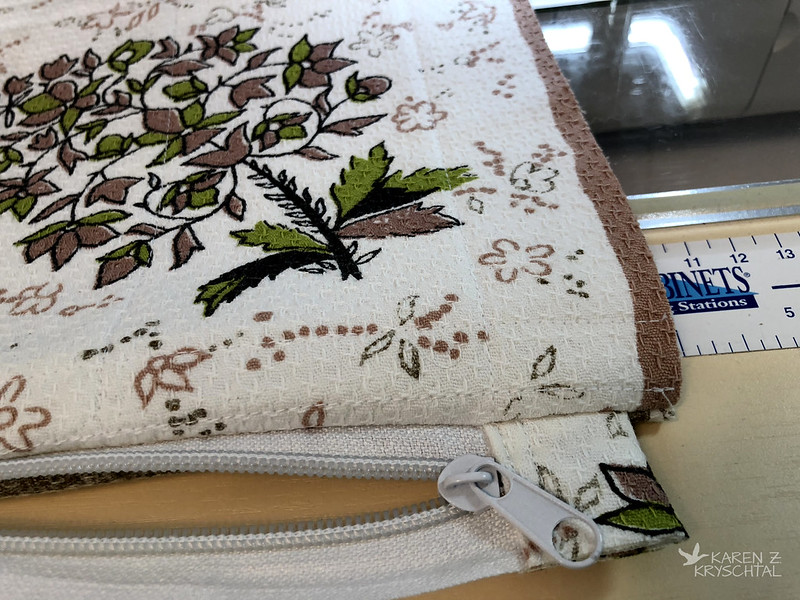
IMG_4472FoldBack

Now you want to repeat with the other panels -
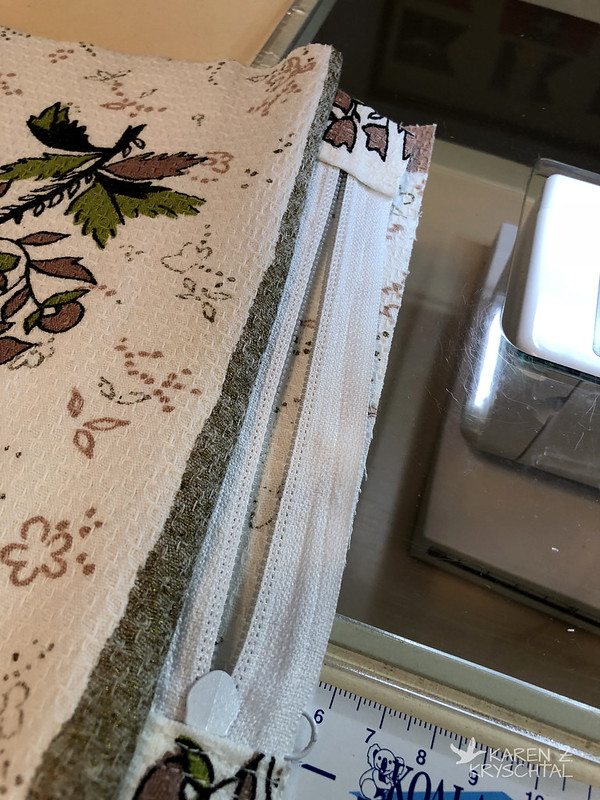
IMG_4473RepeatOtherSide

Outside panel face up, zipper right side down, then the lining face down.
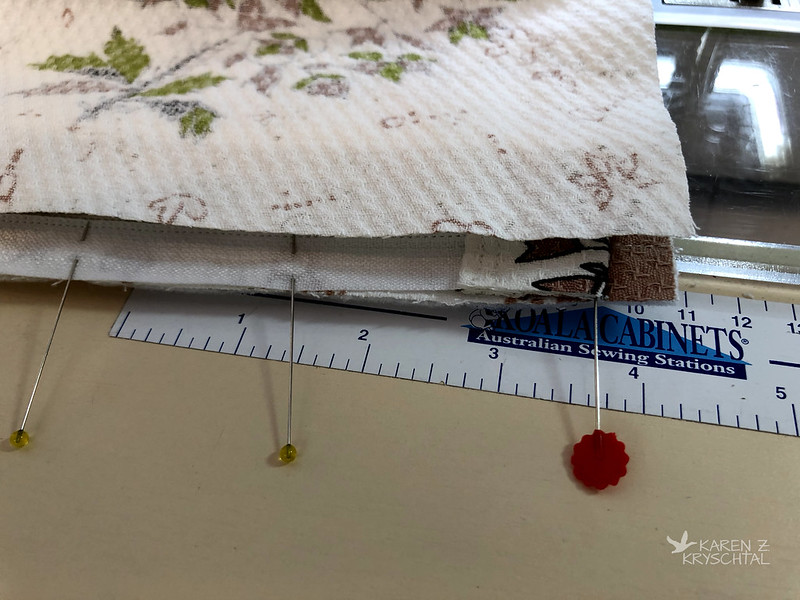
IMG_4474PinOtherSide

Pin it then sew!

Open it all nice and flat.  Take it over to your ironing board and get it all nice and smooth.  At this point, I like to put a line of top stitching right at the top.
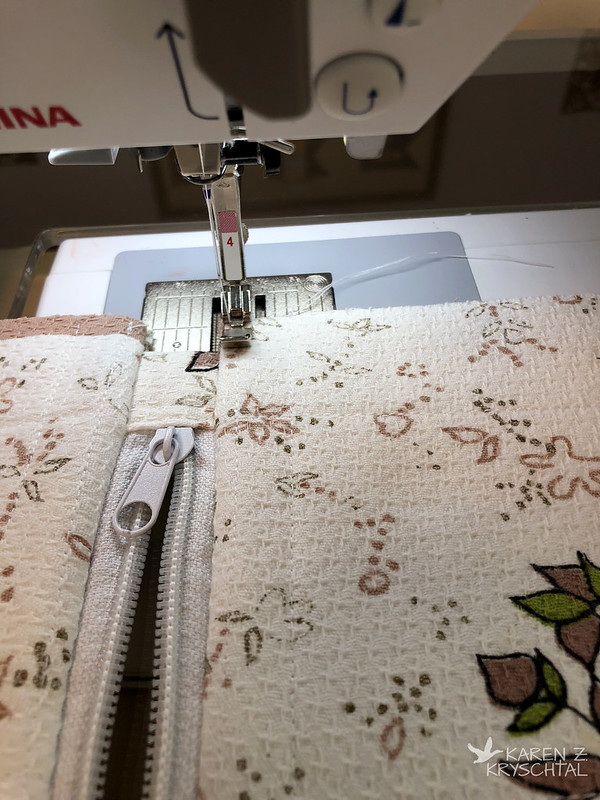
IMG_4478TopStitchAlongZip

It helps the finished bag lay nice - and if I wasn't sewing white on white, it would look decorative.  Do both sides!

After that - time to ditch the zipper foot!
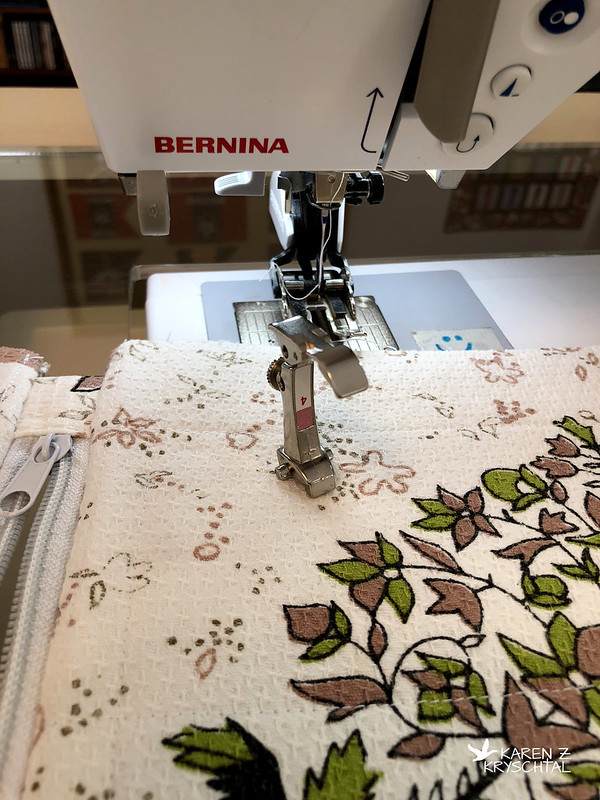
IMG_4477DumpTheZipFoot

Move your needle back to center.  (You're welcome.)

At this point, you want to OPEN YOUR ZIPPER.  Trust me.  If you'd like to avoid the use of HBO words, OPEN THE ZIP!
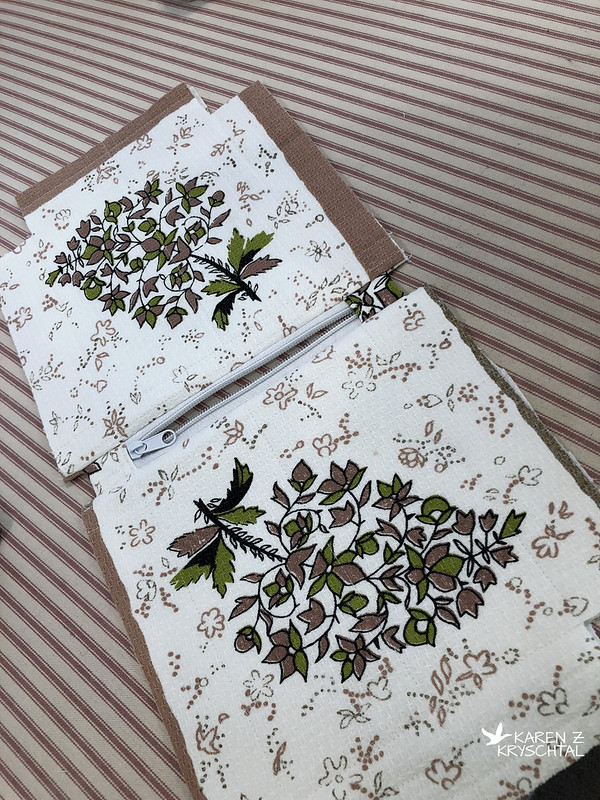
IMG_4476OpenZip

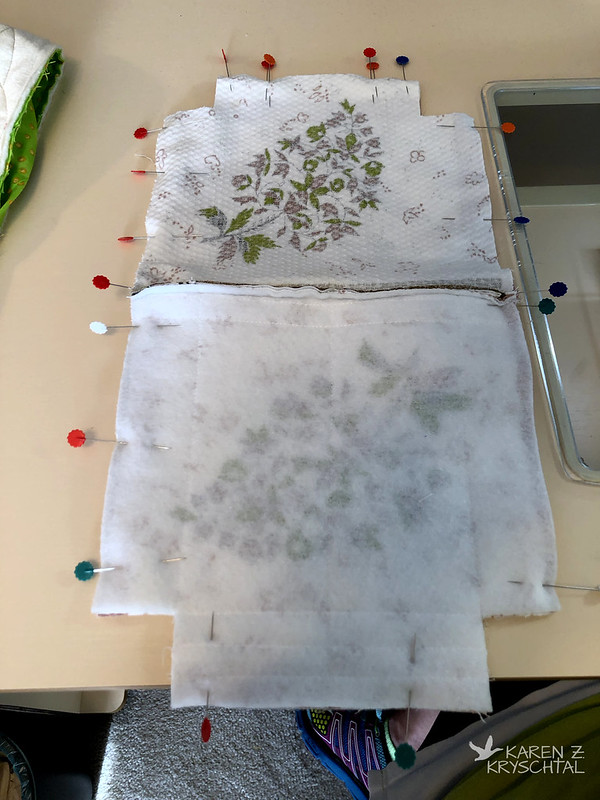
Line up the lining panels on one side, and the outside panels on the other side as seen in the photo below - carefully aligning the edges. Pin!
IMG_4480LineUpLayers

You remembered to open your zipper, right?  OK.  See up at the top in the photo above?  See the double pins?  You want to leave a gap there for turning.  I always mark the gap with double pins so I don't forget.

Sew all along the outside, using a 1/4" seam allowance.  When you're at the area by the zipper, just sort of scrunch everything toward the outside panels.  It will make sense.  I hope.

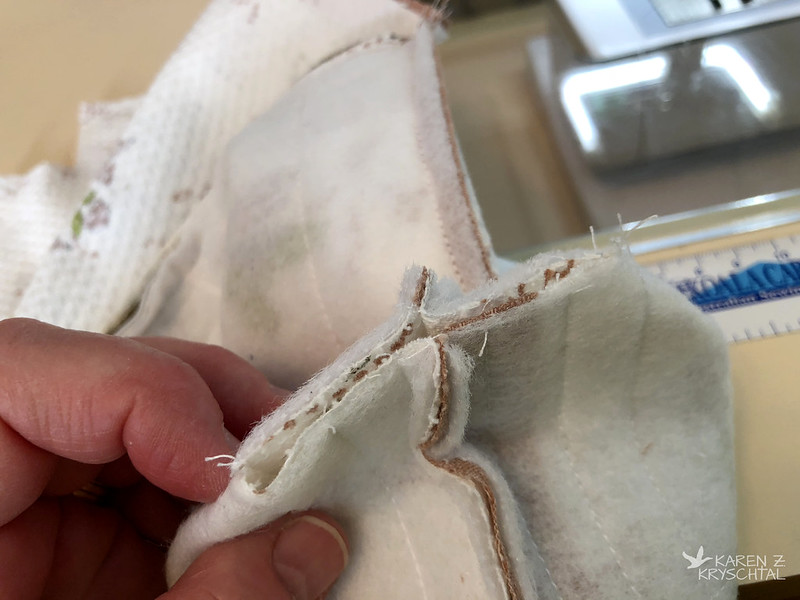
Once you've sewn all around the pouch, leaving that gap, you need to box those corners -- IF you cut those squares out.  Just smoosh that square so the seams match ...
IMG_4482BoxCorners

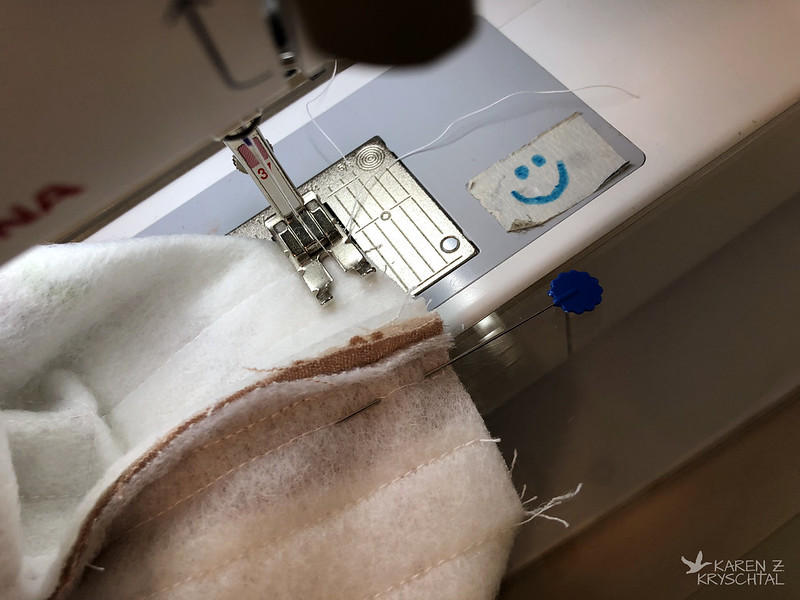
... stick a pin in the seams so they stay lined up, then sew shut.
IMG_4483SewBoxedCorners

Do it for the outside ...

IMG_4484Corners

... and the lining.

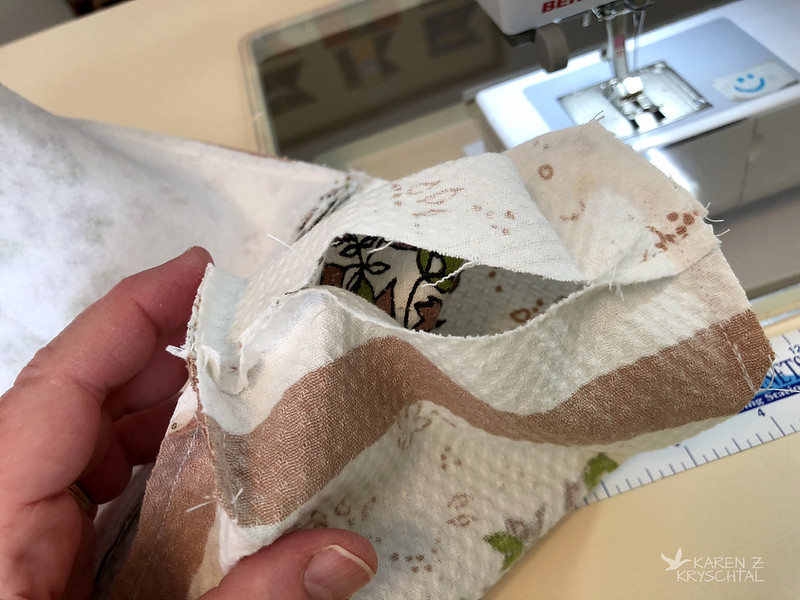
Remember the gap you left?
IMG_4486GapInLining

Reach in there and pull everything through it.  It may take a while, especially if you quilted the outside - it adds bulk.  Just keep pulling.
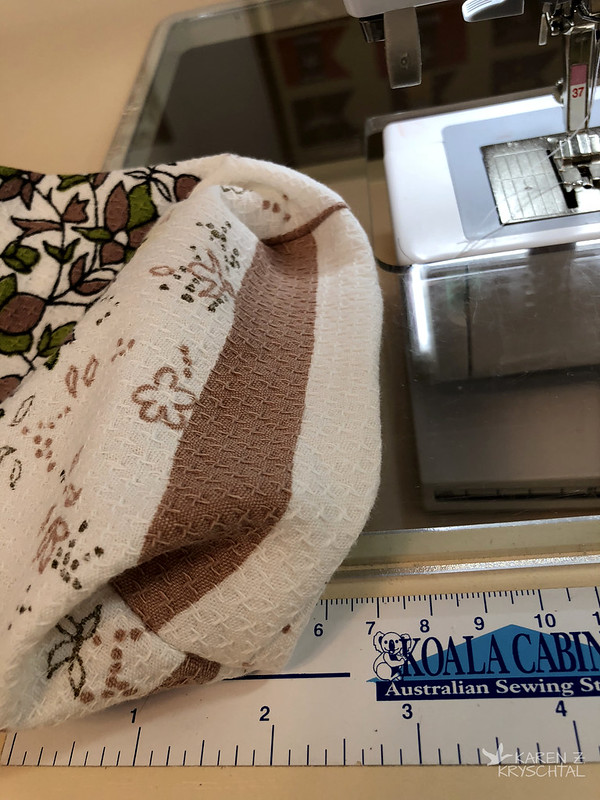
IMG_4487TurnThroughGap

Find the gap in the lining and either hand-stitch or machine stitch it shut.  Push the lining into the pouch, poke the boxed corners a bit (or if you didn't box the corners, poke the corners!), and ... TADA!
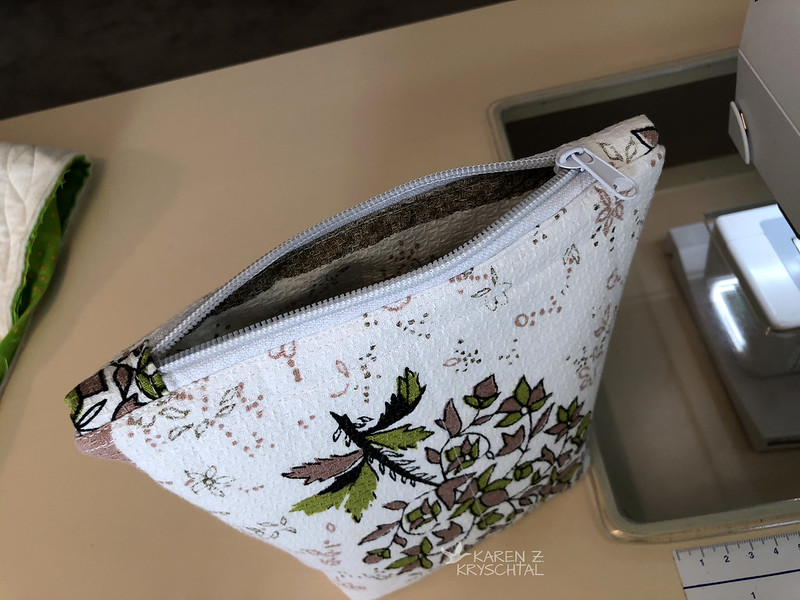
IMG_4488FinishedBag

How cute is that?!?  And check out how nicely the zip lays:
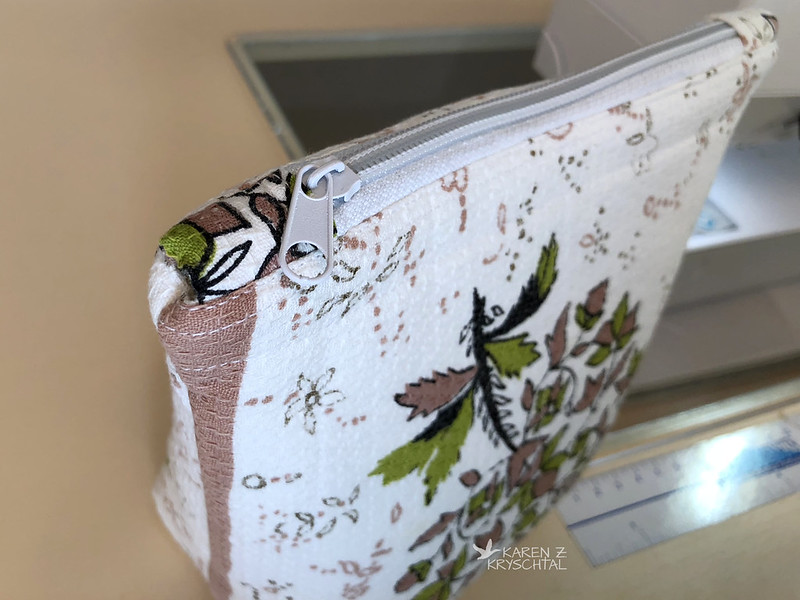
IMG_4489Finished

I think adding the tabs helps present a nice, finished product and let's face it, they look cute.

I hope that all made sense!  You've got a nice, lined pouch with a cute zip.  No exposed seams, everything lays nice, and it stands upright if you boxed the corners!  The possibilities are endless -- any fabrics, any size, any color zipper, put a zipper charm on it, do some quilting, GO WILD!

Let me know if you have any questions!  And also please let me know if you make a zippy pouch of your own from my tute!  Thanks for reading!

Wednesday, October 3, 2018

Sunflower Season

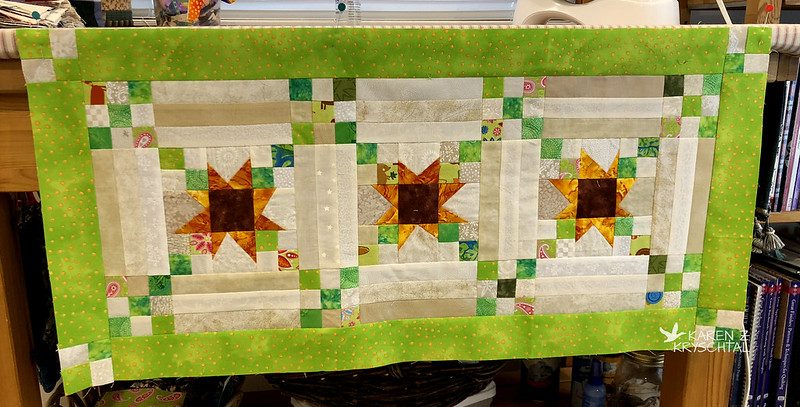
Hi everyone!  It's Sunflower Season here in the great state of Kansas, so what better time to finish up my Sunflower Table Runner!  Let's get that puppy quilted and get the binding on!

I struggled with the quilting.  I mean struggled.  I mean ... have I forgotten how to use my Bernina Stitch Regulator (BSR)?  Yes, pretty much.  I practiced, I re-read the manual, I tried to decipher the notes I'd made to myself, I practiced some more -- then I started doing some free-motion quilting.

Then I stopped.

And ripped out.

I need much more practice.  I decided just to use my walking foot and see where that lead me, and had it quilted fairly quickly (for me).

IMG_4427SunflowerQuiltingDone

I thought about ripping parts of that out, but frankly ... everything is a learning experience, right?

Here's a peek at the back:

IMG_4426SunflowerQuiltingDone

I used a variegated King Tut thread. I still ❤ the King!

On to the binding. I wanted to stick with the scraps I'd used for the quilt, so I went with the orange/yellow/gold of the "sunflower petals" ...

IMG_4436SunflowerBinding

... and the green I used in the border. Having one color in the binding just still isn't quite "me".

I'm opting to sew it around to the back by hand:

IMG_4437SunflowerBinding

It just works better for me than trying to sew it by machine. This will take some time, but it will be worth it!

By special request, I'll soon by posting a tutorial - my way to do a lined zippy pouch!

Thanks for reading!

Wednesday, September 26, 2018

How Cozy

Hi everyone!  I'm back.  Slight delay in posting due to life in general and the remodel.

My latest project, or at least the one I remembered to photograph, started when a friend sent me a link to a tutorial for soup bowl hot pads.  (This one.). My first thought was "How CUTE!" -- then I couldn't stop thinking about them.  I knew we wouldn't really use them, but she said they do a lot of stand up eating at dog events (she and her hubby do sledding events, etc. with their Siberian Huskies!).  Hmm ...

Cleverly disguising myself as the Sewing Fairy 😏, I asked Heather what colors she and her husband like.  She said "blue and silver/grey", and I hit my fabric stash.  I must admit two things at this point:

  1. It's not like I didn't think Heather was on to me, but it was fun to pretend she didn't.
  2. My stack of blue fabr-- OK, my stacks of blue fabric are rather on the large side of things.
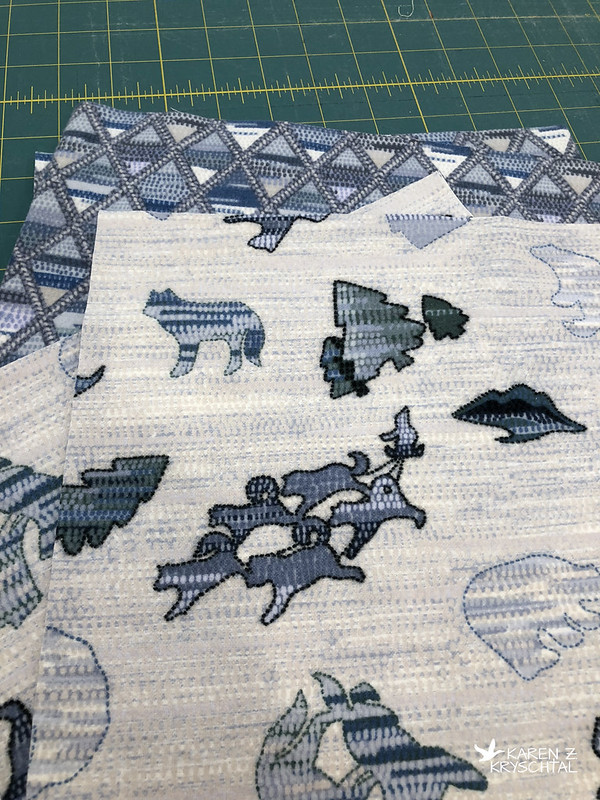
I looked through my lovely blues, but nothing really grabbed me for this project.  At that point, one of my Siberians wandered into my Studio and I thought, "It would be cool if I had something with Sibes on it."  Then I remembered my stack of flannels and ...

IMG_4213FabsForHeather

Iditarod-themed flannels.  In blues and silvers.  BOOM! Is that perfect or what? And yes, flannel would be a little trickier to work with since it's bulky, but ... it was perfect. And wouldn't that feel nice on cold hands?

I got to sewing ...

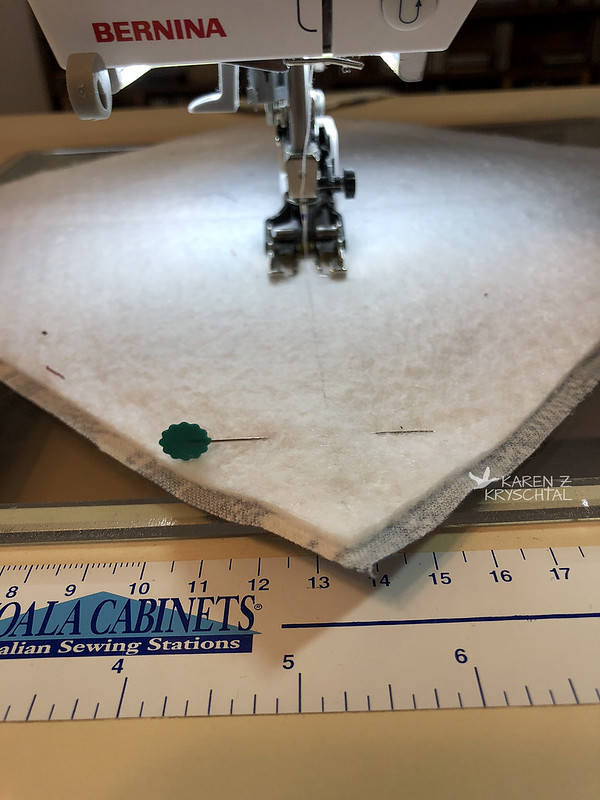
IMG_4214MakingTheX

I use my walking foot a LOT - it was perfect for this.  As you can see, I cut my batting a little bit smaller than my flannel.  Why?  To help avoid bulk.  I cut my squares 1/2" larger than called for in the tute so I could have a larger seam allowance.  If Heather needs to wash these, it will help prevent fraying/seam issues.

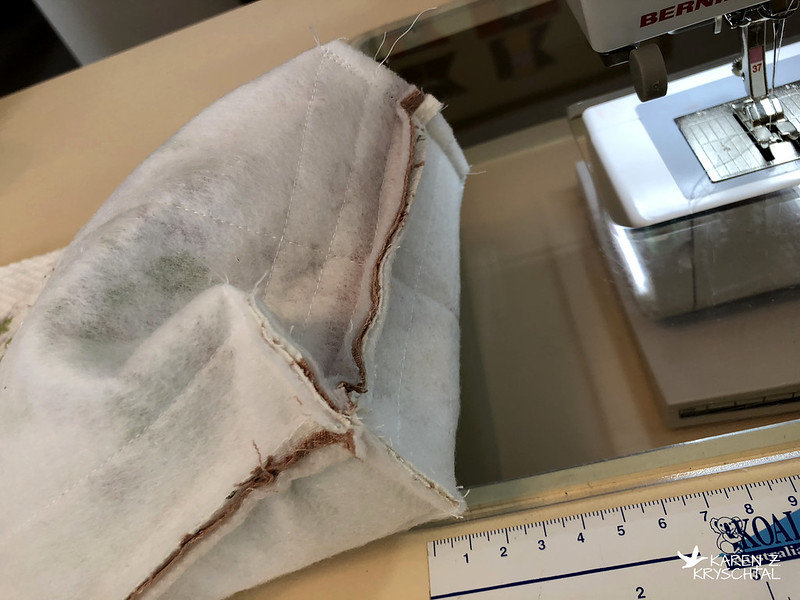
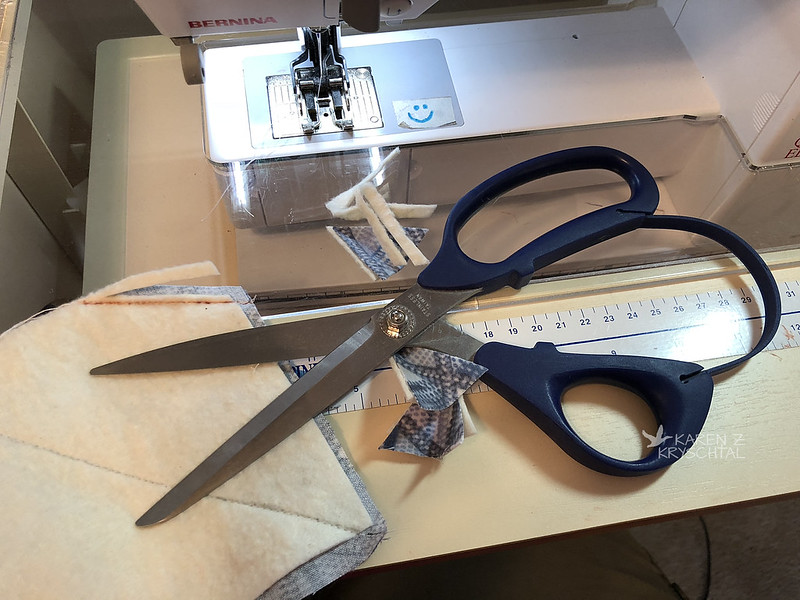
When I made the little notches to help form the bowl shape (watch the vid at the link above and that will make sense), I thought in addition to trimming the triangles off, I'd also cut off some of the excess batting:

IMG_4219TrimmingBatting

See up there by the scissor blade?  I think it helps the bowl lay better.

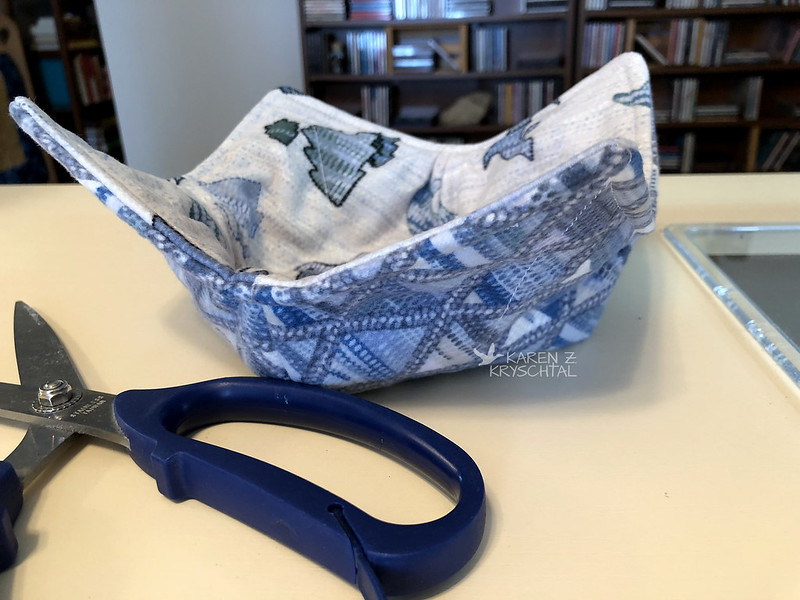
Before I knew it, I had a soup bowl cozy!  My husband started calling it that and it was easier than "soup bowl hot pad", so I went with it.  Check it out:

IMG_4216SoupBowlHotPad

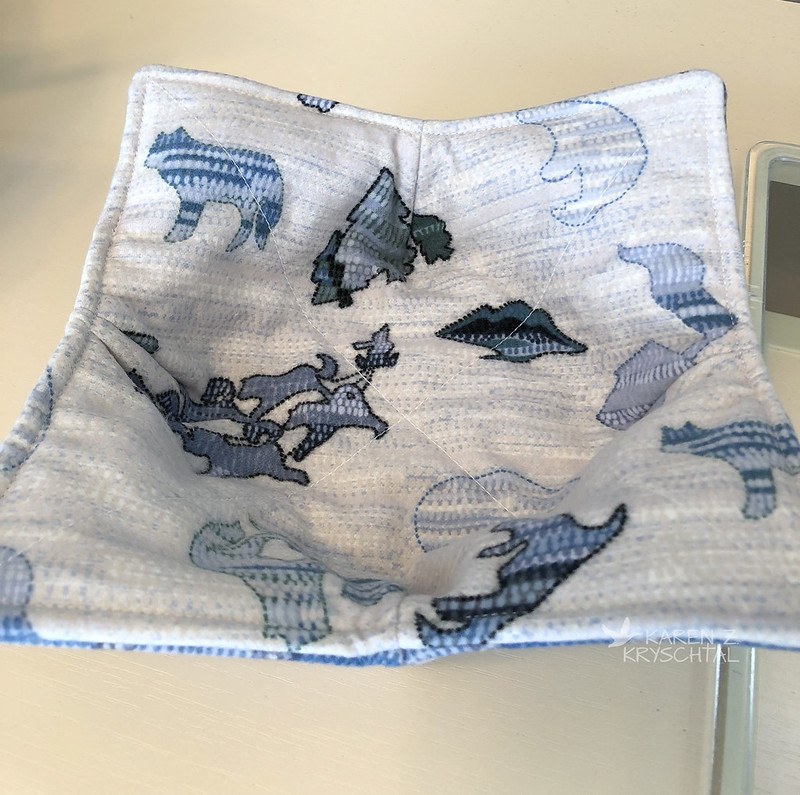
Here's a look at the inside:

IMG_4228SoupBowlHotPad

Isn't the fabric the best?!!?

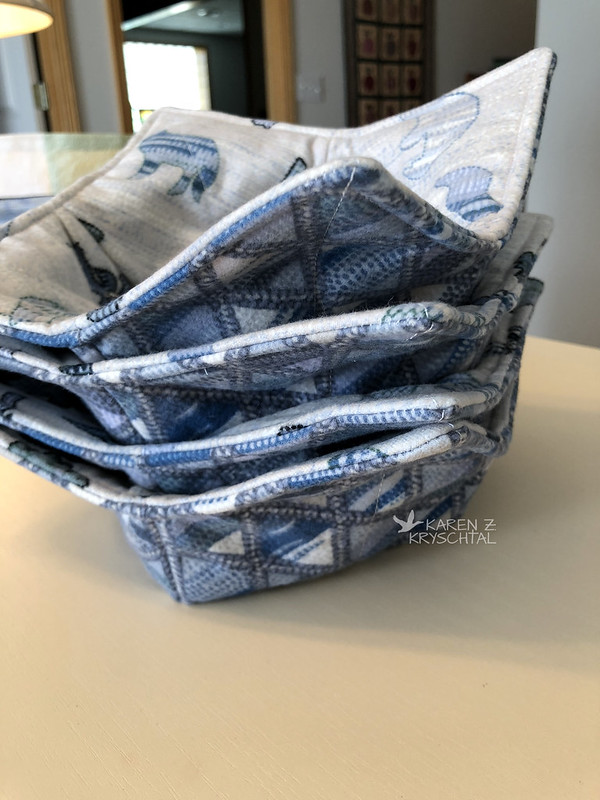
This was so much fun, I decided she needed a set - one for her, one for Dan, and a couple spares:

IMG_4231SoupBowlHotPads

They're also reversible -- just punch them the other way.

I grabbed one of my bowls to see how it works:

IMG_4279SoupBowlHotPad

Tell me those aren't cute!!!

Heather, I hope you and Dan enjoy!  They were super fun to make!

Thanks for reading!
Thursday, September 20, 2018

Greens And Yellows

Greens and yellows.  My worst color area.  A reminder - I am clinically color blind - and I can't differentiate between many greens and yellows.  And golds.  So why have I been playing with them?  I  blame  thank my friend Denise!

Denise (who, ahem, needs to update her blog!) inspired me by posting a photo of the quilt found at this link to her FaceBook page.  Oooh.  Sunflowers.  Aren't they yellow?  Or gold?  And aren't their leaves green?  Yeah, whatever!  I decided I had to do some version of the quilt - and decided to go for a table runner.  And heaven forbid I should have looked at the tutorial -- I thought I'd just wing it.  I also challenged myself to use my scrap strips as much as possible.

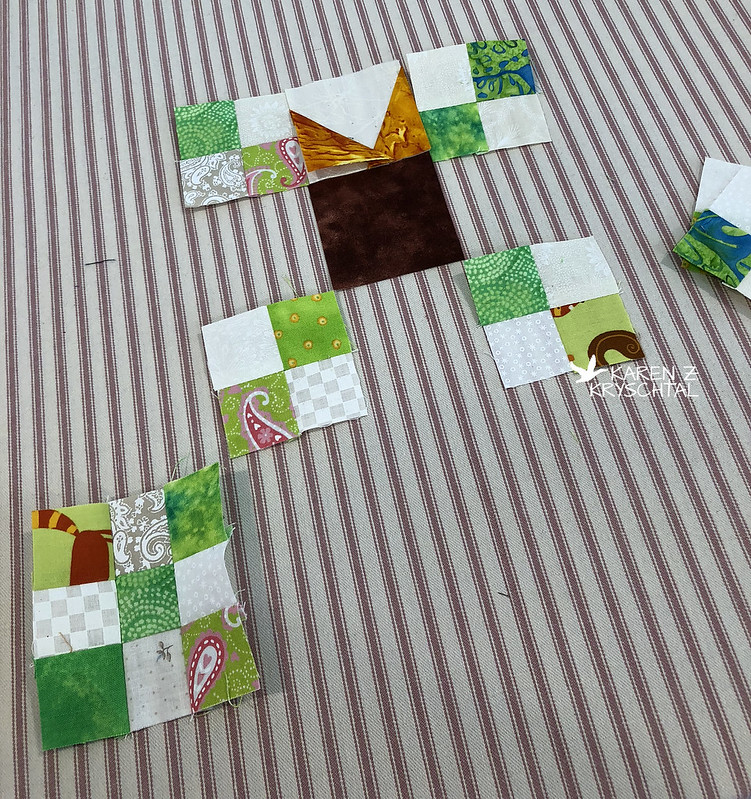
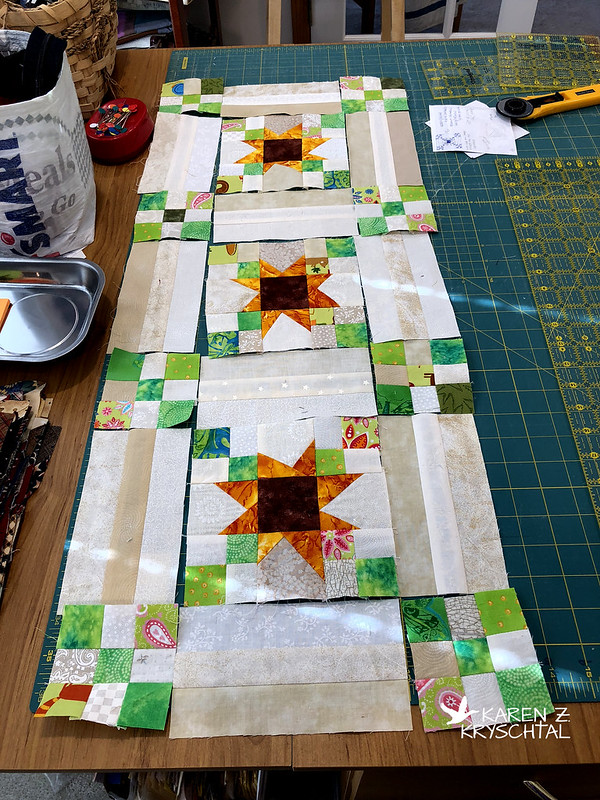
I settled on bright greens, any neutrals, a yellow/gold marble-y looking scrap, and a mottled deep brown.  As I visually dissected the quilt photo, I saw 4-patches, 9-patches, and star points.  I started sewing and cutting and ...

IMG_4162WonkySunflowerBlock
9- and 4-patches made with 1.5" strips, centers and background of star points 2.5" 

Please ignore the pink stripes - that's my pressing surface.  But cool!  This could work!  Only rather than do nice, orderly "sunflowers"/stars, I decided to go wonky.  Why?  I could tell you that it's because sunflowers aren't perfect, but we all know it's because I didn't have to measure anything and it's a darn sight easier.  There.  I said it.  And it's really fun.

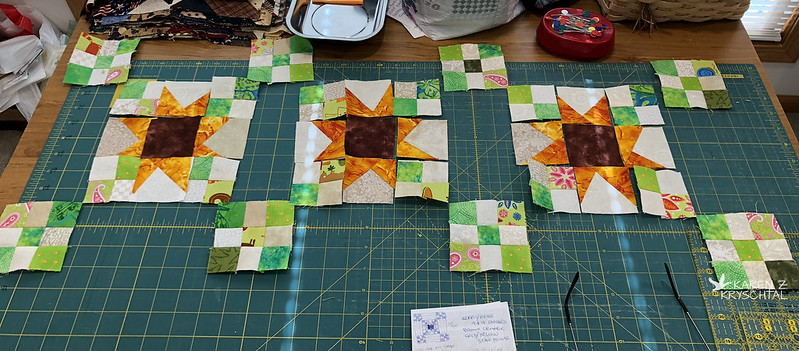
I realized somewhere along the line that I don't have many green scrap strips, nor do I have many yellow/gold strips.  I don't have much green, gold, or yellow fabric, actually - please see opening paragraph for a possible explanation.  This made me limit my table runner to three blocks - because I will not cut more strips for this!!!  ... unless absolutely necessary.

IMG_4167WonkySunflowerTablerunner

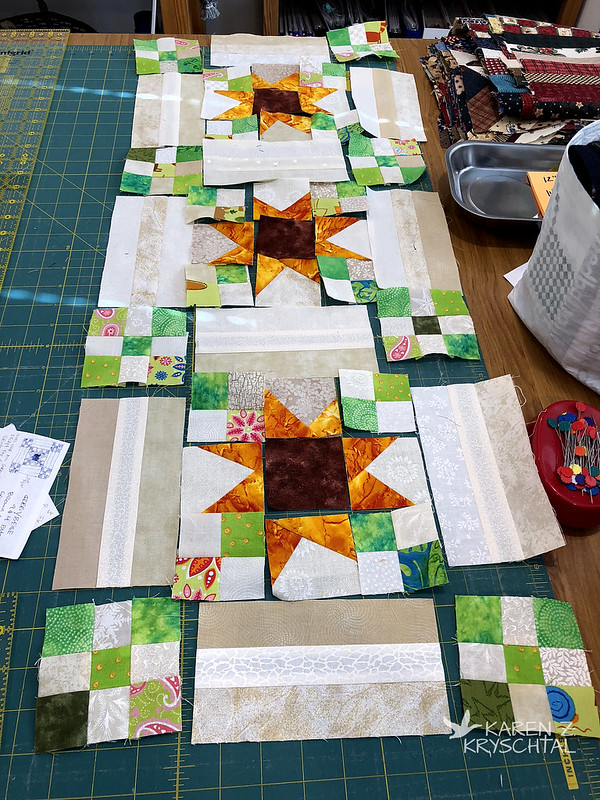
Once I had the blocks made and the 9-patches for the sashing all set, I pondered the sashing itself.  My initial plan was to cut solid chunks 3.5" x 6.5".  Since I don't have 3.5" scrap strips, but have an abundance of neutral 1.5" strips ... I pieced them.

IMG_4168WonkySunflowerTableRunner

I think it adds interest!

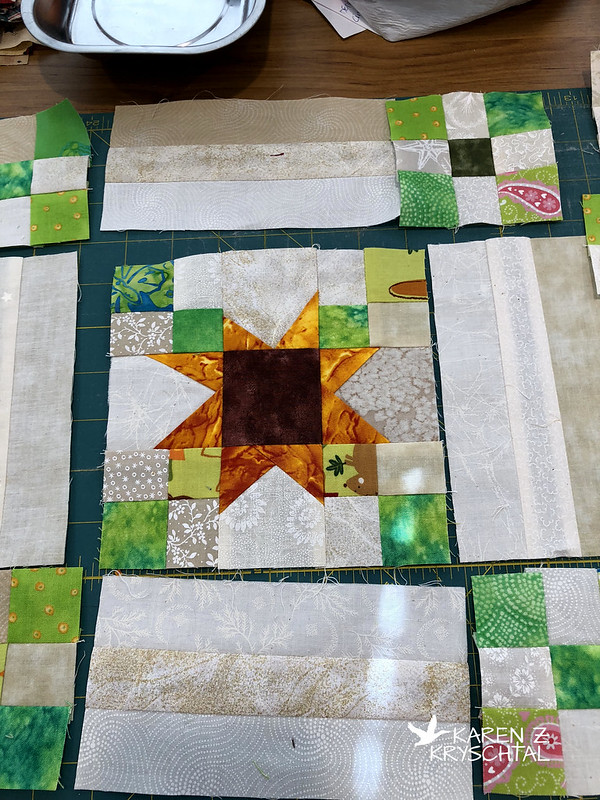
IMG_4169WonkySunflowerBlock

Before I knew it, I was almost there!

IMG_4171WonkySunflowerTableRunner

I think this is pretty good for someone who has been spending the mornings out in the yard with her husband and a chain saw.  Frankly, I am surprised I can still move, but that's a story for another day.

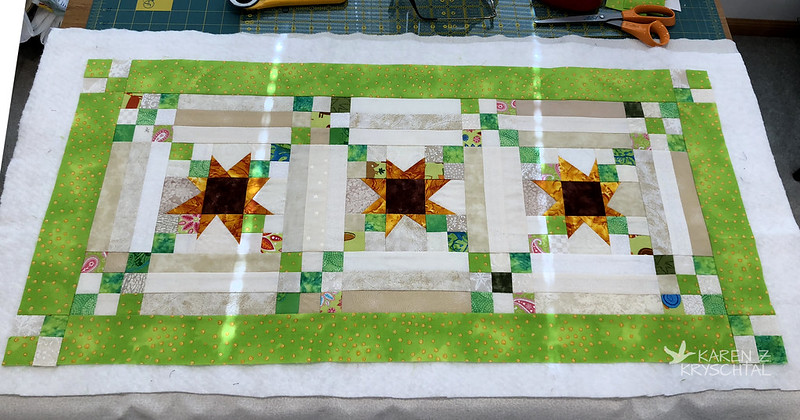
Here's the top, all pieced!

IMG_4193WonkySunflowerTableRunner

I did have to cut the green border fabric, I admit.  I thought adding little 4-patches at the corners would be fun.  Can you believe that in doing so, I actually did use up all of the green 1.5" strips?  Well, OK, the bright green ones.  But still!  Yay!

As of now, it's all sandwiched together with batting and backing:

IMG_4194WonkySunflowersTableRunner

It's in my Studio, waiting for me to do the quilting and binding.  I won't have time to work on it today, unfortunately.  The Project Manager from the remodeling crew is coming today to lay out Plan B.  Plan B involves them ripping out everything the first crew they sent did and starting over.  Uhh ... yeah.  It's that bad.

Thanks for reading!