
This is photo-heavy, but I wanted to post the complete process. Ready to go?
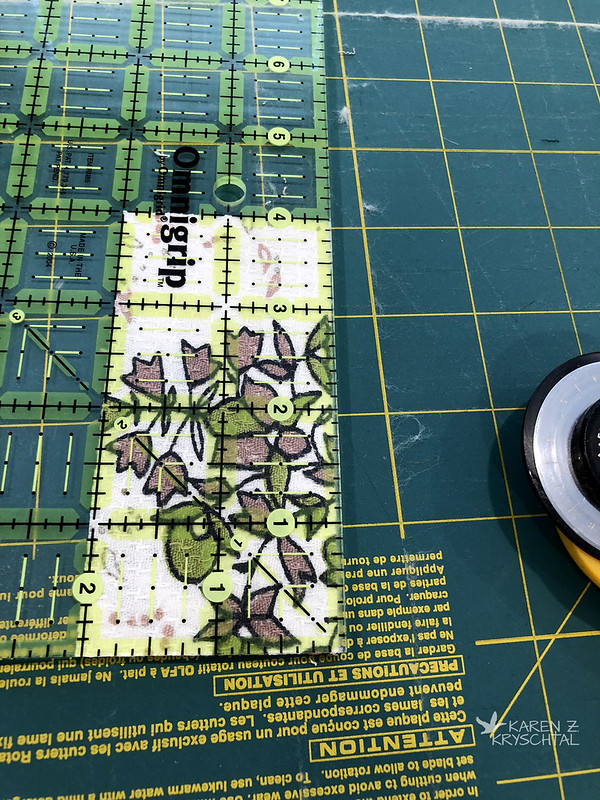
First step, cut your fabs. Use anything - any fab, piece it if you want to. For this tute, I'm using "vintage linen" - an old tablecloth of my grandmother's. I made my sister a bag from the rest of it.
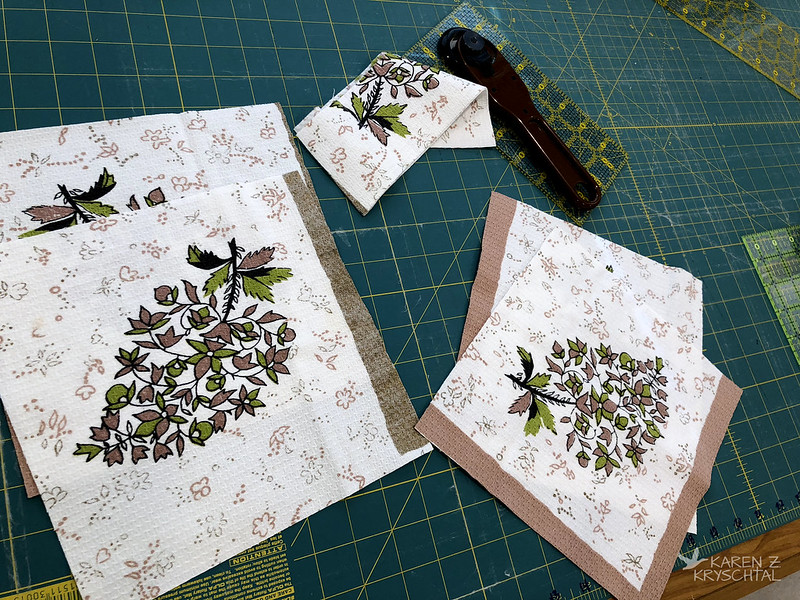
You want 2 pieces for the outside and 2 for the lining, and scraps for zipper tabs. I cut my pieces 8" square; they can be any size!
Next, AN OPTIONAL STEP (only if you want to box your corners) - cut the bottom corners off each panel like so:
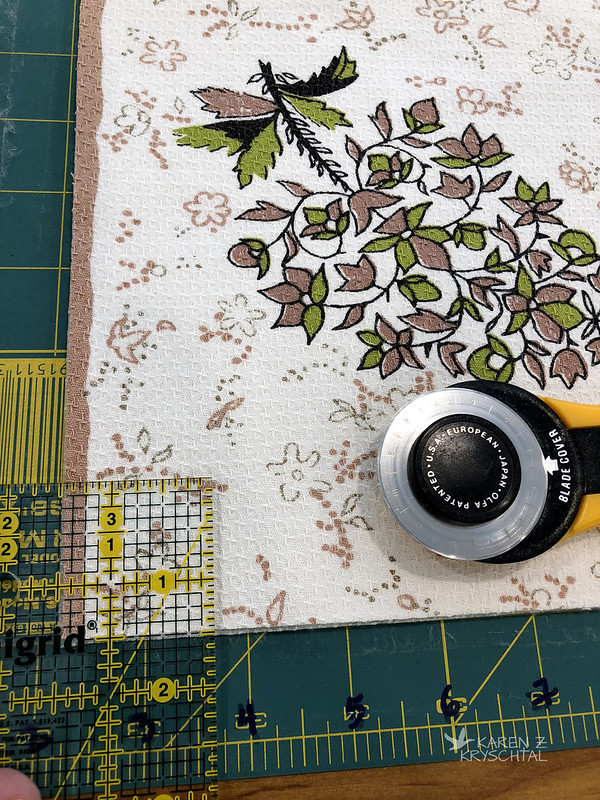
For an 8" square, 1.5" square is good. Do the bottom corners ONLY of each of the 4 panels.
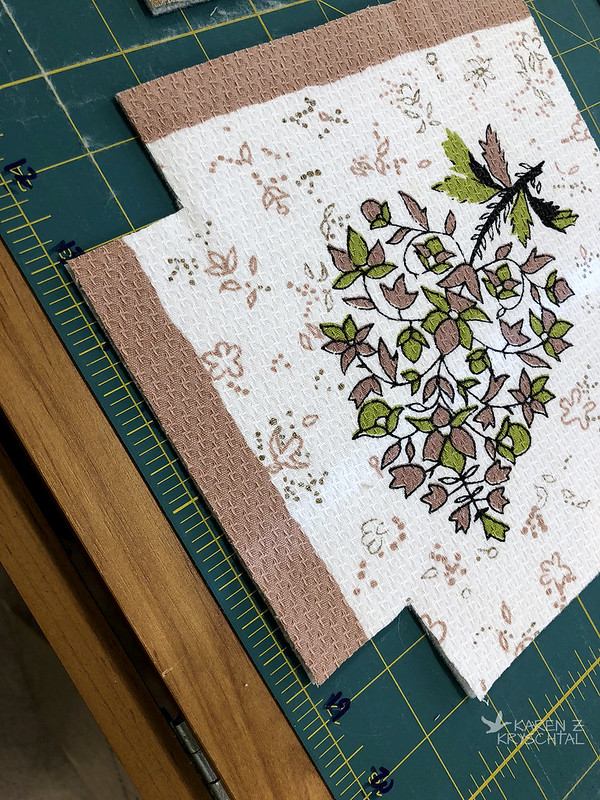
Again, that was optional.
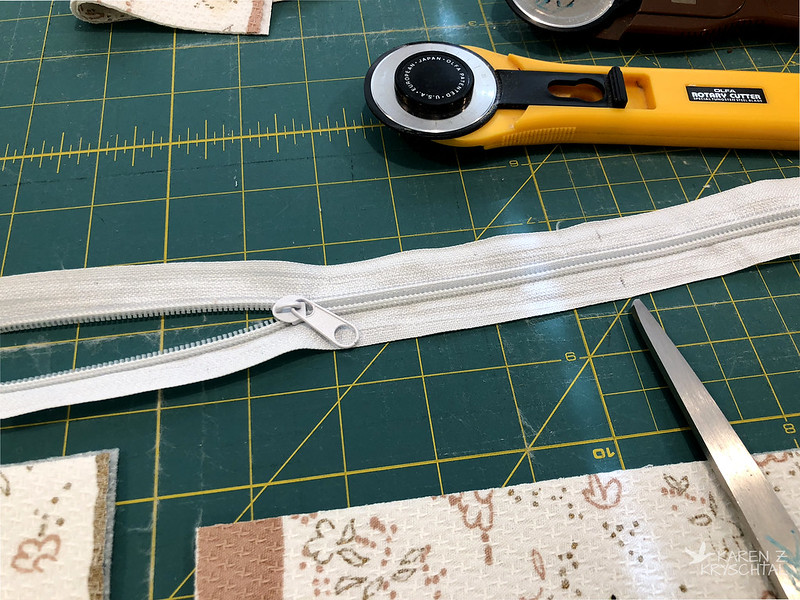
Next, grab a zip!
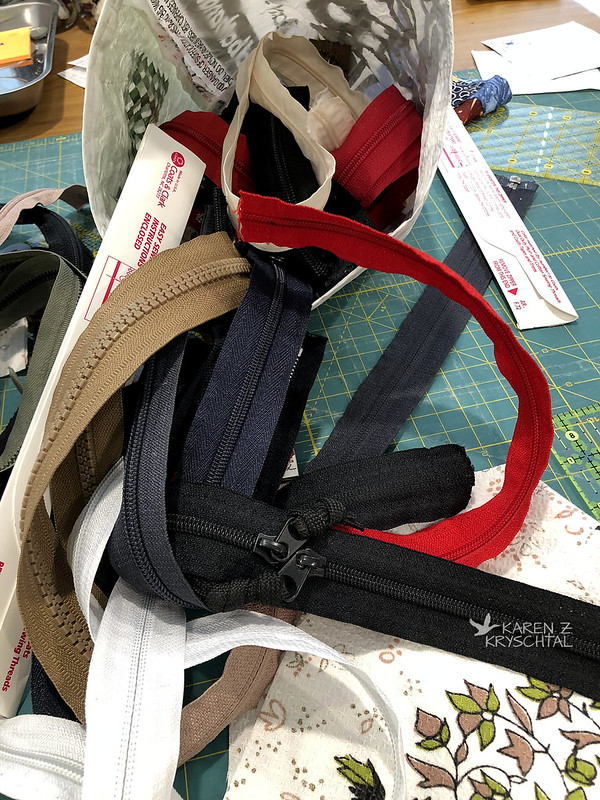
I save zippers out of discarded clothing, backpacks, etc. Why not? Your zipper should be 1" smaller than the width of your bag and NYLON. So for our example, a 7" zip would be fine. Longer is totally good. You can sew through nylon zips, so ... yeah.
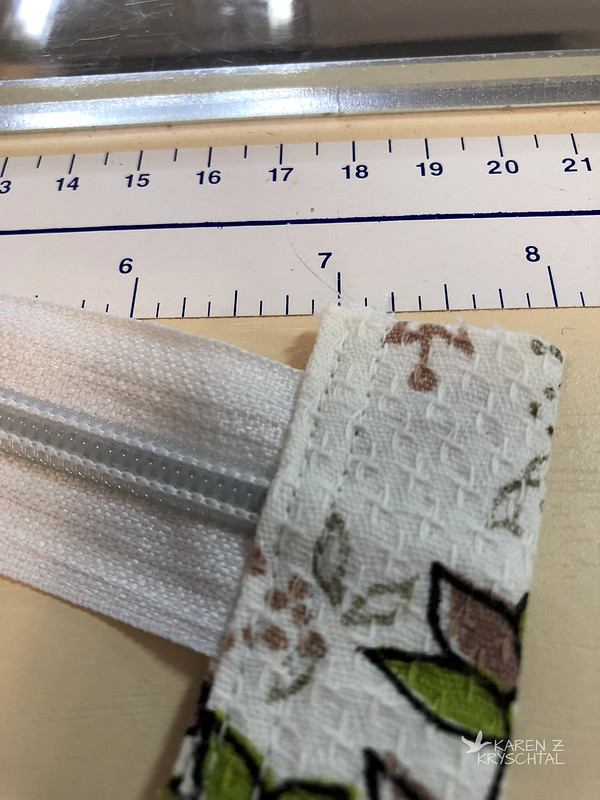
Mark the zipper 1" smaller than your panel and CUT, if needed. If you need to cut it, make sure the pull tab is on the part you're saving.
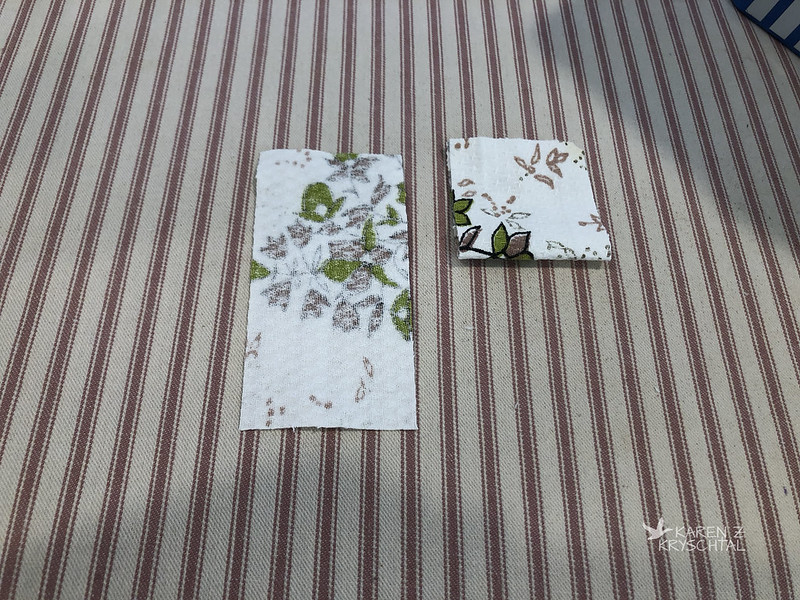
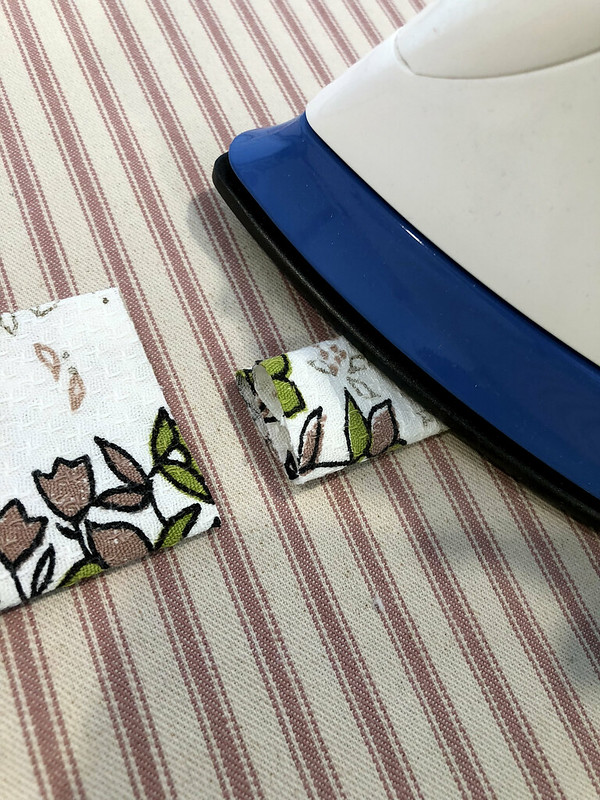
Next - we're making zipper tabs. Use scrap fabric. Cut about 2" x 4". Make 2.
Take over to your pressing surface, fold in half (bringing short sides together), and press, wrong sides together.
Unfold, then fold ends in to that crease. Press them.
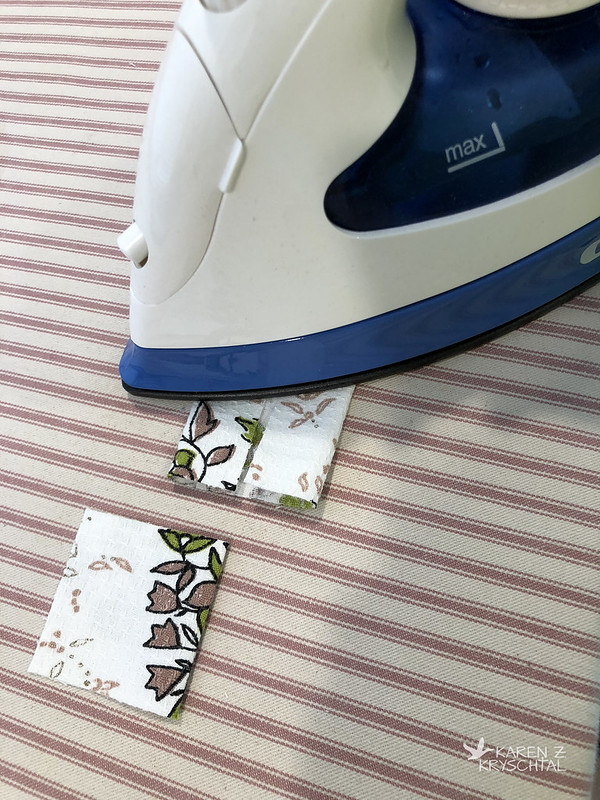
Now fold the whole thing in - so you basically have a 1" tab. Press. Do that for both.
Open your tab up and insert one end of the zip.
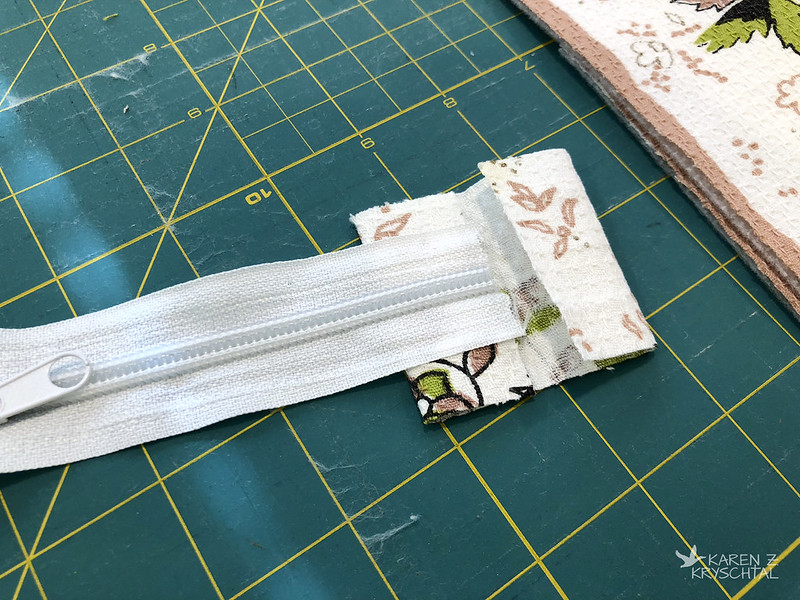
Pin shut.
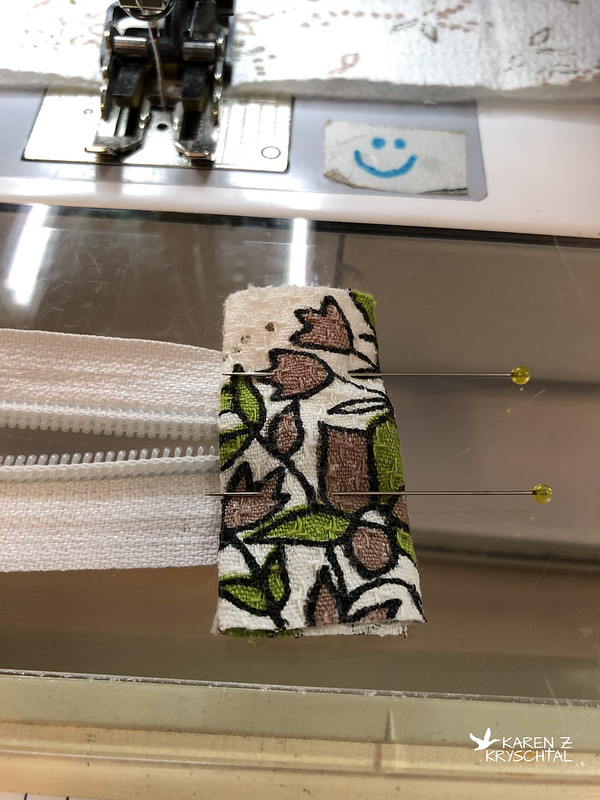
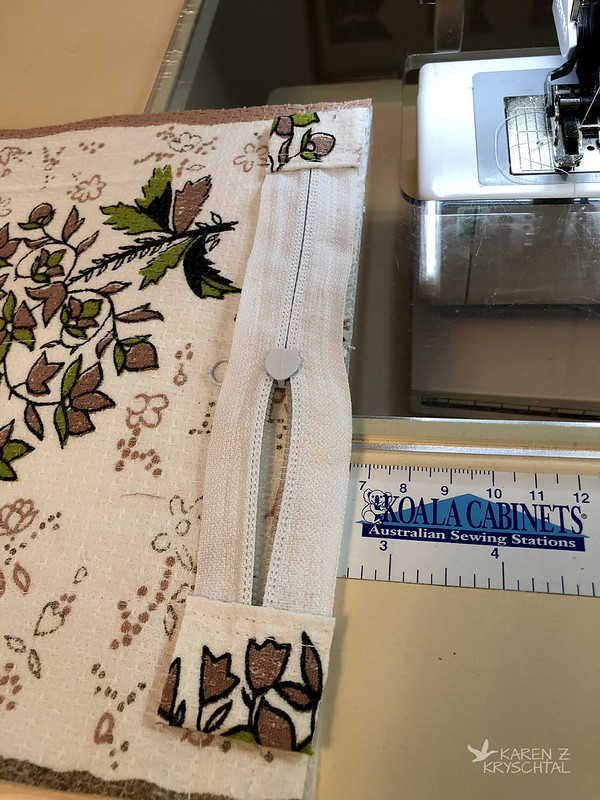
Sew close to your folds, making sure to catch all layers.
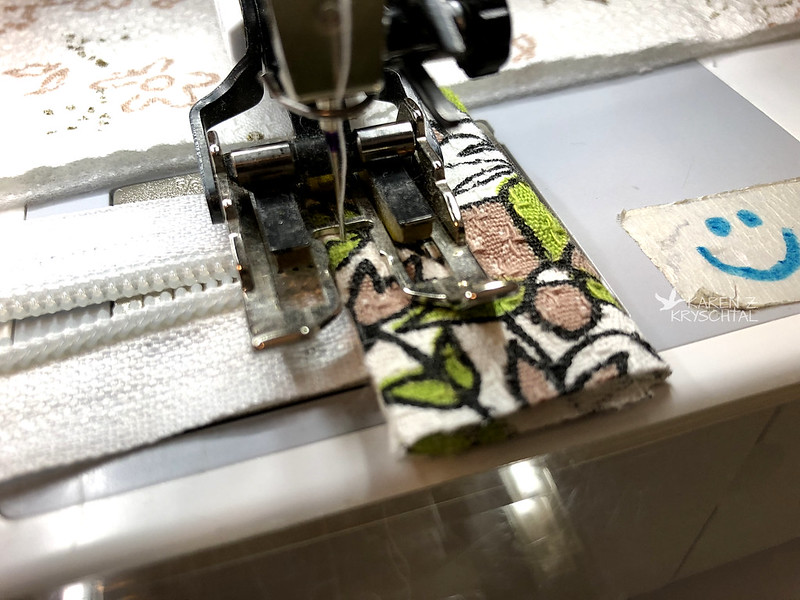
I like to put two lines of top stitching in there.
It looks cute and is strong.
Do that on both ends of the zip.
Trim the tabs even with the zipper fabric's edges.

Next, another OPTIONAL step. If you want to quilt the outside of the bag, knock yourself out. I just put the exterior fab right on some batting and did some straight lines.

Instead of that, you can add stabilizer if you'd like, or just leave it as "just fabric". Totally up to you.
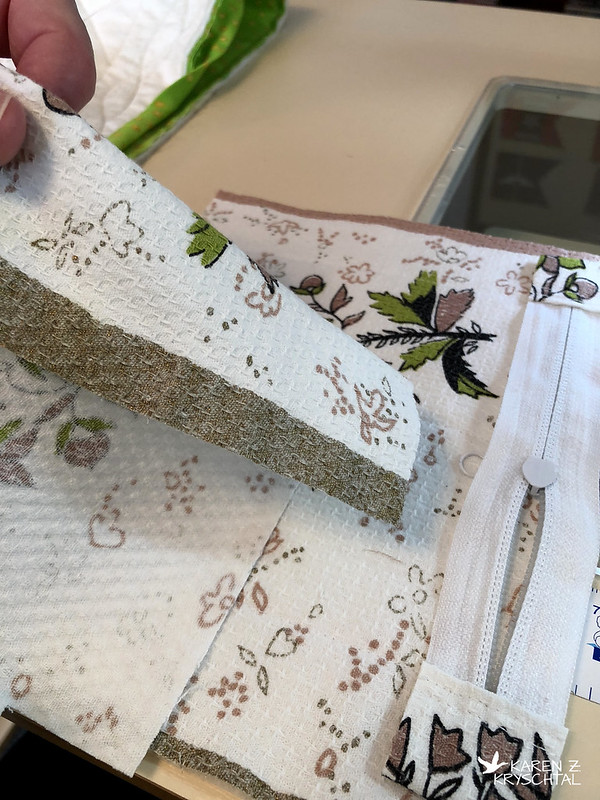
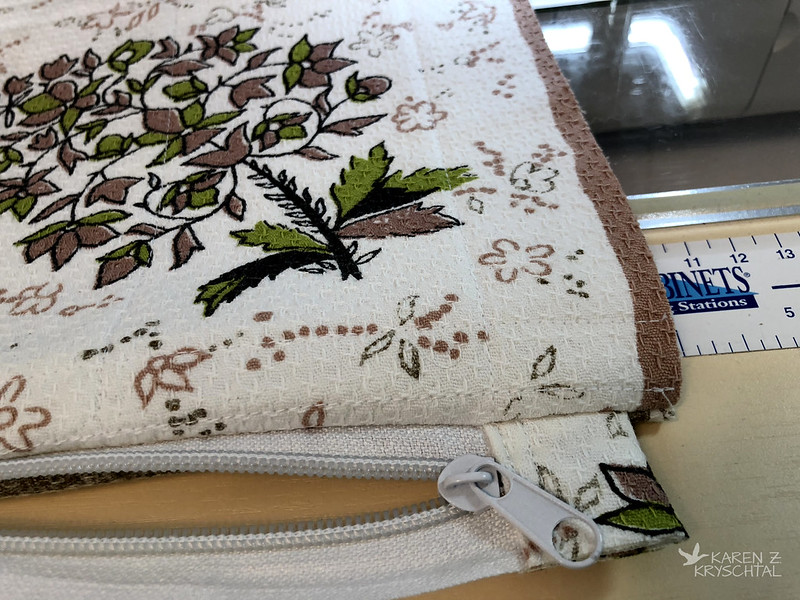
Once that's done, we'll be working at the tops of the panels. Take one exterior panel, right side up, and put the zipper on it, right side down. Like so:
If you'd like to baste that down, you can - about 1/8" away from the edge. I've only done that once - when I was putting a zip across a heavy denim bag. It was helpful. Now -- lay an inside panel right side down on top -
Line up your edges carefully. Use lots of pins or clips.
Switch over to your zipper foot. MAKE SURE YOU MOVE THE NEEDLE over to the left.
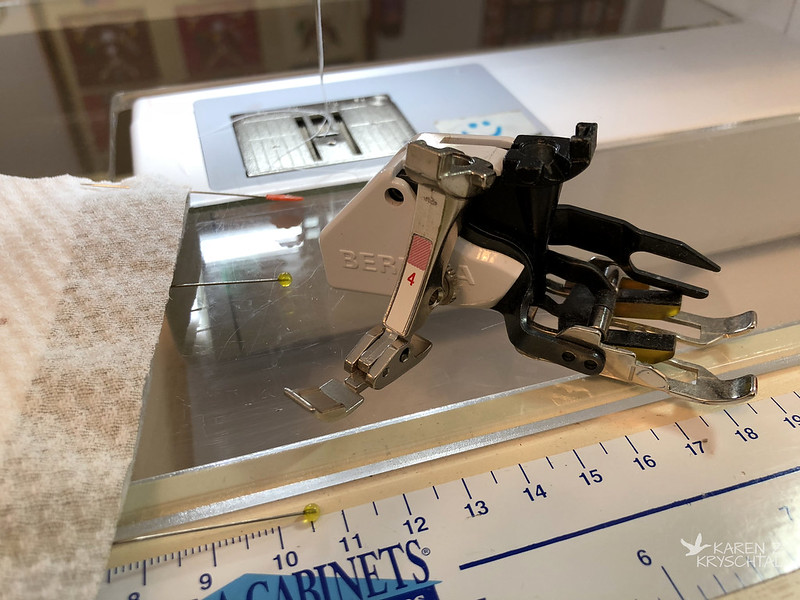
Sew carefully along that top edge.
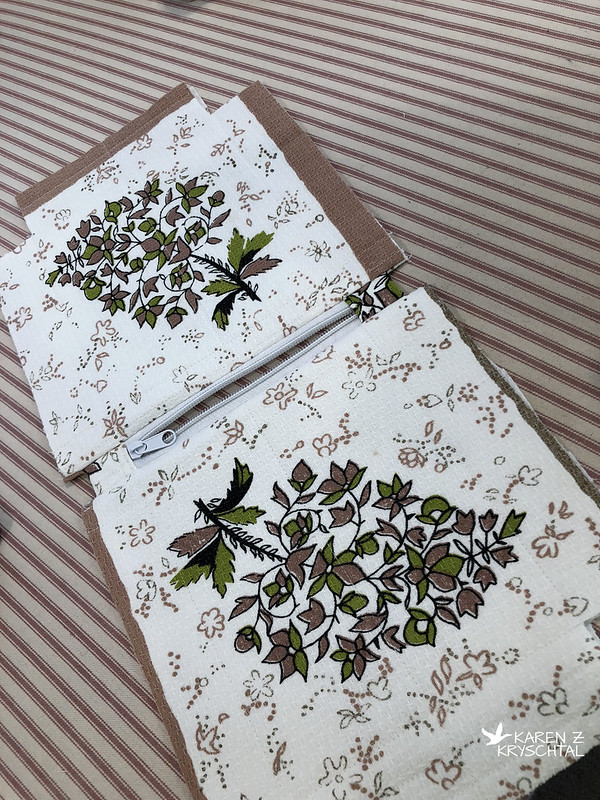
Open it up like this:
Now you want to repeat with the other panels -
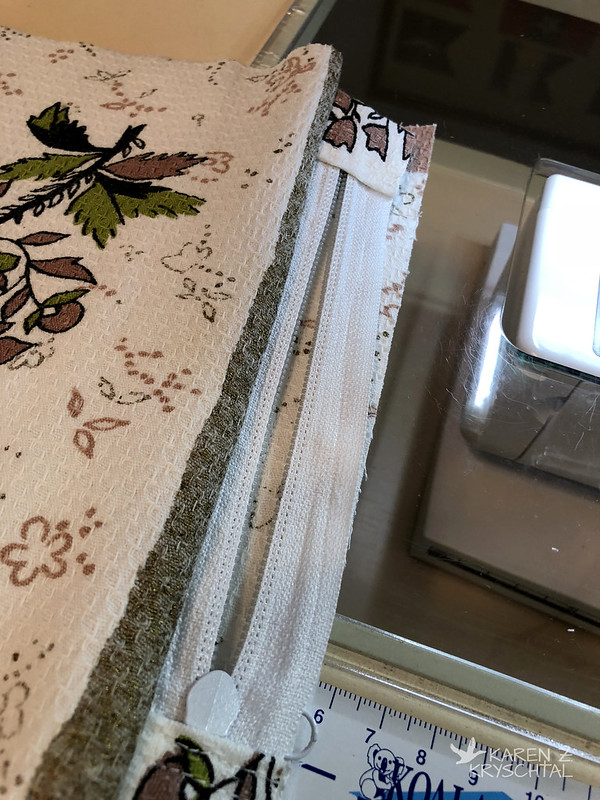
Outside panel face up, zipper right side down, then the lining face down.
Pin it then sew!
Open it all nice and flat. Take it over to your ironing board and get it all nice and smooth. At this point, I like to put a line of top stitching right at the top.

It helps the finished bag lay nice - and if I wasn't sewing white on white, it would look decorative. Do both sides!
After that - time to ditch the zipper foot!
Move your needle back to center. (You're welcome.)
At this point, you want to OPEN YOUR ZIPPER. Trust me. If you'd like to avoid the use of HBO words, OPEN THE ZIP!
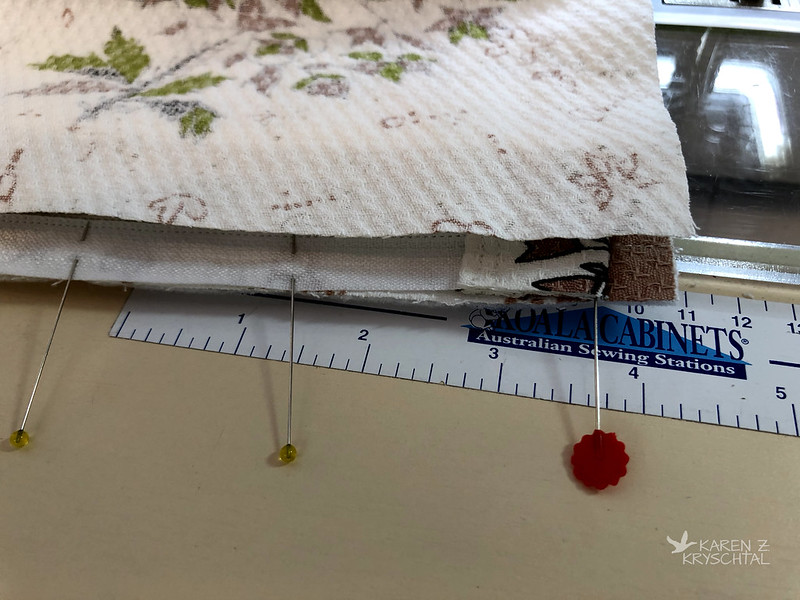
Line up the lining panels on one side, and the outside panels on the other side as seen in the photo below - carefully aligning the edges. Pin!
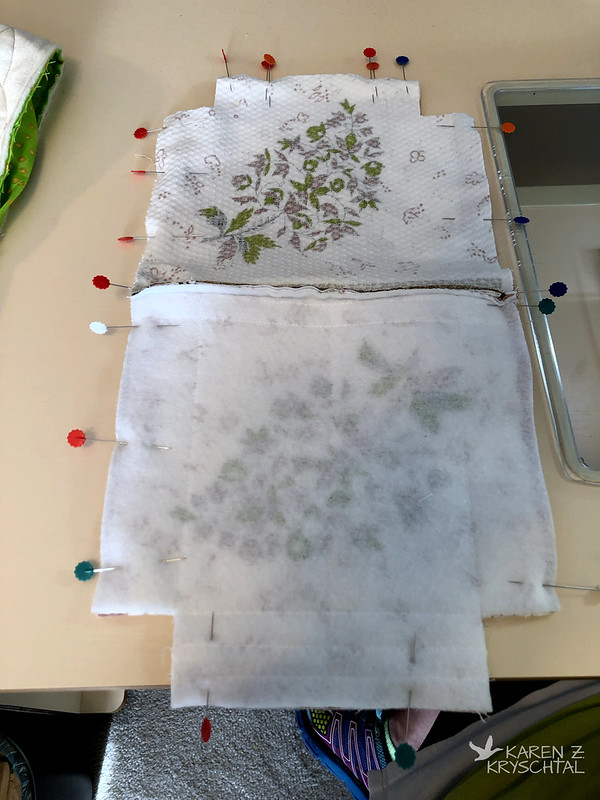
You remembered to open your zipper, right? OK. See up at the top in the photo above? See the double pins? You want to leave a gap there for turning. I always mark the gap with double pins so I don't forget.
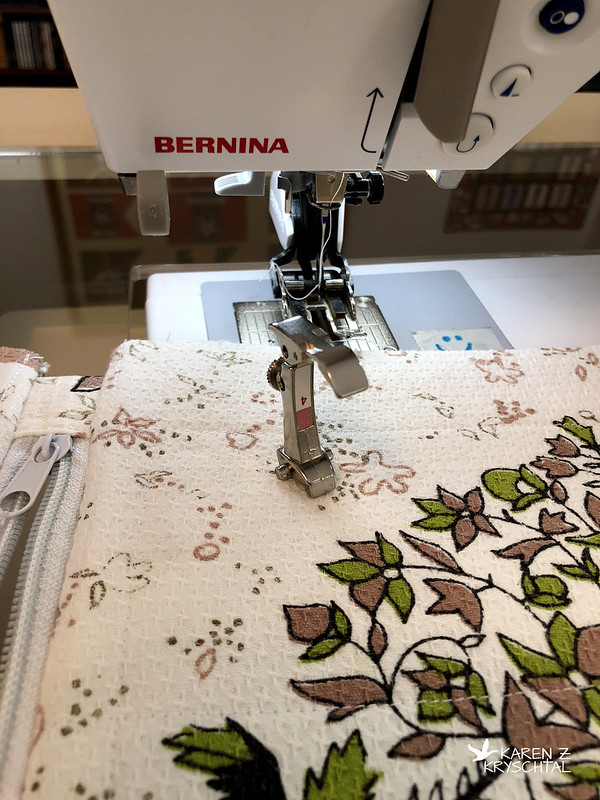
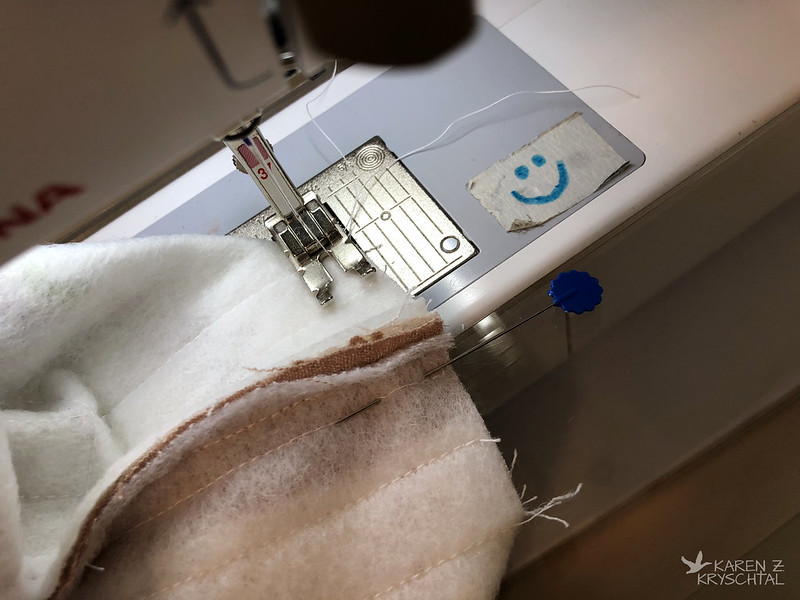
Sew all along the outside, using a 1/4" seam allowance. When you're at the area by the zipper, just sort of scrunch everything toward the outside panels. It will make sense. I hope.
Once you've sewn all around the pouch, leaving that gap, you need to box those corners -- IF you cut those squares out. Just smoosh that square so the seams match ...
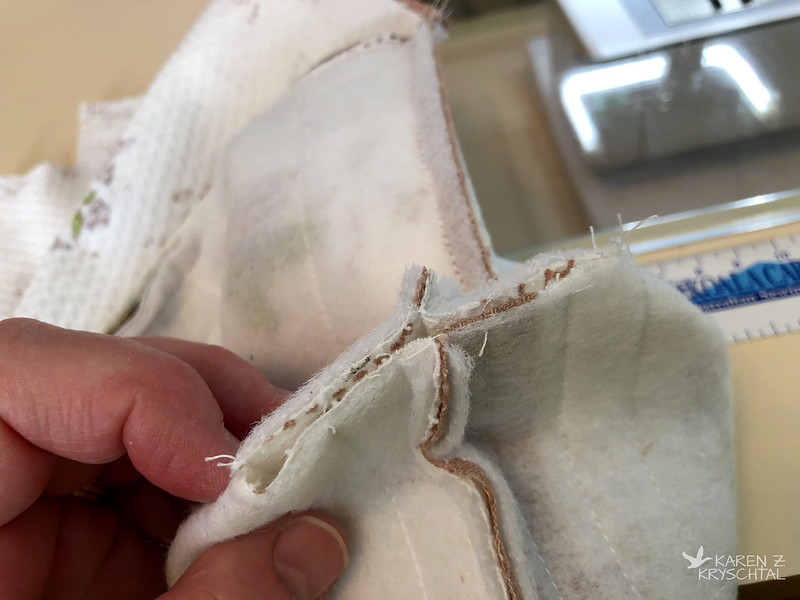
... stick a pin in the seams so they stay lined up, then sew shut.
Do it for the outside ...
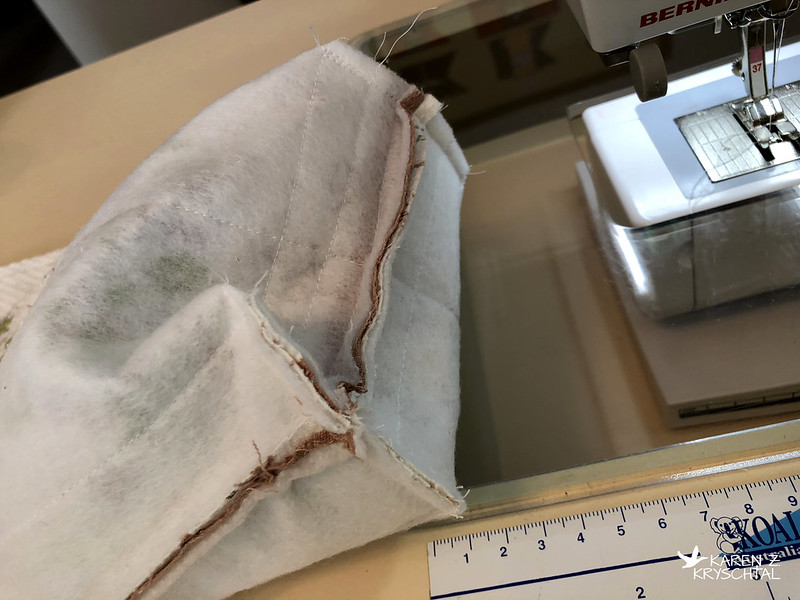
... and the lining.
Remember the gap you left?
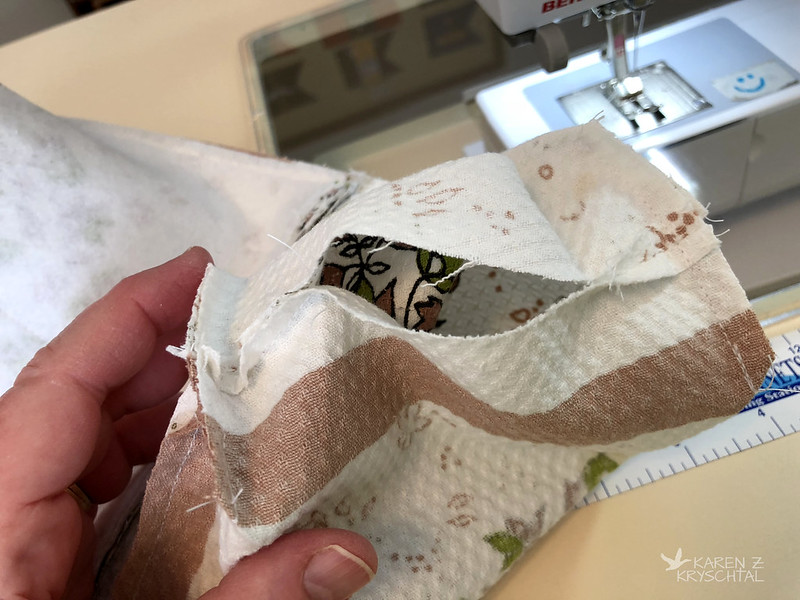
Reach in there and pull everything through it. It may take a while, especially if you quilted the outside - it adds bulk. Just keep pulling.
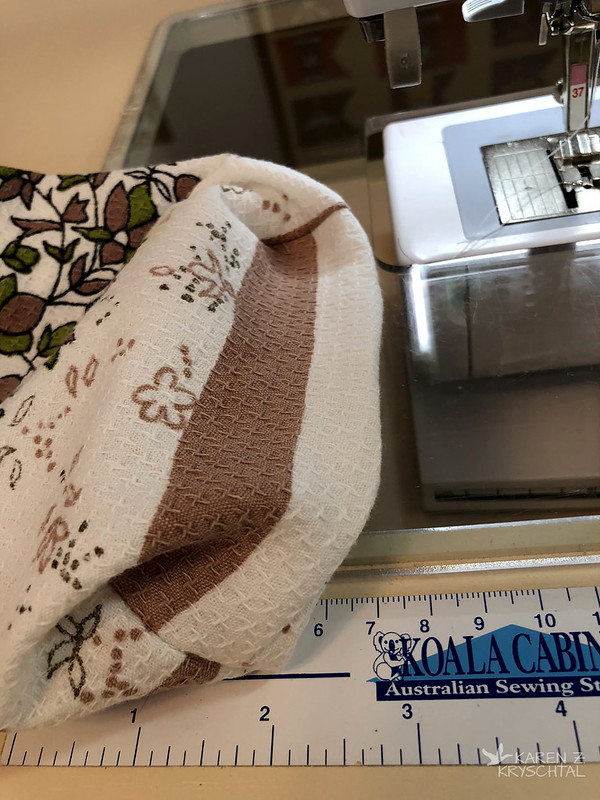
Find the gap in the lining and either hand-stitch or machine stitch it shut. Push the lining into the pouch, poke the boxed corners a bit (or if you didn't box the corners, poke the corners!), and ... TADA!
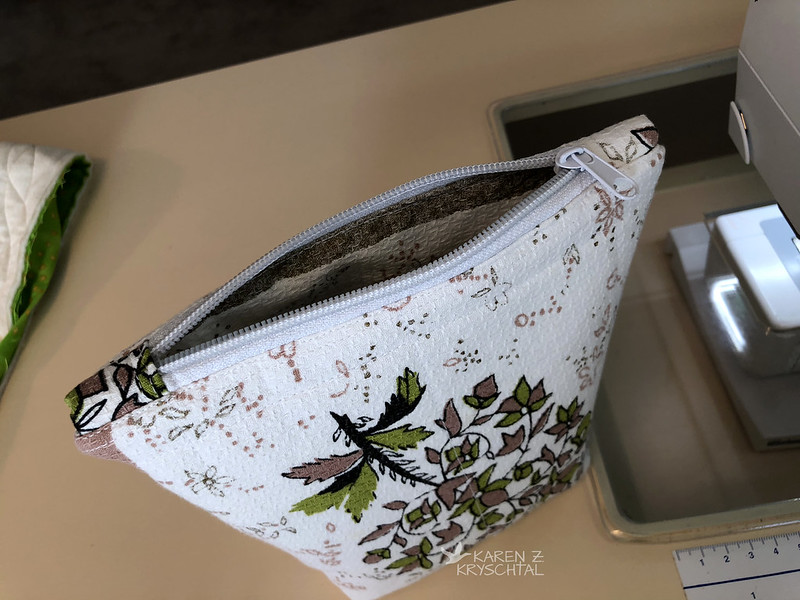
How cute is that?!? And check out how nicely the zip lays:
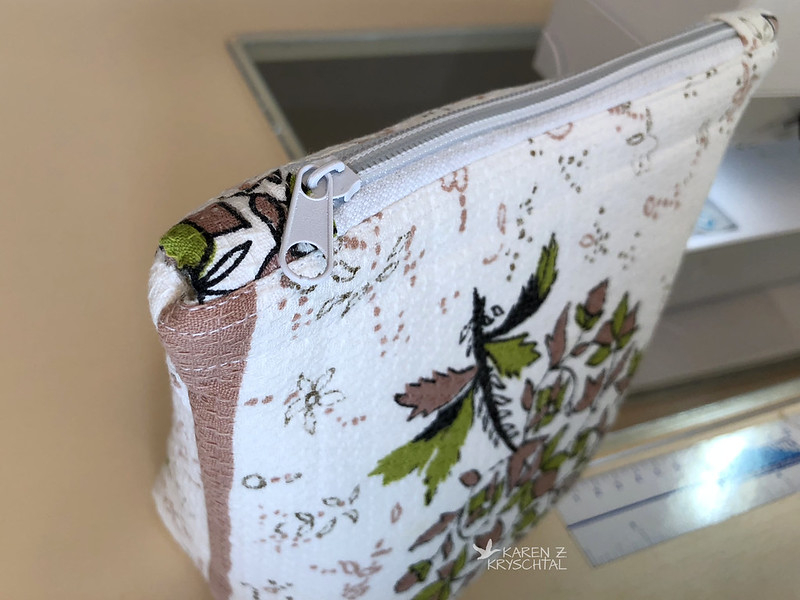
I think adding the tabs helps present a nice, finished product and let's face it, they look cute.
I hope that all made sense! You've got a nice, lined pouch with a cute zip. No exposed seams, everything lays nice, and it stands upright if you boxed the corners! The possibilities are endless -- any fabrics, any size, any color zipper, put a zipper charm on it, do some quilting, GO WILD!
Let me know if you have any questions! And also please let me know if you make a zippy pouch of your own from my tute! Thanks for reading!

Beautiful job, Miss Karen, and we love the step by step instructions of your tutorial! Mom hasn't done a zipper in like FOREVER!
ReplyDeleteExcellent tutorial. That is just how I make my zippy bags. I've done so many I think I could do them in my sleep. They really are fun to make. I like to do machine embroidery with some batting for a decorative effect.
ReplyDeleteCindy! (Millie and Walter) = what a great idea to put some embroidery on a pouch!
ReplyDeleteThey ARE fun to make, aren't they? It's sort of addictive!
KZK