
 |
| BOOM! |
Is it really "winning" if our bathroom still isn't done, though? Hmm.
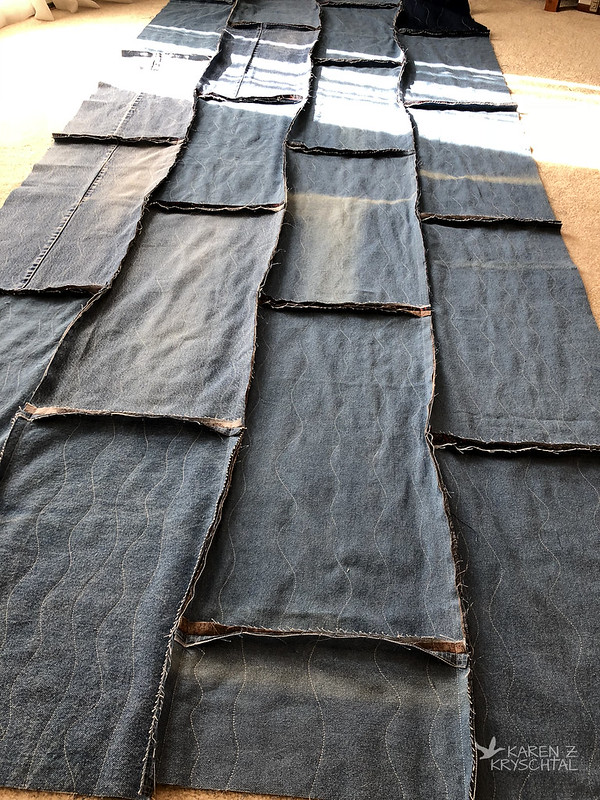
Anyway, let's take a look at the process! I love making fray-edged quilts, especially from demin! I did something a bit different this time. Rather than squares, I cut very large (12x24") rectangles. I am sort of mimicking the new floor in the bathroom -- grey/distressed wood-look porcelain tiles. You can sort of see it in the photo at this link. (They've pried up parts of it since then and replaced tiles that weren't installed correctly. Please don't ask.). The quilting is either sort of the "wood grain" or maybe waves? I don't know. I just went with it.
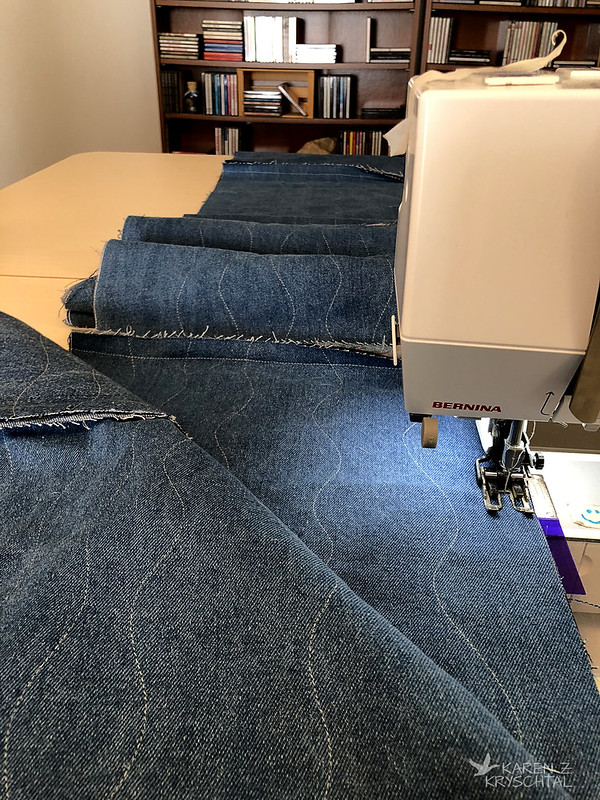 |
| Joining rows |
I used my walking foot. I maybe should have used my denim foot, but honestly, I love my walking foot and use it a lot.
Before I knew it, I had half of the rows together!
I had my own personal cheering squad:
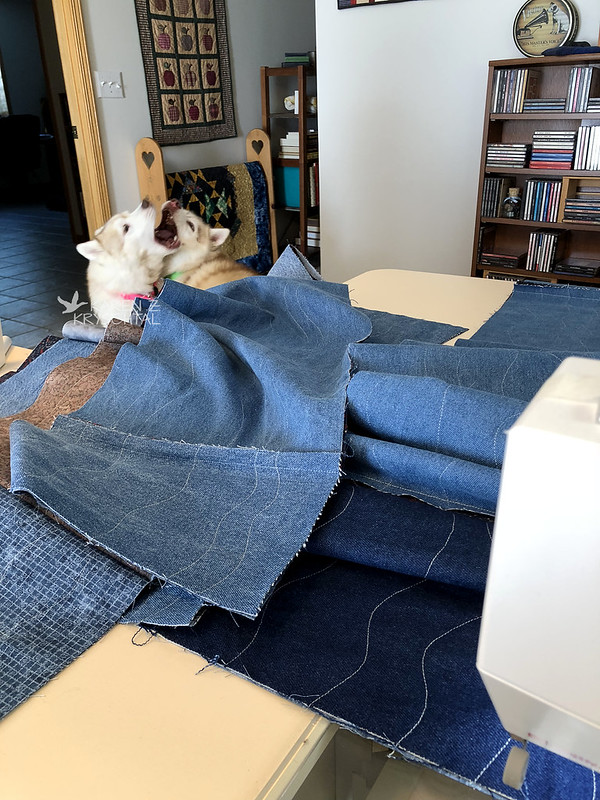
They were a tremendous help!
Here's a helpful hint for those thick, thick seams. Instead of using your finger which can be under the needle before you know it, grab your little screwdriver and use that to help flatten the seams and keep everything lined up.
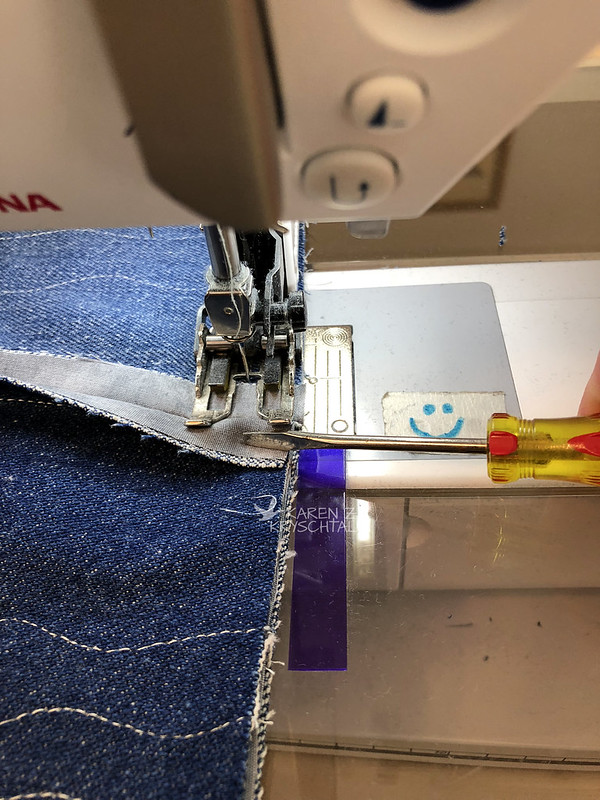 |
| Everyone keeps a screwdriver handy, right? |
I was using slightly over 1/2 an inch seam allowance. The purple tape is there as a guide.
I did my quilt edges differently this time, too. Rather than fray the edges, I brought the back around twice (fold in, then fold in again) and sewed it down. I put two lines of stitching in:
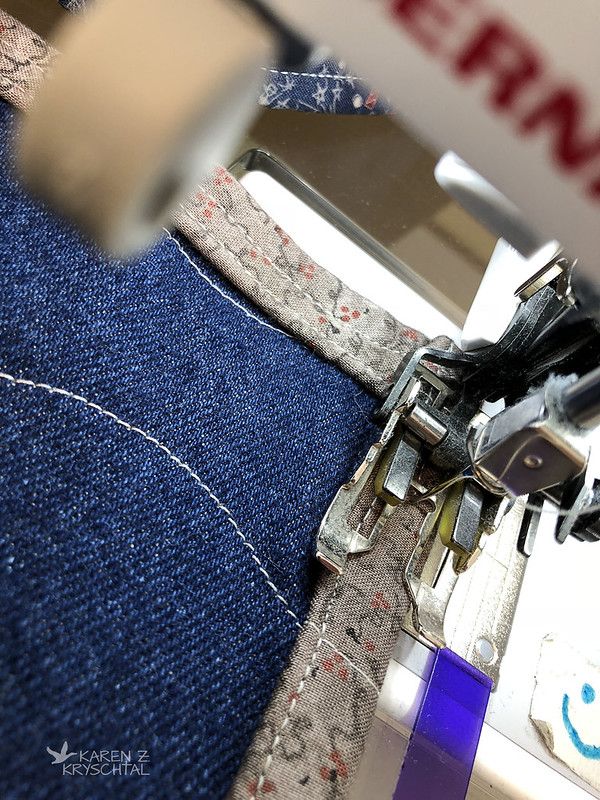 |
| Second time around! |
I thought it would be stronger and would bring those lovely greys and blues around, making a more decorative finish.
 |
| Maggie is back there, giving me the "paws up" approval! |
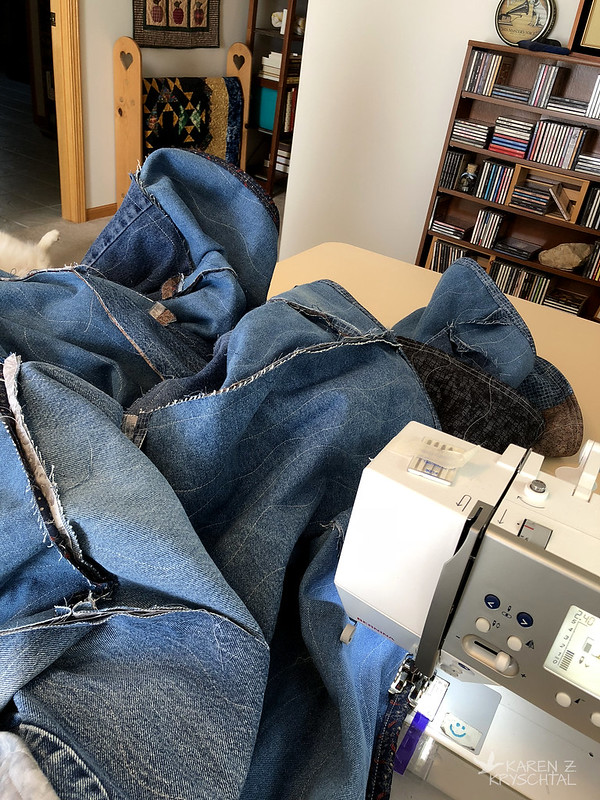
It was a huge, heavy undertaking, but before I knew it, I wasn't done. HA! No, not really. It was time for all the snipping. And snipping. And snipping. My least favorite part - clipping every 1/2 inch or so on every seam. That's like ... 87 million snips and whatever you do, don't snip through the seam!!! I sat on the floor with Cam and took my time.
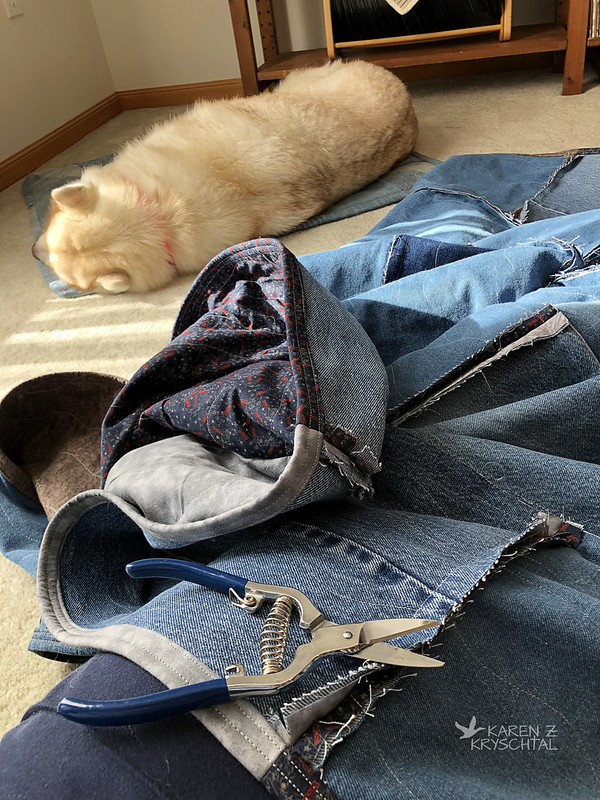 |
| Getting snippy |
Those are spring-loaded, micro-serrated blade scissors. They are the sharpest instrument I've ever used and they scare the daylights out of me. But they are the BEST for doing this. The BEST!
I got giddy and thought I'd do a little throw pillow while I was at it. This time, rather than having the "frays" on the denim side, I frayed toward those greys and blues. Here's my line up:
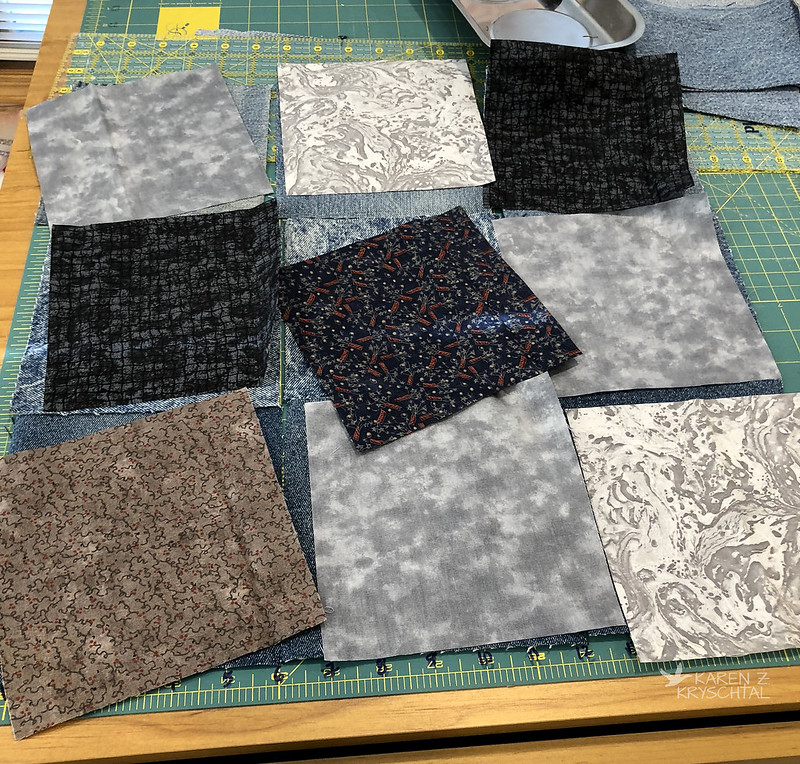 |
| Why not do a throw pillow?!? |
Those are the same fabs as on the back. This was another of my "do something without buying fabric" deals. I did have to buy thread, but that doesn't really count.
Here's another look at the completed projects:
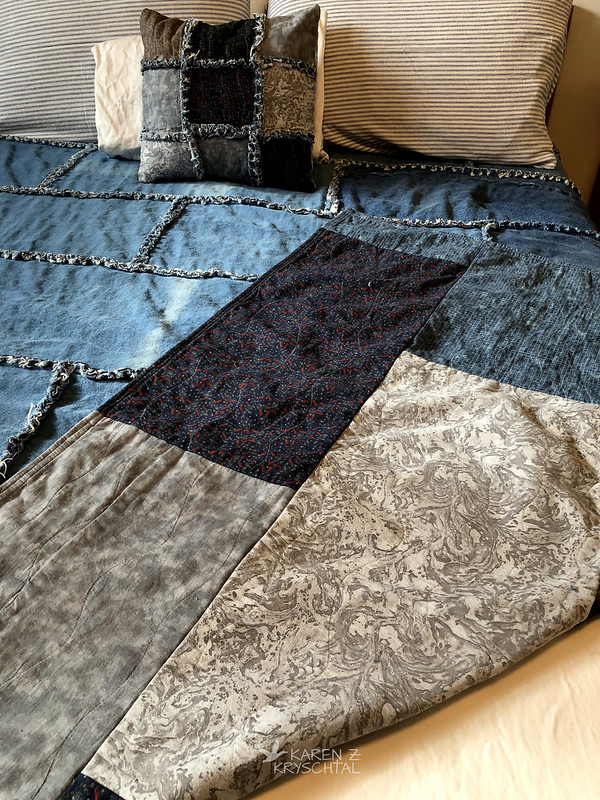 |
| Flipped up to show the reverse |
That's after two washings. I was impressed that I didn't clog up the plumbing. (I'm assuming if I did, I'd know it by now.). I did stop the dryer every 15 minutes or so to empty the lint trap.
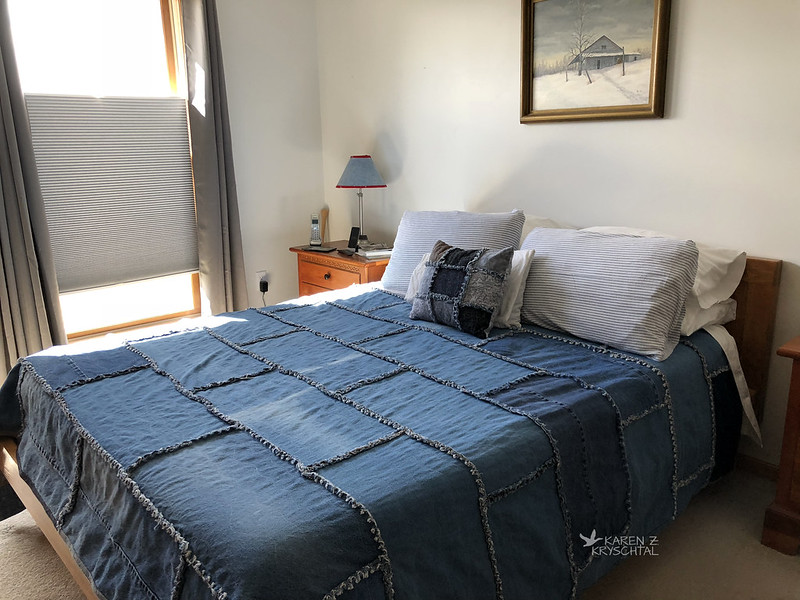
Anyway, I'm very pleased. A quilt I made, that my pups can jump on, wrestle on, and curl up and snuggle on. It's perfect for us. And it's reversible.
I've further challenged myself to come up with two shams for the big pillows. I would have finished today, but the remodelers threw me a curve ball. Normally, the girls and I head to the Studio and just shut the door to the downstairs. Today, they're reattaching the banister down there again and repairing the drywall the right way, as the first guy didn't do any of it to code. There will be painting involved this time, as well. Needless to say, my Siberians would want to "help" a bit too much, so no Studio time for us today. I still think I can get the shams done before they finish everything. I did finish the king-sized quilt. BOOM!
Thanks for reading!

PS: I normally have some quilts on the wall in the bedroom; they were taken down during construction/deconstruction/reconstruction/etc.
Love your new quilt and I bet it's SuperWarm!
ReplyDeleteWowza, that's gorgeous! Looks perfect for a nap. I'd be happy to come help test it out.
ReplyDeleteThat turned out great and should be almost indestructible by the girls. I assume you used old jeans for this. I wish I had enough to make one for our bed.
ReplyDelete